Printed circuit boards are the foundation of modern electronics.
Thus, they need special care and precision during production and manufacturing.
One of the most critical procedures that require consideration is the cutting process.
How To Cut PCBs, allowing them to fit into their destined component or device.
However, people seem to take this process for granted.
Nevertheless, the following guide will explore how to cut PCBs.
It will investigate the various cutting methods and which is the best.
Without further ado.
Contents
- Why Do You Need to Cut PCBs?
- Different Ways To Cut PCB
- How To Cut Prototype PCB at Home
- Required Tools and Equipment
- Instructions
- How to Cut Circuit Boards for Jewelry
- Required Tools and Components
- Instructions
- FAQ
- How to cut FR4 PCB?
- Is it safe to cut circuit boards?
- How do you remove unwanted copper from a PCB?
- Conclusion
Why Do You Need to Cut PCBs?
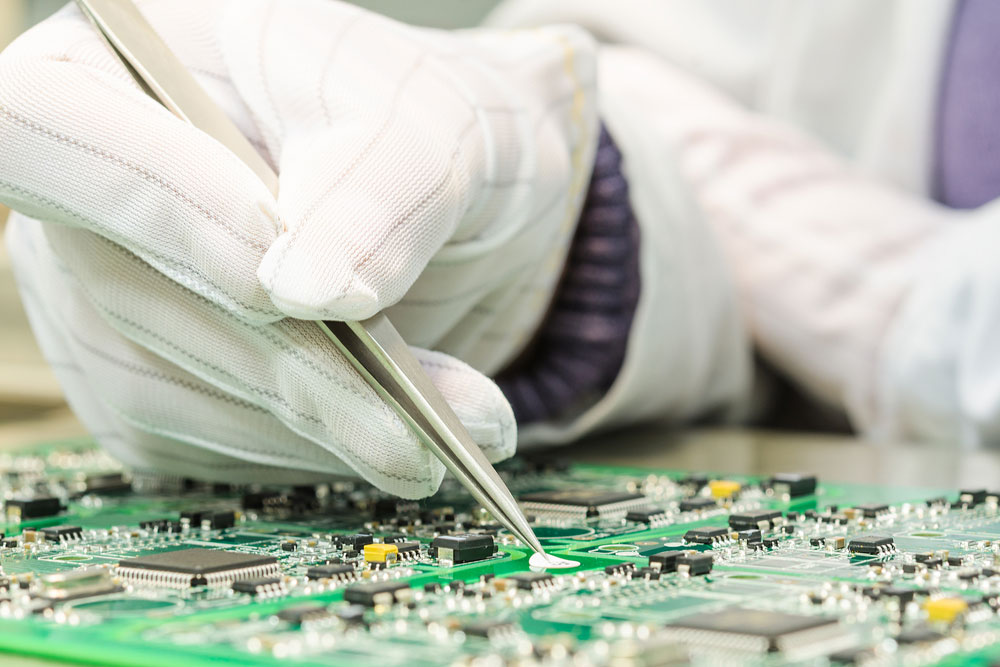
Hand holding a pair of tweezers above a PCB
There are many different types of circuit boards. Hence, each type has a specialized application.
For instance, PCBs can be rigid or flexible, single-layered or multilayered.
However, some of these PCB’s use cases may overlap despite the consistency or material.
Nevertheless, we need to cut and sand them in a way that suits and fits the last use case.
Additionally, we may find that a PCB has unnecessary excess material after placing its components.
Cutting the PCB will make it more space-effective and uniform.
Furthermore, cutting a homemade PCB will save money on materials.
You can repurpose the material you have cut from the PCB and integrate it into your other projects.
Different Ways To Cut PCB
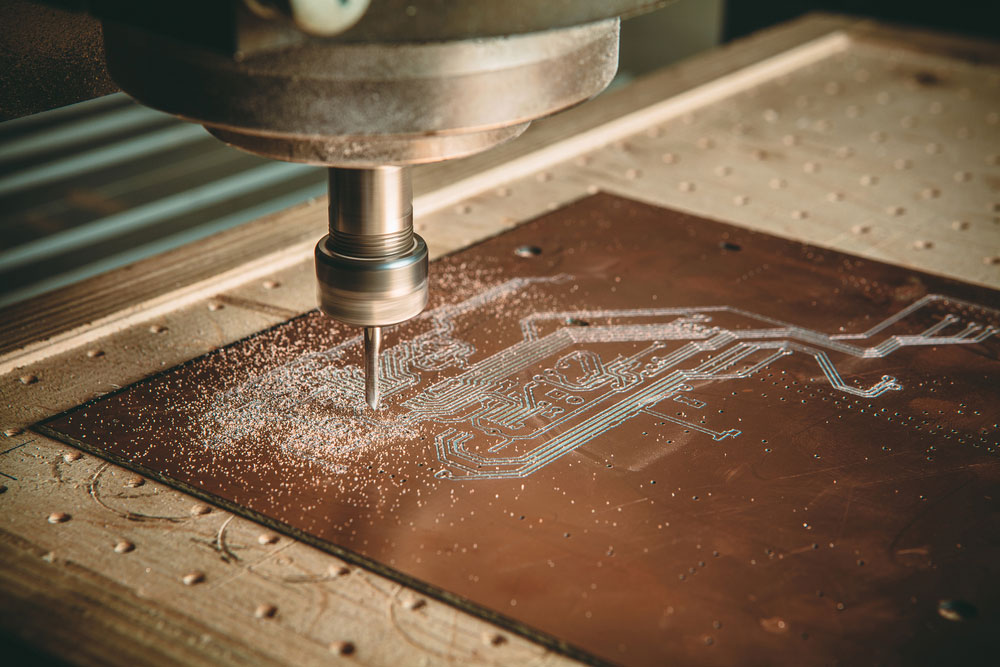
PCB CNC machine drilling into a PCB
There are different ways to cut PCBs. Most factories use specialized v-cut machines.
However, some use a stencil, form grooves around the PCB material, and snap the PCB out using a punching machine.
It’s important to note that this method may be inefficient as it could ultimately result in cracks in the final products.
Other more efficient PCB-cutting methods include:
- PCB Router Machines
- V-Cut PCB Machines
- PCB Milling Cutters
- PCB Saw-based cutting machine
- Specialized PCB Cutter Tool
You can employ some of these tools at home. Alternatively, you can cut your PCB using a variety of home tools. You can use a jigsaw, utility (razer) knife, metal shears (tin sips), or a table saw. The method you use will depend on the material of the PCB and the size you desire.Often the cutting process will leave the trimmed PCB with raised edges. In this case, it’s essential to sand and polish them. You can perform this action by using sanding paper or a file.
Special Offer: Get $100 off your order!
Email [email protected] to get started!
How To Cut Prototype PCB at Home
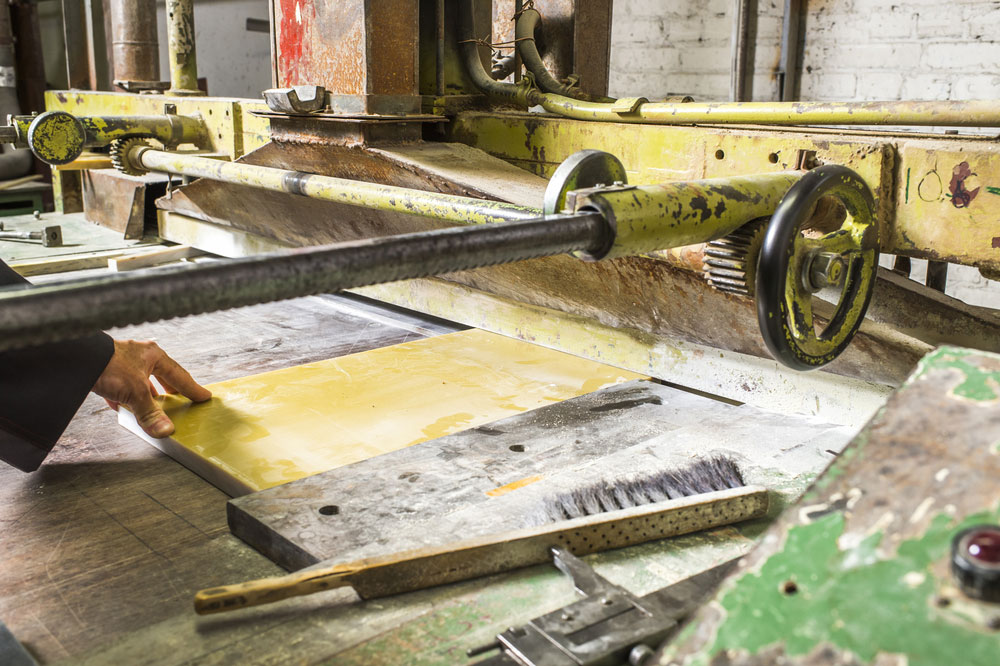
PCB plate machine slitter
Most hobbyists (especially beginners) use single-board prototype PCBs for DIY projects.
You do not require heavy saws or specialized milling tools to cut this PCB.
Required Tools and Equipment
- Sharp utility knife
- Metal ruler
- Sanding paper
- Work desk
- Permanent marker
Instructions
- Use the ruler and the permanent marker to measure and mark where you want to shorten the PCB on both sides.
- Next, use the utility knife to carve grooves along the lines you marked in the last step.
- These grooves will serve as your scoring lines.
- People usually refer to them as v-scores because they resemble “V”s when you inspect them closely.
- Be careful not to apply too much pressure to the PCB as you’re marking it with the utility knife, mainly if it uses fragile material.
- Once you’ve ensured that your v-scores lineup, you can carefully snip the ends of your PCB off, essentially shortening it.
- Finally, inspect the ends and corners of the PCB. Use sandpaper and a file to polish and sand the PCB (as needed).
- You can now take a damp cloth to wipe the finished board.
Advanced users can purchase CNC routing machines and mill their PCBs at home. However, these machines may be expensive. Nevertheless, you can cut thicker multilayer PCBs using the method above. However, you must ensure your knife is sharp and apply enough pressure while carving.Alternatively, you can cut the PCB by using a Dremel rotary device and mini saw. Regardless, it’s cheaper to use a utility knife.
How to Cut Circuit Boards for Jewelry
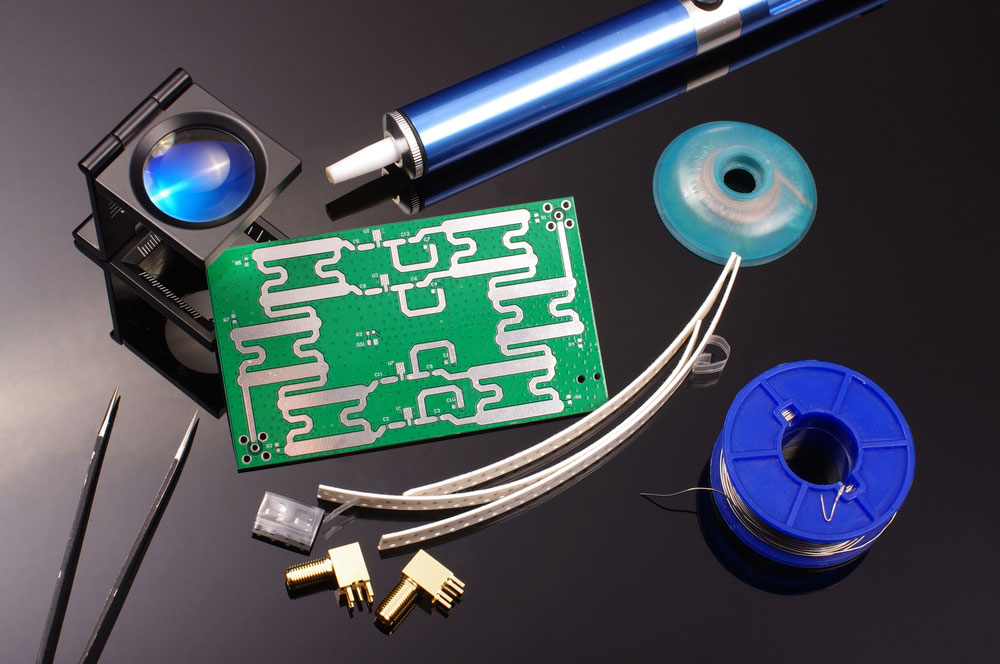
PCB next to a collection of tools and stationery
We can use old, discarded electronics for new purposes through recycling.
One way to upcycle old printed circuit boards is to create jewelry. You can make earrings, pendants, bracelets, etc.
The only limits are your imagination.
You can use the following tutorial as an example:
Required Tools and Components
- Two-part clear coating and casting resin
- Medallion
- Tin snips
- Old circuit board
- File
- Sandpaper
- Utility knife (for scoring)
- Heat gun
- Rubber gloves
- Plastic bag
- Marker (white or black, depending on the color of your PCB)
Instructions
- Measure the holder of the medallion, ensuring you get the shape properly.
- Take the measurements of the medallion and mark them on the circuit board. Mark the circuit board portion you’d like to use as jewelry.
- Next, use the utility knife to carve and score the marked board outline of the PCB. Apply pressure to the circuit board to ensure it’s locked in place while slicing it.
- You can then cut the PCB jewelry piece out of the tin snips.
- Next, test to see if the piece fits into the medallion. You may find that you must edge or sand the PCB piece to fit it into the medallion’s holder.
- If so, use the filing tool or sandpaper to smooth and trim the board edges of the PCB jewelry piece.
- Add resin to the PCB jewelry piece and stick it into the medallion holder.
- You can even the resin out using a popsicle stick.
- Could you wait for it to dry (up to two hours)?
- Finally, use a cloth to polish the chain and attach it to the medallion to convert it into a pendant.
This is only one example of how you can convert your PCB into jewelry by cutting it. You can also coat the PCB jewelry piece with silver or gold paint.
FAQ
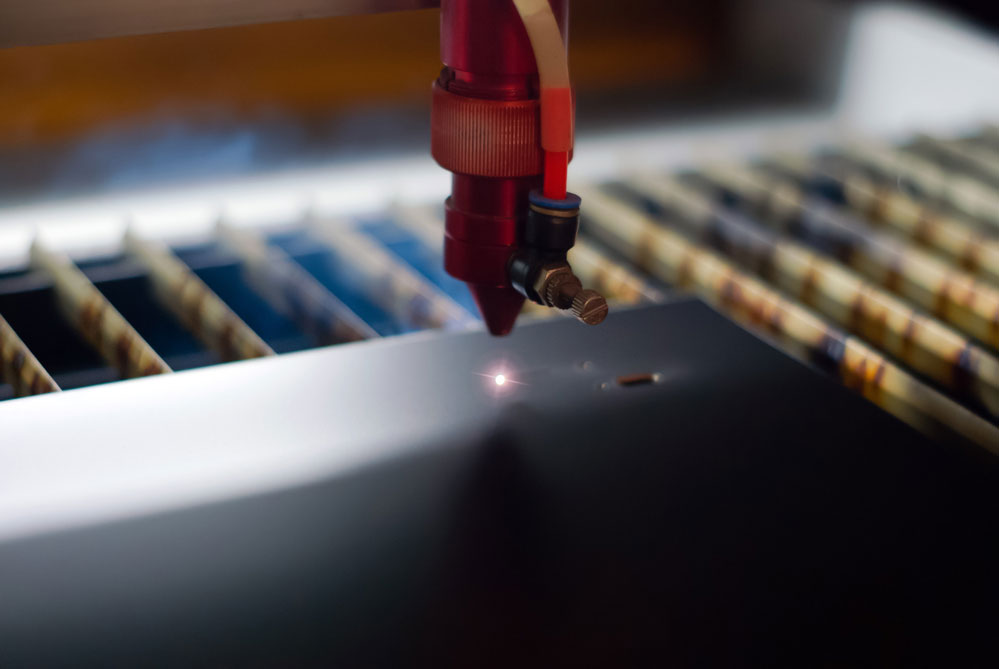
PCB Laser Cutter
How to cut FR4 PCB?
You can cut a glass-reinforced epoxy laminate (FR4) PCB using the same techniques for cutting pcb assembly prototype.
You can score it with a sharp utility knife and break the pieces out.
Alternatively, you can use a Dremel cutting tool or saw.
Of course, what device you use will depend on the size and board thickness of the PCB.
Additionally, it will also rely on the tools you have on hand.
Is it safe to cut circuit boards?
Printed circuit boards use a variety of materials to function correctly.
The substrate holds the copper, lead, and tin circuitry. In most cases, it’s safe to cut a PCB.
However, if you cut through the components and connections, it will render the PCB dysfunctional.
How do you remove unwanted copper from a PCB?
Manufacturers remove unwanted copper from a PCB using etching.
They cover the PCB laminate and desired copper with a mask to protect it from the etching process.
Next, they apply acid to the PCB. The acid removes the unwanted copper layer.
Once this process is complete, the manufacturer cleans the etching chemicals off the PCB.
Conclusion
Cutting is a crucial part of the PCB assembly process.
Without it, we wouldn’t fit PCBs into electronics correctly.
However, as illustrated in the above guide, you can cut PCBs for other purposes, such as jewelry.
Manufacturers employ several machines and tools to cut and refine PCBs.
Nevertheless, you don’t require highly specialized tools to cut PCBs at home.
You can use utility knives, drills, and tin snippers.
Cutting and shortening your PCB will allow you to develop more versatile projects.
That’s why you need to know how to do it.
Special Offer: Get $100 off your order!
Email [email protected] to get started!