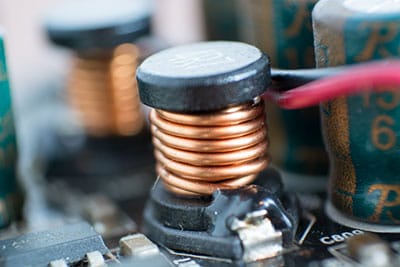
If you’re an electronics enthusiast, you’ve most likely come across Ni-MH batteries. Ni-MH refers to nickel-metal hydride batteries. Nickel-metal hydride batteries are among the most successful batteries in the industry. You can find them in most consumer electronics that require internal batteries. Unlike lithium-ion batteries, NiMH batteries are more affordable. But despite their popularity, many beginner engineers still don’t understand how these rechargeable batteries work. A proper understanding of the NiMH battery charger circuit is essential to making one. It’s the same concept with the LED Bulb Circuit: you need to know how it works to make one.
Let’s dive right in!
Contents
- 1. How Does the NiMH Battery Charger Circuit Work?
- 2. What Features Does the NiMH Battery Charger Circuit Have?
- 3. The LTC 4060 Pin Alignment Function
- DRIVE
- BAT
- SENSE
- TIMER
- SHDN
- PAUSE
- PROG
- ARCT
- SEL0 and SEL1
- 4. Here’s How to Charge the NiMH Battery Correctly
- 4.1. NiMH Charge Methods
- Timer Charging
- Thermal detection:
- Negative Delta Voltage (NDV) Detection
- NiMH Trickle Charging
- 4.2. Precautions When Charging Your NiMH Battery
- Summary
1. How Does the NiMH Battery Charger Circuit Work?
To understand how the NiMH battery charger circuit functions, we need first to look at the circuit diagram. Here it is:
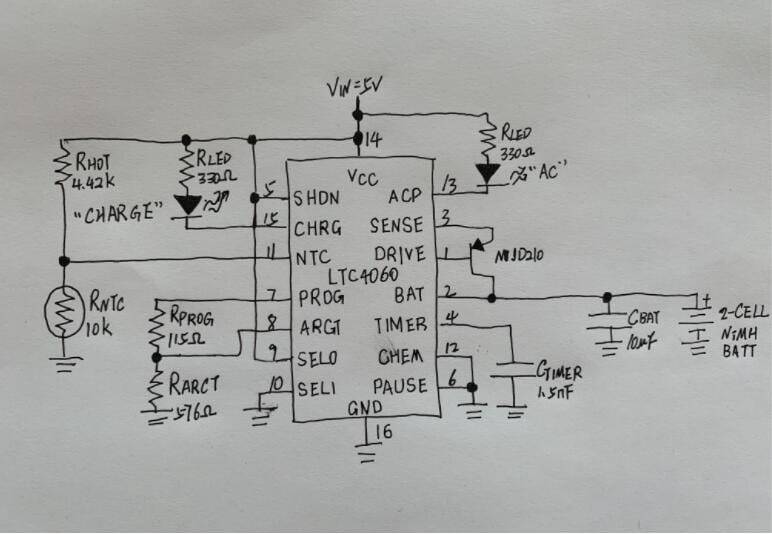
(A basic NiMH circuit diagram)
As you can see from the diagram, there’s only a single integrated circuit (IC). The IC acts as a versatile top-grade battery charger circuit. It provides utmost protection to your battery as the circuit charger charges it. Thus, your battery remains in the healthiest possible environment during input voltage. Yet, you still experience rapid charge. Note that there are other complicated ways to create a regulated constant current. But the circuit we've provided here can still create a constant current.
Here’s a brief look at the internal workings of the NiMH battery charger circuit:
The internal circuitry disconnects the battery from the relevant IC pinout. When there’s no power to the circuit, the IC enters sleep mode. Note that the IC can also enter into the sleep mode if there’s an excess voltage supply.
Generally, when the Vcc exceeds under-voltage lockout (ULVO), the IC automatically enters sleep mode. It immediately disconnects your battery from the charging current. Thus, there's little to no input voltage.
You can determine the rate at which your battery charges. Set this rate externally through the program resistor that connects to the IC’s PROG pinout.
In the current configuration, the virtual reference across the PROG pin is 1.5 V. That virtual reference comes from an inbuilt amplifier. There’s a programming current flowing through an N channel FET and to the current divider. Generally, most NiMH batteries' discharge curve is flatter than that of the alkaline AA battery.
The charger state control logic handles the current divider. It produces potential differences across the resistor, which then creates fast-charging conditions for your connected battery.
Special Offer: Get $100 off your order!
Email sales@ourpcb.net to get started!
2. What Features Does the NiMH Battery Charger Circuit Have?
The NiMH Battery Charger Circuit comes with numerous features. Here’s a list of the main ones:
- A complete fast charger controller for single, two series to 4 series cell NiMH batteries
- Automatic recharge to keep these rechargeable batteries charged
- Accurate charge current
- Manual shutdown
- Programmable fast charge current
- Fast charge current programmable with an external sense resistor
- Automatic battery detection
- Optional temperature qualified to charge
- Negligible battery drain in sleep mode
- Input supply range
- Manual shutdown, if not using a smart battery
NiMH battery chargers have a variety of features.
3. The LTC 4060 Pin Alignment Function
Making the NiMH Battery Charger Circuit is easier when you first understand the IC pinouts. From the circuit diagram, the following pinouts are visible:
-
DRIVE
This pin connects to the base of the PNP transistor. It’s responsible for providing the transistor with the base.
-
BAT
The second pin monitors the connected batter’s charging current while the battery is charging.
-
SENSE
This pinout senses the current going to the battery as it charges. The pin’s purpose is to control the PN transistor’s conduction.
-
TIMER
The TIMER pin’s function is to define the IC’s oscillator frequency. It also helps control the cycle limits of the charge cycle.
-
SHDN
Once there’s a trigger for the SHDN pinout to drop, the IC will shut down. That minimizes the charging input going to the battery. In turn, the current supply to the IC reduces.
-
PAUSE
The PAUSE pinout stops the charging process for a while. You don't need to disconnect the charger from the power source or power supply.
-
PROG
This pinout’s function is to program the charging current. It does so by appropriately altering the value of the resistor to determine various charging rates.
-
ARCT
The ARCT pinout is the IC’s auto-recharge pinout. Its purpose is to program the charge current level’s threshold. Once the battery voltage slips below the voltage limit, charging initiates immediately.
-
SEL0 and SEL1
The two pinouts help make the IC compatible with varying cell numbers that need to charge. The SEL 1 pinout connects to the ground when charging two cells, while the SEL0 connects to the IC’s supply voltage.
4. Here’s How to Charge the NiMH Battery Correctly
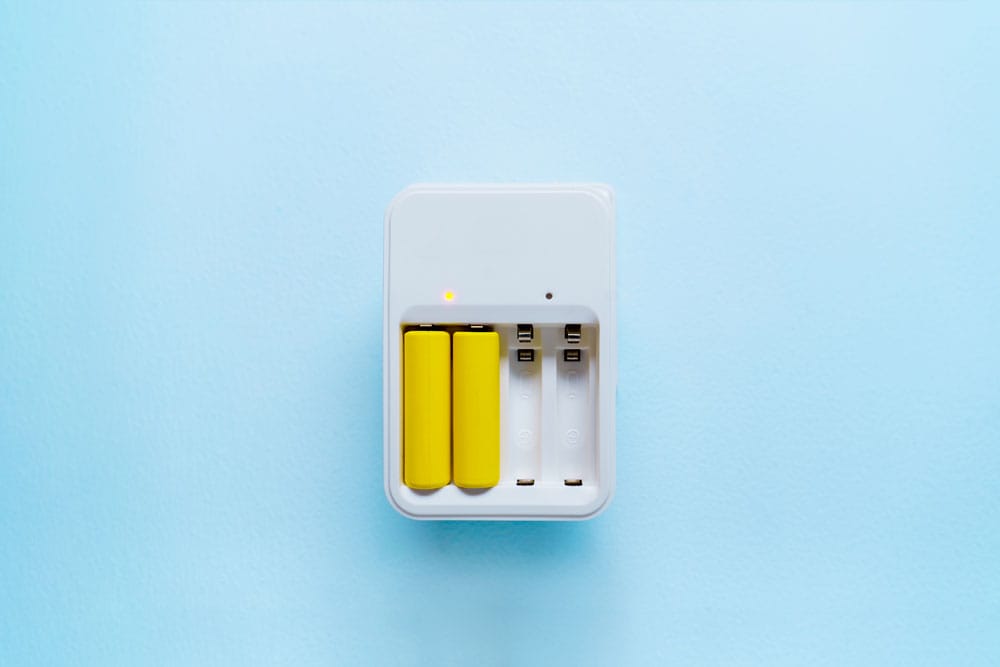
To maintain the performance of your Ni-MH batteries, charge them correctly. Correct charging of these types of batteries also can give them a longer battery life.
Overcharging these batteries can cause them to overheat and lower overall battery capacity. Exceeding charge capacity can also cause damage. It's the reason you need to use the charge controller. The charge controller can stop charging as soon as the cell has reached charge capacity.
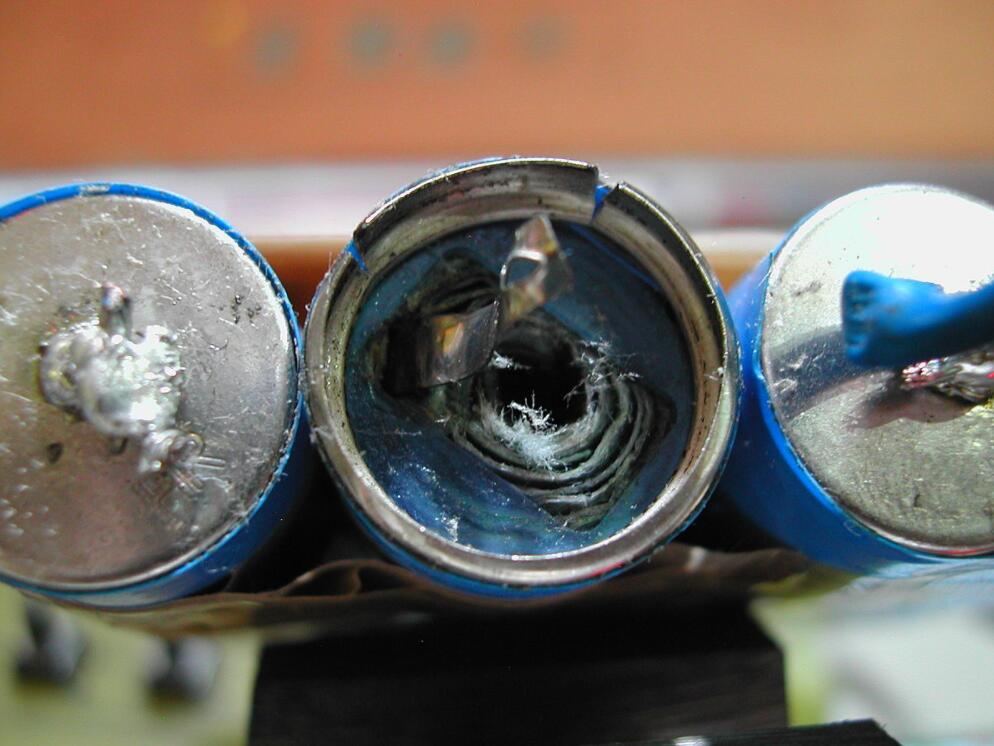
https://en.wikipedia.org/wiki/File:Decapitated_ni-mh_battery.jpg
Charging your NiMH battery correctly is essential.
4.1. NiMH Charge Methods
Charging schemes are different for different battery chemistries. Let's look at some of them.
-
Timer Charging
It is the easiest for determining the end of the charge. The charger may come with an inbuilt time. The approach assumes you’re charging the battery starting from a clear state of charge. For instance, the battery has completely no charge. That means the battery is in a state of complete discharge.
The cells in series may affect the amount of time it takes to charge the batteries in series fully. Note that the charge time in this method is often longer than in other methods.
-
Thermal detection:
Here, you determine the end of the charge by checking the battery temperature. The cell often feels warm during charging, so telling that it’s the end of charge isn’t always easy. But most chargers have a charger controller to monitor the cell temperature rise and battery current. Once there's a sudden increase in temperature rise, the charge controller can terminate the charge.
-
Negative Delta Voltage (NDV) Detection
Most people prefer this method to detect the end of charge. The negative delta voltage detection (NDV) technique instantly detects a reduction of voltage the moment the battery has a full charge. Note that the battery needs to reach the maximum voltage to keep maximum energy.
-
NiMH Trickle Charging
You can also charge a single cell or more using a trickle charger. NiMH battery types tend to be highly sensitive to overcharge. It would help if you were careful when you slow charge the cells. The optimal current allowed depends on the ambient temperature. Limit yourself to a rate of 0.05C as you trickle charge the cells. Try not to leave the cells trickle-charging for too long. Keep the charge rate below C/10. A higher charge rate can lead to overcharging and damage to these types of batteries.
There’s a variety of ways for charging NiMH batteries.
4.2. Precautions When Charging Your NiMH Battery
Here are certain essential guidelines you need to follow when charging NiMH cells.
- Always use the correct charger.
- Charge your batteries at room temperature, whether you're charging one cell or an entire battery pack
- Keep checking cell temperature, and remove if too warm
- Check the charge status manually
- Try to stay within current limits
Summary
NiMH batteries and their chargers are among the most popular products today. From this guide, you’ve seen how the NiMH battery charger circuit works. This information is critical for those interested in building NiMH chargers.
Do you have further questions regarding NiMH battery chargers? Feel free to contact us. We offer a vast array of PCB manufacturing solutions. Our highly experienced technicians are always ready to help.
Special Offer: Get $100 off your order!
Email sales@ourpcb.net to get started!