Electromyography or EMG sensors measure small electromyographic signals your muscles generate as you move them.
Muscle movement includes clenching your fist, lifting your arm, and even moving a finger.
Since EMG sensors diagnose various degenerative nerve and muscle-related conditions, it is a valuable asset in medicine.
Our experts have compiled this guide explaining all you need to know about EMG sensors.
So let's take a closer look at the electromyography process.
Contents
- What is an EMG Sensor?
- EMG Muscular Signal Sensor Features
- How Does an EMG Sensor Work?
- Types of EMG Sensors
- Surface EMG sensor or EMG Signal Sensor.
- Intramuscular EMG sensor
- EMG Sensor Applications
- Factors to Consider When Choosing EMG Sensors
- Number of Channels
- Sampling Rate
- Sensor Type
- Compatibility
- EMG Sensor Prices
- EMG Sensor Arduino Tutorial
- Required materials
- Step 1: Preparing the surface
- Step 2: Snap electrodes in place
- Step 3: Expose the adhesive
- Step 4: Sensor placement
- Step 5: Reference electrode placement
- Step 6: Connecting to the Arduino board
- Step 7: Testing the sensor
- Upload the following code to Arduino.
- Leading EMG Sensor Solutions
- Delsys
- Noraxon
- Shimmer
- MuscleLab
- Cometa Systems
- Electromyography Sensor FAQs
- What Signal is Detected by EMG?
- What Does EMG Not Detect?
- Are EMG Sensors Safe?
- What is the Accuracy of the EMG Sensor?
- In a Nutshell
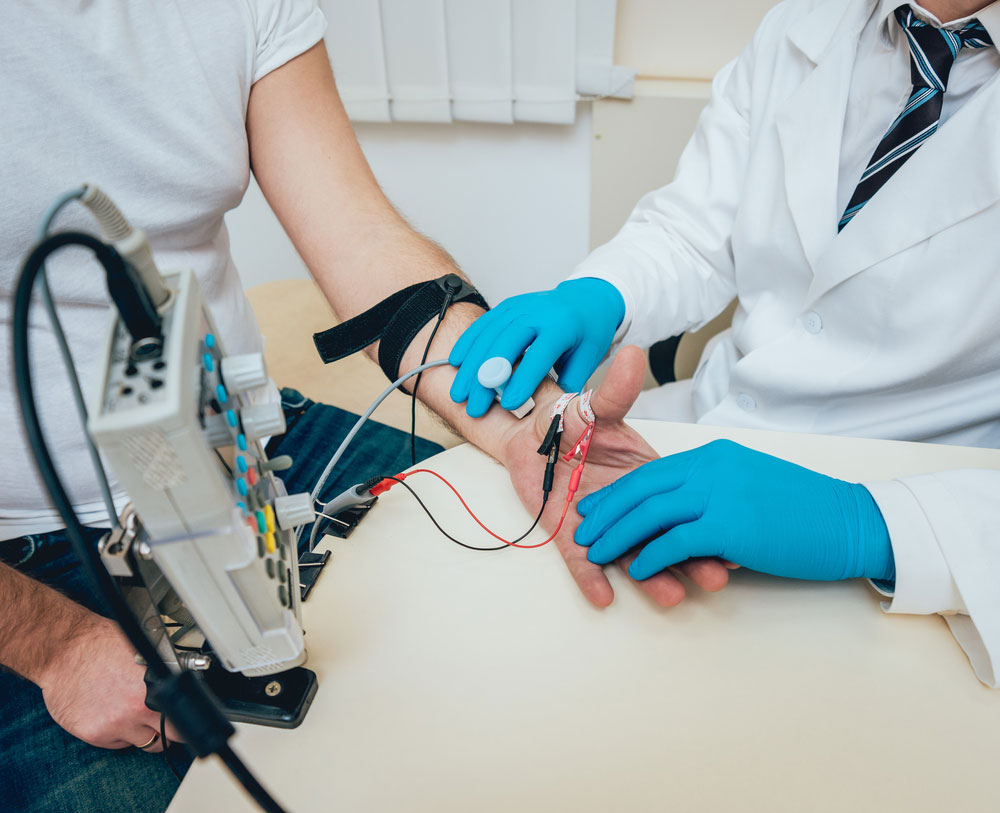
What is an EMG Sensor?
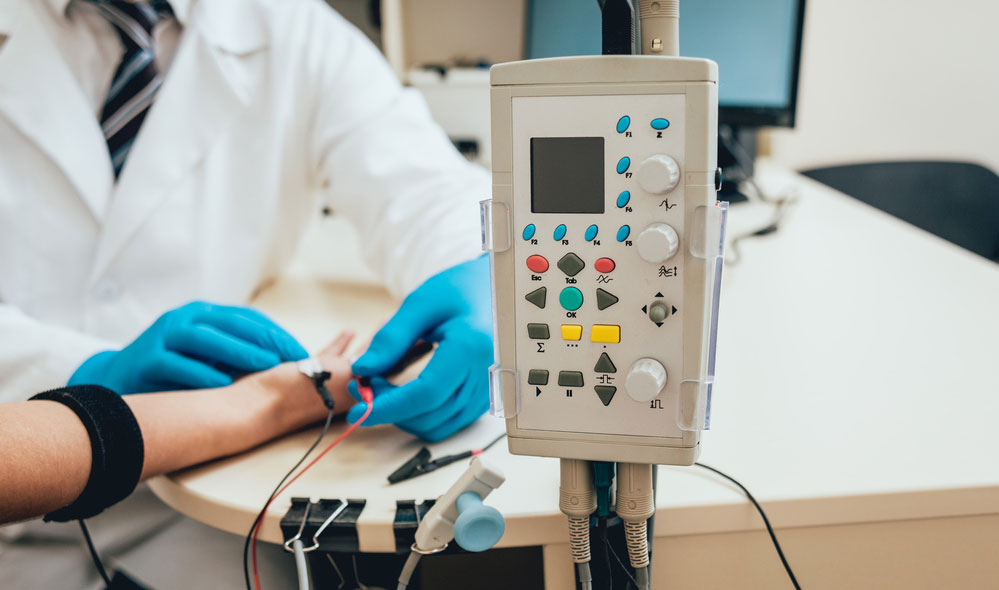
EMG Sensor placement on hands
EMG sensors record the movement of your muscles or muscle activity.
These sensors are based on the scientific fact that when your muscles contract, they release a burst of electrical activity or an electrical impulse that circulates through adjoining bone and tissue.
EMG sensors help rule out and diagnose several muscle disorders like muscular dystrophy or polymyositis.
Additionally, this ripple effect is from neighboring skin areas.
Therefore, this process helps determine nerve dysfunction, muscle fatigue, nerve-to-music signal transmission problems, and muscle dysfunctionality in real time.
EMG Muscular Signal Sensor Features

EMG Sensor medical examination
The following list of EMG muscular signal sensor features measures the activity, expansion, and voluntary contraction of muscles in medical research:
- Small Form Factor Feature
- Specially Designed for Microcontrollers
- Adjustable Gain feature using the onboard potentiometer
- 5mm Connector
How Does an EMG Sensor Work?
Wireless body area network
EMG sensors work by placing electrodes or senses close to your muscle groups.
These sensors are much more effective on superficial muscles as they cannot bypass the action potentials of superficial muscle tissue.
The power activates, and its length decreases during signal processing.
Additionally, the muscle, skin, and electrodes move concerning each other.
Essentially, EMG signals originate from the electrical activity or electric potential of muscle fibers active during a contraction.
Types of EMG Sensors
Two types of EMG sensors are available for application.
The first is a surface EMG sensor and a non-invasive technology, and the next is an intramuscular EMG sensor.
While both types of EMG differ in sensor placement, they share some similarities in the procedure.
Let's take a closer look at both types of EMG sensors and how they work.
Surface EMG sensor or EMG Signal Sensor.
- An essential part of the EMG sensor process is placing the sensor in the correct amount of muscle or limb.
- Therefore, palace it in the innervation zone of both tendons to achieve better detection quality.
- After that, the electrodes detect muscle or limb activation as your muscle tissue moves and contracts.
- The electrical activity of muscles detected is visible in waves on the monitor, also known as an oscilloscope.
- The signal strength is dependent on active muscle or muscle activity intensity.
- Signal recordings are more effective in individuals with more compliant skin and lower body fat.
- An essential step in this sEMG sensor process is to cancel the baseline signal fluctuation when recording, as it may degrade signal quality.
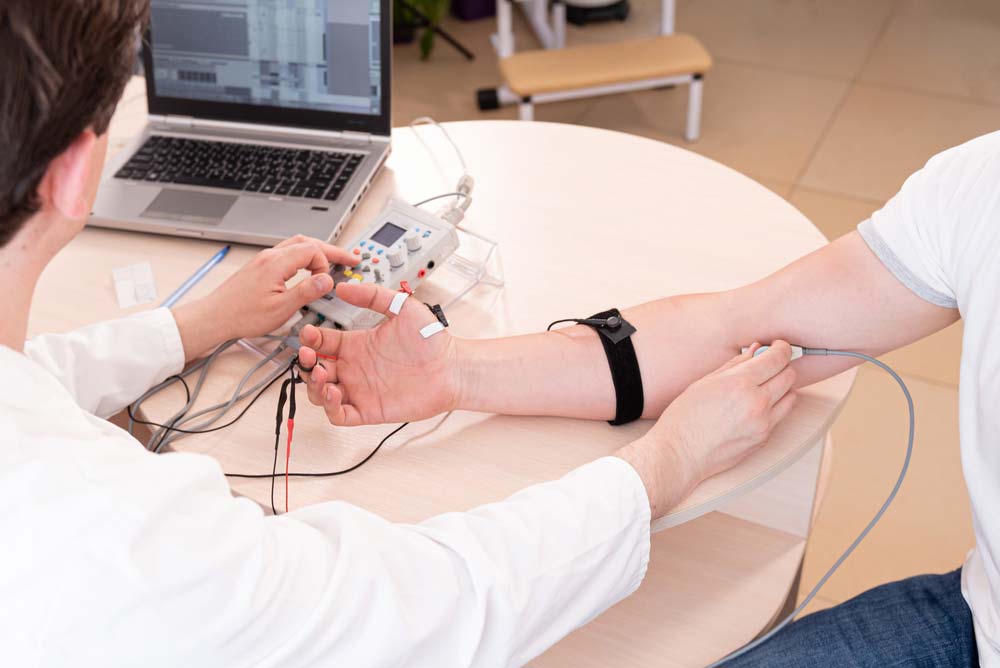
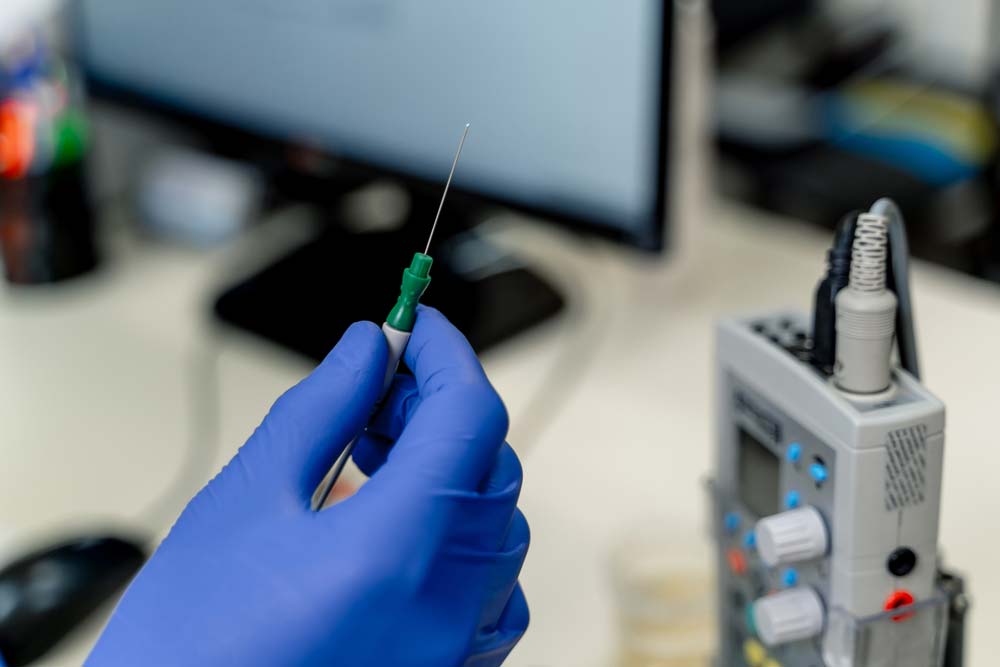
Intramuscular EMG sensor

Intramuscular EMG sensor testing
- The process starts by inserting a sterile needle into the relevant or targeted muscle.
- Once again, the electrodes detect muscle activation as the muscles contract.
- You may attach an audio amplifier for improved evaluation of appearance and sound.
- After that, the monitor measures and displays the electrical activity of your working muscles.
Special Offer: Get $100 off your order!
Email [email protected] to get started!
EMG Sensor Applications
EMG sensors play a significant role in various biomedical applications, such as:
- Disorders of motor control and Kinesiology
- Myoelectric signals or control signals for prosthetic hand devices, lower limbs, and arms
- Diagnosing muscle and nerve disorders in patients for early prevention and treatment
- Video games
- Robotic control systems
Factors to Consider When Choosing EMG Sensors
Before investing your hard-earned money in these sensors for clinical, research, or sports applications, consider the following factors to ensure you get the right product.
Number of Channels
An EMG sensor’s channels refer to the data streams the device can handle to record muscle activity. And the more channels, the richer the data output because you’ll be able to analyze multiple muscle groups simultaneously.
Sampling Rate
This feature indicates how frequently the sensor records and digitizes the muscle activity each second. It is given in Hertz, and the higher the sampling rate, the clearer the resolution.
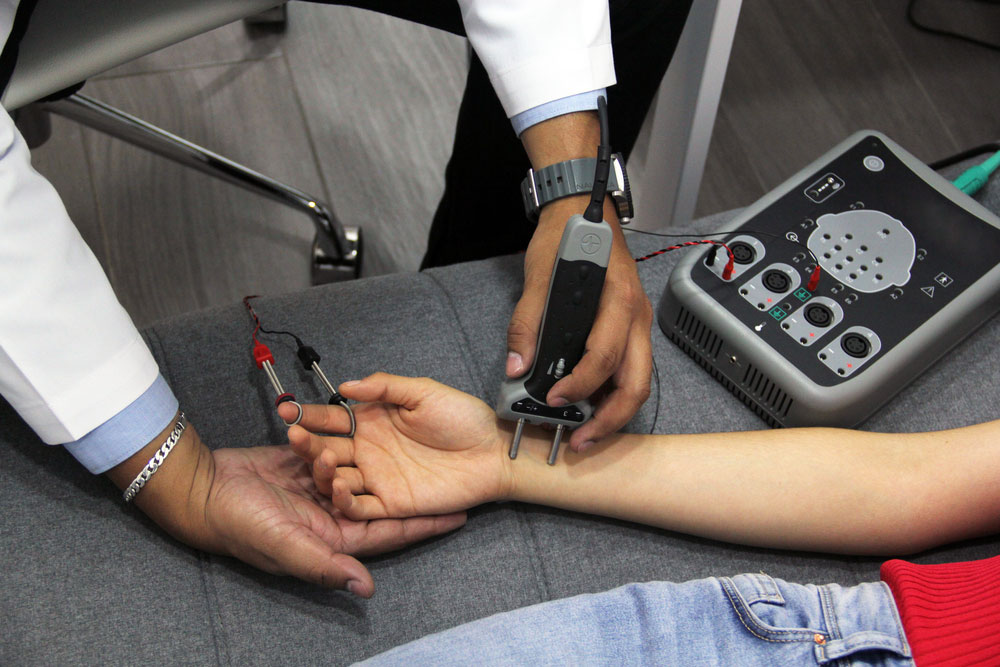
Sensor Type
EMG sensors come in two types: surface and intramuscular. The former is easy and comfortable to use because it is non-invasive.

A patient doing nerve tests using a surface-type EMG sensor
However, intramuscular EMG sensors are painful and highly invasive because they require you to insert a needle into your muscle tissue. If not handled carefully, the needle can cause infections or tissue damage. On the bright side, this method is more accurate.
Compatibility
The sensor (hardware) should be compatible with your data acquisition and analysis software, as well as the communication interface (USB, Bluetooth, or analog).
EMG Sensor Prices
Some of these sensors can be quite expensive, so you should compare the features and types from different manufacturers and then pick the one that gives the most value for money.
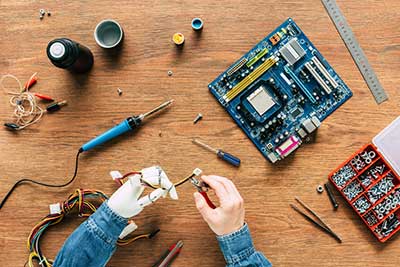
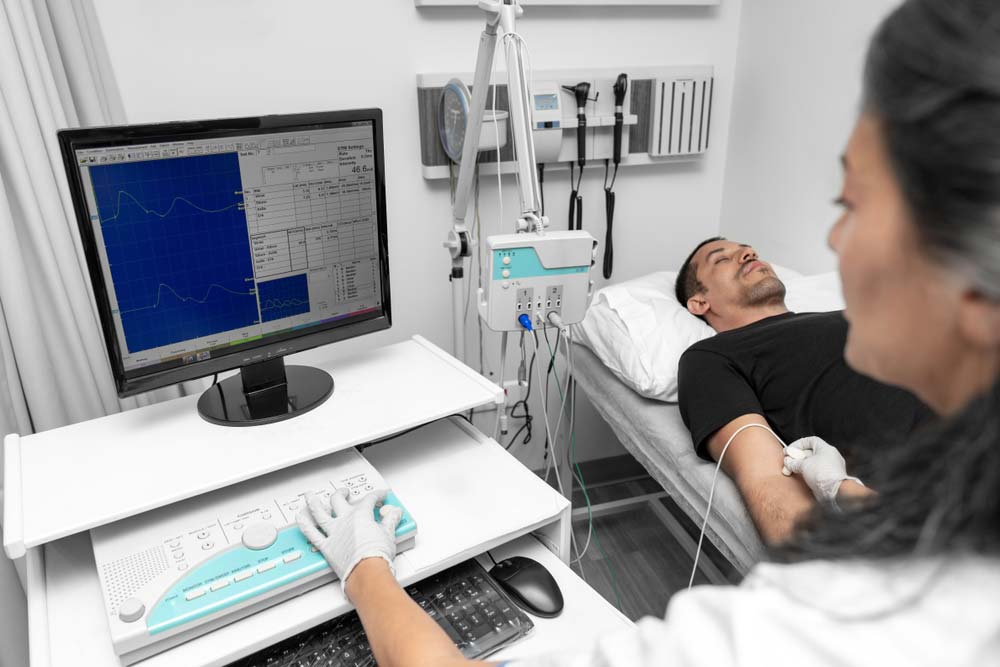
EMG Sensor Arduino Tutorial

Electromyogram nerve conduction study
A common problem with EMG devices currently available is their exorbitant cost, significant response time, less amplitude sensitivity, and noise susceptibility.
The following EMG sensor tutorial will allow you to connect
Arduino with the MyoWare Muscle Sensor to create your electromyography device.
Required materials
- Arduino board - Arduino Nano
- EMG sensor - MyoWare Muscle Sensor Kit
- OLED Display - 0.96" 12C OLED Display
- Power supply unit- 5V DC Supply
- Connecting wires - Jumper Wires
- Breadboard
Step 1: Preparing the surface
Start by using soap or a skin cleanser to gently clean and sanitize the area or contact skin you plan to place the MyoWare muscle sensor.
Step 2: Snap electrodes in place
Connect the electrodes to the sensor's snap connectors.
Step 3: Expose the adhesive
To expose the adhesive, you'll need to remove the film on the backs of the electrolytes and then place them on the skin or forearm muscle.
Step 4: Sensor placement
Place a sensor or EMG detector on the muscle during the testing phase.
The sensor should be placed so that one of the connection electrodes is positioned in the middle area of the power.
It's recommended that you line up the other electrode with the direction of the muscle extent.
Step 5: Reference electrode placement

Electromyography testing while exercising in a critical position
This step includes placing the reference electrode on a thin or angular part of the muscle.
It should be near the targeted active power or at a known distance from the recording electrode.
Step 6: Connecting to the Arduino board
Arduino electronic elements
There are one of two ways to connect the implanted electrode connectors.
The first way is to connect the electrode connectors to the muscles directly, and the alternative method is to utilize the cable shield now in conjunction with the cable connectors.
The supplementary shield contains a long electrode cable, making placing the Electromyography sensor far from the computer easy and convenient.
Step 7: Testing the sensor
Once you've uploaded the code, you may begin evaluating the sensor and monitoring the value.
Stretch your forearm muscle out to examine the sensor and create muscular contractions, then relax your muscle.
Ultimately, these muscular contractions generate a potential analog difference observed on the serial display monitor in real time.
After that, the input EMG channel extracts the EMG signals and feeds them into the self-recovery module in real time.
Upload the following code to Arduino.

Leading EMG Sensor Solutions
If you are not a technical DIY person, building the Arduino project can be tricky. The alternative is to buy a complete EMG system, which will be costly, but you can use it straight out of the box. Some of the leading options in the market come from these manufacturers.
Delsys
Delsys is a wearable sensor manufacturer for movement sciences, and some of their devices can stream 32 channels of EMG wirelessly. The company’s products are trusted by research labs, universities, and clinics across the US, which gives credibility to their innovative hardware and software.
Noraxon
Noraxon is an industry leader in human movement metrics and biomechanics solutions. Although their EMG hardware is impressive, Noraxon is more popular for its software because it is almost agnostic, which means wide compatibility.
A medical professional examining EMG data using software installed on a laptop
Shimmer
Shimmer manufactures wearable tech and sensors, including customized devices for medical, clinical, and neuroscientific research. The company also offers a free version of its software (ConsensysBASIC), available to all Shimmer hardware users.
MuscleLab
MuscleLab produces several sensors but has only one EMG sensor in its lineup. This device features a 1kHz sampling rate, two input channels, a bandwidth of 20-500Hz, 2GB internal memory, and an 8-hour battery life during continuous operation.
Cometa Systems
This Italian company is slowly emerging as a high-quality option for EMG solutions in clinical research and other health-related applications. Cometa offers free motion tools and EMG software, as well, which you can use to analyze and report EMG data.
Electromyography Sensor FAQs
What Signal is Detected by EMG?
EMG sensors detect the electrical activity in your muscle tissues when you contract them, and the test should be negative. This signal’s frequency varies depending on factors like neuromuscular disorders, muscle type, and activity level. Therefore, you can detect anomalies based on the electrical signal’s level.
A doctor analyzing EMG readings on a computer screen
What Does EMG Not Detect?
These sensors don’t detect radiculopathy and damage to purely sensory nerves. Some drugs that act on the nervous system (like muscle relaxants) can also throw the EMG sensor off, making it incapable of detection.
Are EMG Sensors Safe?
The surface type is safe to use. But you must be careful when handling the intramuscular type because piercing a needle through the muscles can cause tissue damage, allergic reactions, infections, pain, and discomfort.
Hygiene and sterility of the testing environment are critical to ensuring the process doesn’t cause complications, but you cannot avoid the pain and discomfort.
An EMG intramuscular electrode for medical examination
What is the Accuracy of the EMG Sensor?
The average success rate for several tests is 80-85%, but it can be as high as 99% in some instances. For instance, some tests on patients suffering from spastic diplegia have had a 99% accuracy.
In a Nutshell
Electromyography testing is in progress
Electromyography sensors are a diagnostic testing procedure that measures how well your muscles respond to the electrical signal emitted to specialized nerve cells, also known as motor neurons.
It's useful for muscle reinnervation, so doctors often order EMG tests if they suspect a patient or subject has symptoms of neurological or muscular conditions such as unexplained limb weakness or numbness in the muscles.
EMG sensors based on surface electrodes are a simple process with minimal discomfort.
Ultimately, the results from EMG sensors help prevent or treat muscle and nerve-related disorders.
If you have any questions, please get in touch with us.
Special Offer: Get $100 off your order!
Email [email protected] to get started!