Wondering how to remove a solder? Good question...
Circuit boards are the building blocks of any electronic device by providing a surface for attaching various electronic components.
However, in some instances, you may want to remove extra solder from the circuit board.
And this is what this article seeks to explore.
Fundamentally, it'll help you understand how to remove solder from a motherboard and other crucial information on the process.
What is Desoldering?
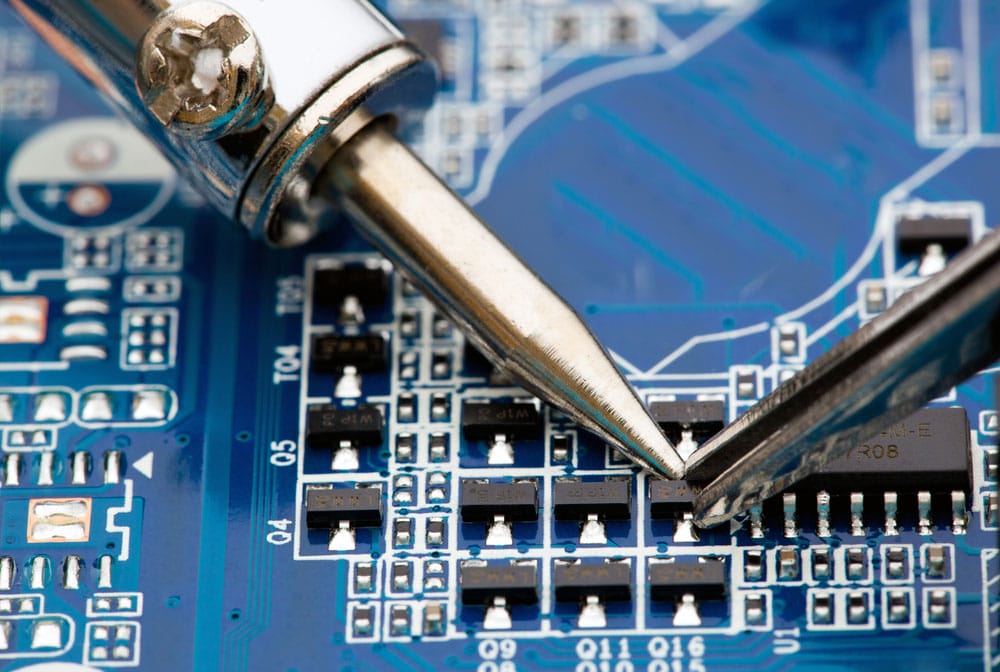
Electronics soldering
It is the procedure to remove molten solder and the attached electronic components from a circuit board.
The heat-intensive process aims to clear the solder joints from the circuit board.
What are the Tools Required for the Desoldering process?
A soldering iron is handy in the desoldering process.
The set of tools you require to remove residual solder from the base material includes the following:
- Desoldering bulb
- Removal alloys
- Desoldering braid or desoldering wick
- Desoldering pump
- Heated soldering tweezers
- Removal alloys
- Hot air guns or Heat Guns
- Picks and Tweezers
- Vacuum Pumps and Pressure Pumps
Methods to Remove Solder
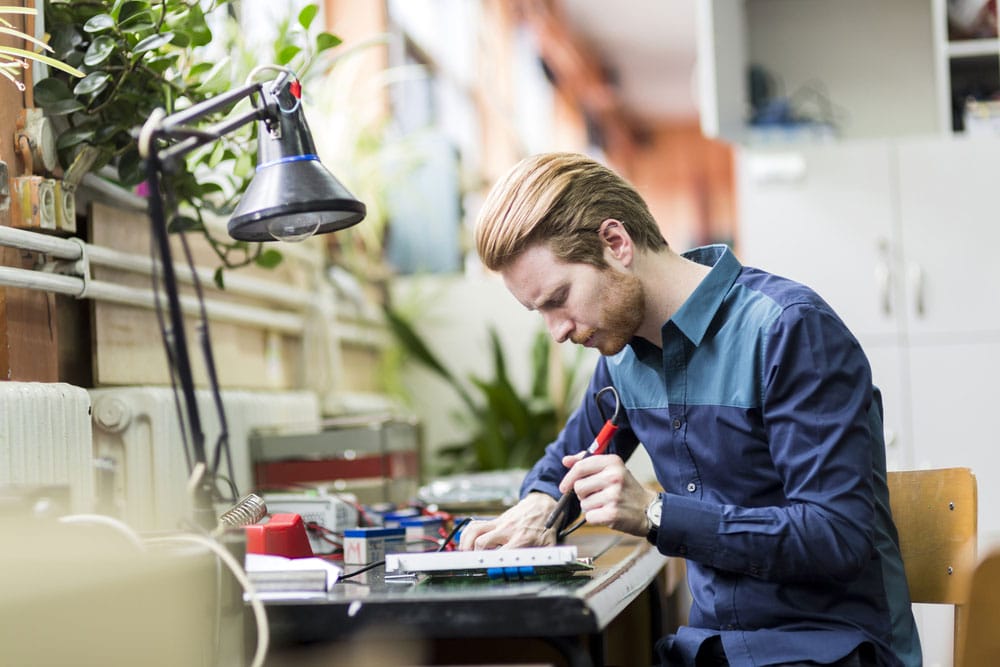
A man working with a soldering iron
We've listed the various basic desoldering techniques below.
-
Braid Method of Desoldering
The specific steps of this process are as follows:
Select the Braid Size.
It's imperative to be vigilant when selecting the desoldering braid size.
Primarily, you should use a desoldering braid similar to the solder joint you want to remove.
Still, it will be okay if you choose a braid that is a bit wider.
Use a Soldering Iron.
At this step, drill a hole in the solder joint you're removing to put the braid in the opening.
Next, place a soldering iron just above the hole.
The solder wick will absorb the heat and transmit it to the joint.
Choose a Quality Solder Braid at All Times.
You'll require to have a top-quality solder braid. Otherwise, it won't be effective in soaking heat.
Nonetheless, adding some flux can still improve the standard of a poor-quality braid.
In addition, you may also opt to add some more fresh solder to the joint if it doesn't have enough of it.
Change in Color.
After melting the solder joint, you'll oversee a color change (to tin color).
Remove the Soldering Iron, Plus Braid Them Together.
Next, after melting the molten solder, expel the soldering iron and braid by lifting them.
-
Pump Method of Desoldering
The technique involves using a desoldering pump or a solder sucker to remove minute quantities of melted solder after melting the joints.
You can also use the manual solder vacuum, given its efficient suction power.
Also, this method is the most prevalent means of desoldering without necessitating the use of soldering iron.
Here are its key steps:
- First, set the solder sucker spring
- Next, heat the soldering iron for about three minutes. Then, place the heated hot iron on the surface you want to remove. You must keep heating the iron until all the solder melts.
- Using the solder sucker, suck the melted solder from the surface.
- Next, cool the solder you've sucked in the above step and discard it in a trash bin.
-
Iron Method of Desoldering
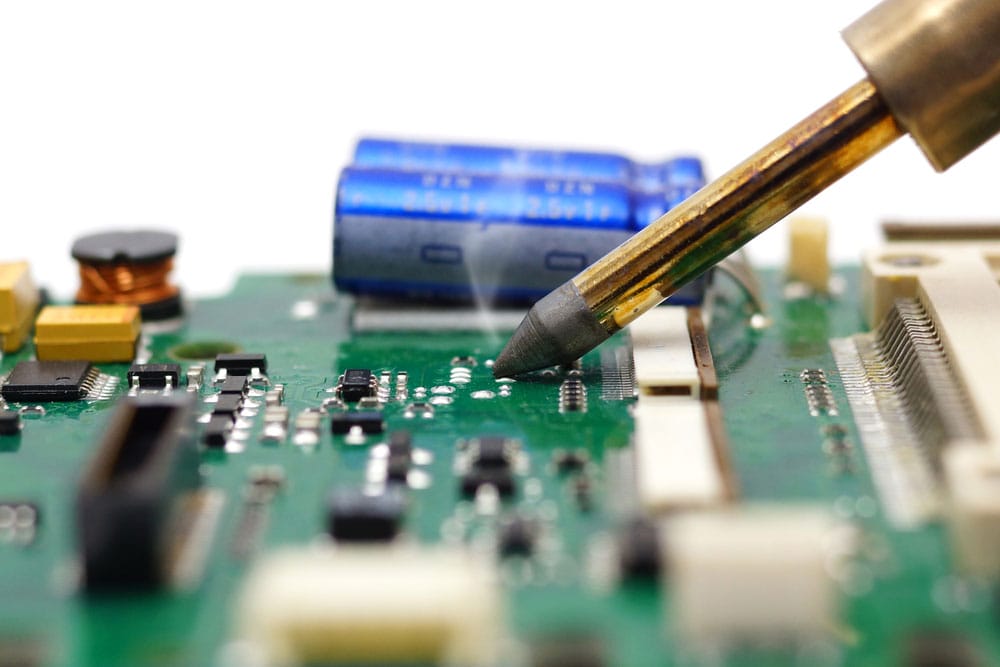
The desoldering process
It's a similar technique to the pump method, but the desoldering iron, in this case, features a built-in suction component.
Hence, to use it, place the preheated iron on the solder joint you're removing.
It'll melt the solder, and the solder pump will absorb it.
-
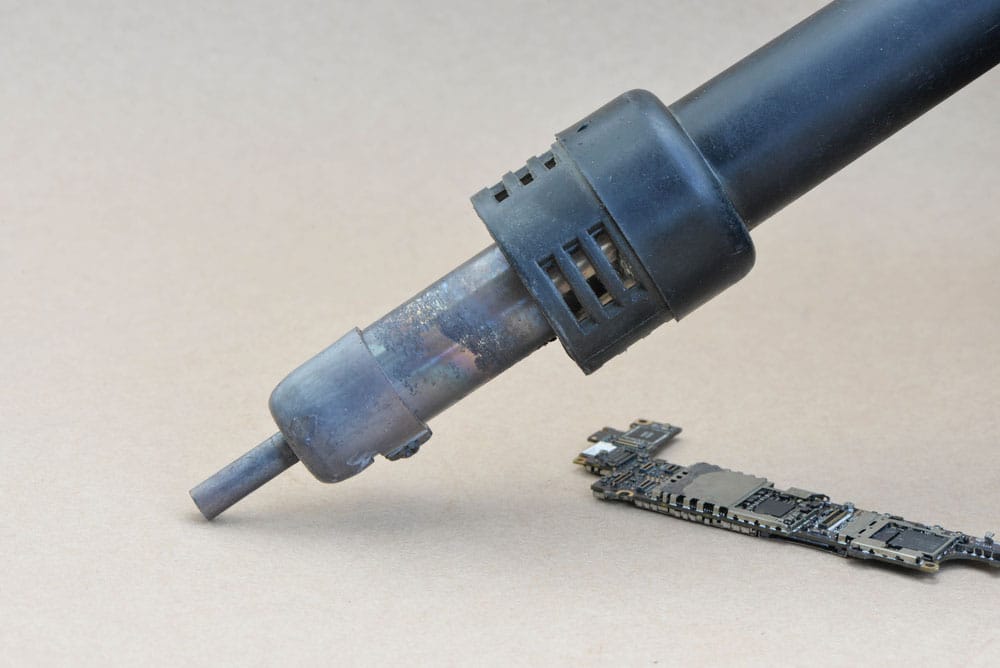
Heat Gun Desoldering Method
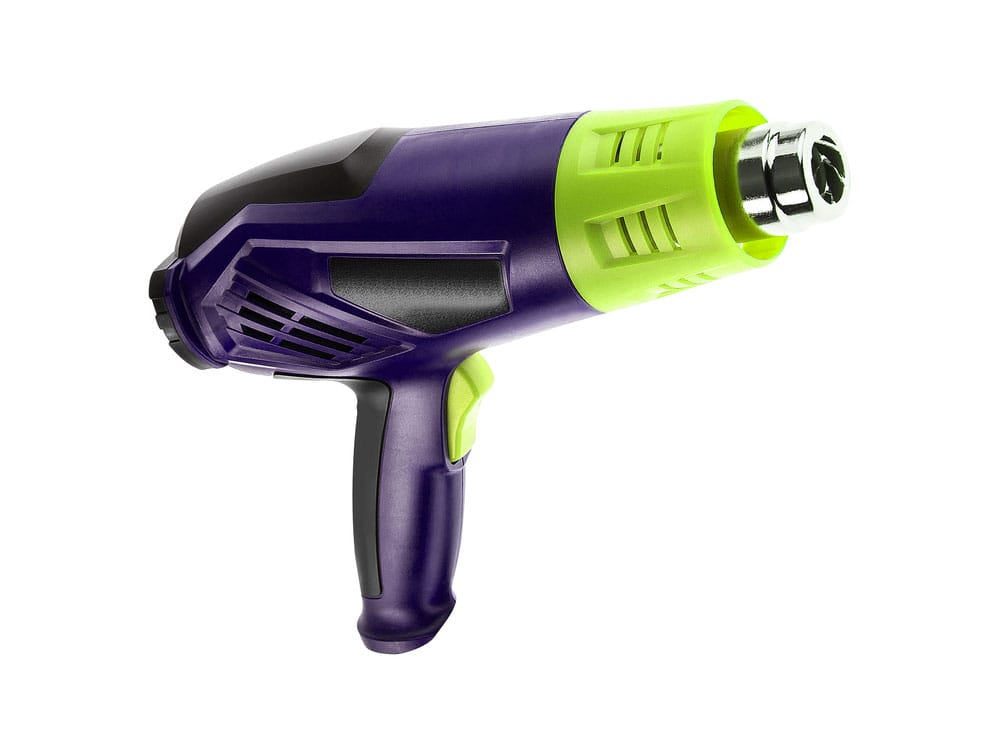
A heat gun
It involves the following steps:
- First, remove the PCB from its enclosure/casing.
- Next, using a heat gun, heat the surface. Also, remember to place the PCB on a flammable surface.
- After heating the solder, it turns shiny, which means it's melted. Now you can remove it using tweezers or any available picks.
-
Hot-Air Rework Station Desoldering Method
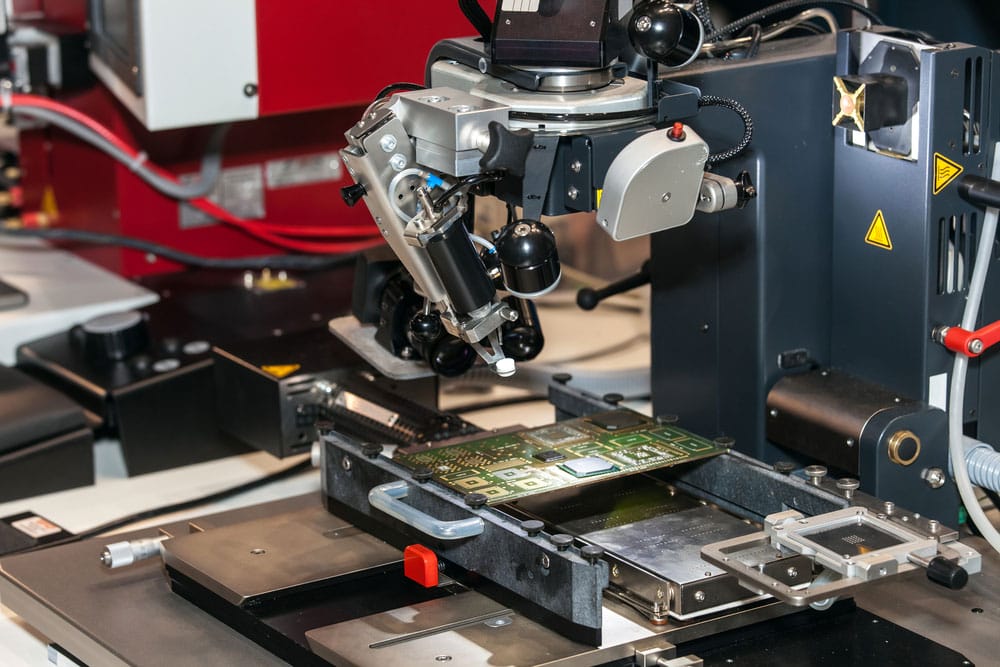
A High-density rework station
You'll need a hot-air rework station to remove solder via the following key steps:
- Choose the nozzle to use depending on the available components.
- Next, switch on the station to commence the healing process and aim its nozzle at the solder surfaces.
- Also, you may adjust the temperature and airflow to your liking using the designated knobs. Note that you need a temperature higher than the solder's melting point.
- Then, apply flux to the joint and aim the station's nozzle to the area you intend to desolder.
- Now using a pair of tweezers, pick the melted solder.
- Also, you need to allow the soldering station to cool by cooling it.
- Finally, if the PCB has some water-soluble solder left, wash it.
-
Compressed Air Desoldering Method
Hot air gun blower
You'll require three things for this process:
- Compressed air
- Iron
- Protection glasses
Unlike the techniques above, this one requires you to wear protective face gear as it's quite abrasive.
Then, heat the soldering iron and the solder joint you're removing.
Next, using compressed air, blow off the melted solder.
-
Desoldering Using Tweezers
Desoldering tweezers can be free-standing or under control by a soldering station.
The technique involves the following steps:
- Switch on the tweezers and set an ideal working temperature. Also, you may add excess solder or flux to the joint you're removing for effective contact.
- Allow the tweezers' hot iron probes in place to melt off the solder joint.
- Lastly, using the tip of the tweezers, remove the molten solder.
-
Desoldering With A Hot Plate
The hot plate technique will serve you best if you want to remove solder bridges. Here are the steps:
- Apply solder paste to the PCB using a syringe. Then, correctly put a chip on the paste and place the board on a metal surface. Next, place it on the hot plate preheated to the right temperatures.
- The melting will create solder bridges which you can now remove using iron and desoldering braid.
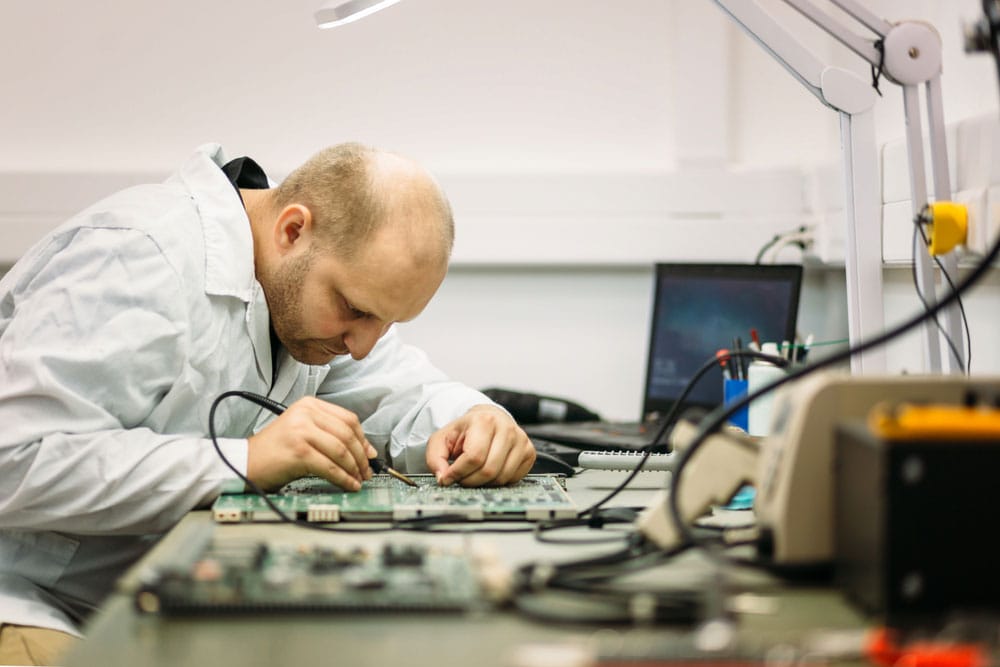
How To Remove Solder From Circuit Boards?
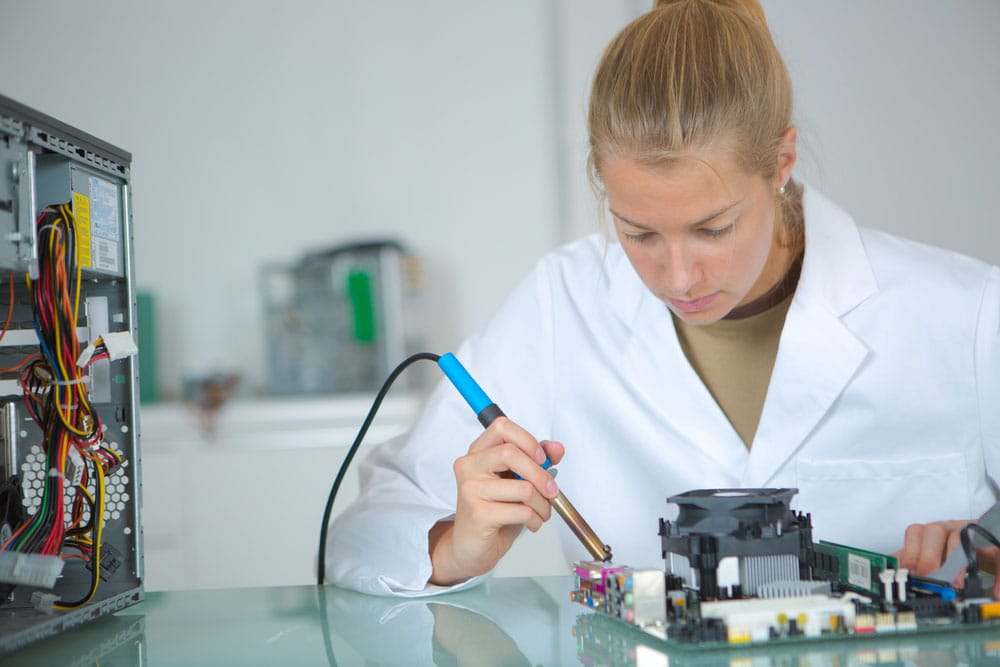
A girl working on a circuit board with a soldering iron
The four major techniques to remove solder from circuit boards include the following:
-
Grinding and Scraping
The two techniques are time-consuming but are the best option for an individual without soldering experience.
-
Machining and Milling
It's a more precise technique than the above.
However, you must use a microscope to improve the levels of precision.
The technique needs someone with experience.
-
Chemical Stripping
The method requires the application of a chemical solvent to the board via a brush.
But, ensure you cover the circuit board with a protective material to prevent damage by the solvent.
Note that the method is primarily essential in removing solder from copper plates.
-
Micro Blasting
It is handy in removing solder from a large surface area.
Using a pencil-shaped tool, blast an abrasive material on the surface area you intend to desolder.
Removing Solder from Circuit Board Holes
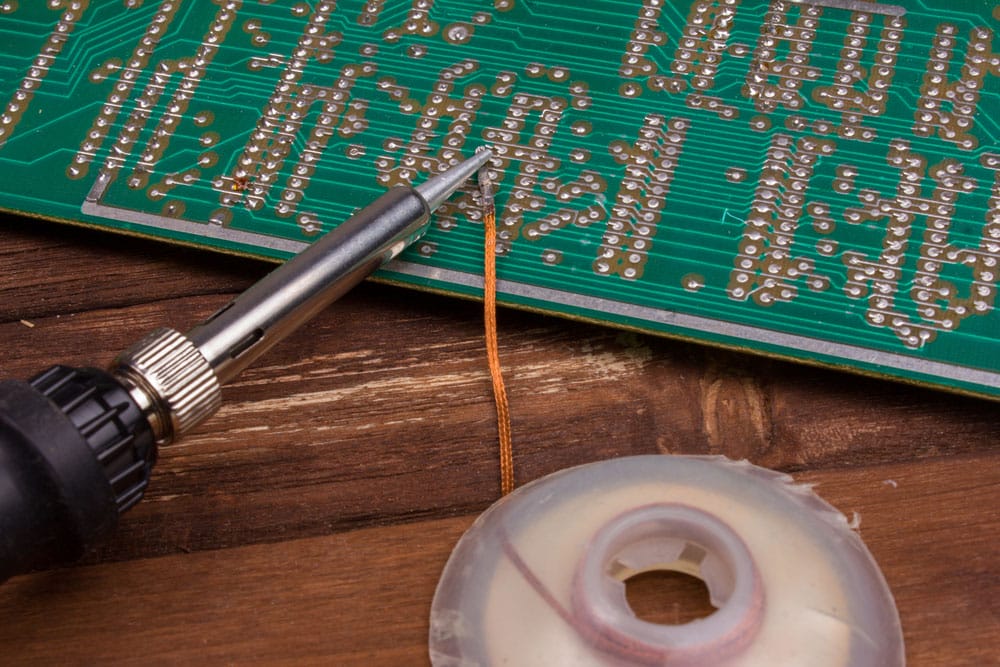
A solder wick and soldering iron
You need to employ special techniques to expel solder from circuit board holes.
These methods include the following:
- Desoldering Pump or Bulb
- Drill
- Desoldering Wick
- Using a desoldering braid and a Desoldering wick
Special Offer: Get $100 off your order!
Email sales@ourpcb.net to get started!
How To Remove Solder Without Wick?
While the above techniques are handy in removing solder from PCB, they are not the only ones.
Once you remove the copper wires and the other component from the PCB, you can bypass using an actual wick.
You can use anything absorbing molten solder, such as CAT5 Ethernet cabling.
Alternatively, use a thin rod with good heat transmission properties.
Heat this rod on one side and place the other end on the PCB to melt it.
Also, consider using a rod that cannot fuse easily, as you may end up soldering it to the PCB.
The other alternatives include stainless steel and carbon pencil lead.
How To Remove Solder Without a Soldering Iron
You may lack a soldering iron, but this doesn't mean you cannot remove the solder.
You can substitute the soldering iron with any metal.
For this purpose, you'll need two screwdrivers with a propane torch.
First, preheat the iron-replacement screwdriver till it's red hot.
Next, place it on the joints to melt the solder joints.
Then, place the other cold screwdriver on the molten solder.
It will stick to it, and now you can remove it.
How To Remove Old Solder
Old solder will melt in the same manner as newly applied solder.
Hence, any of the above techniques will come in handy in removing old solder.
How To Remove Solder Flux
There's a chance some considerable amounts of flux will build up around the area during desoldering, and while it's harmless, you should remove it.
You can use distilled water or isopropyl alcohol to clean it.
Next, after applying the solvent, remove the flux by brushing it off with a stiff brush.
What are the Most Common Reasons to Desolder?
- Repair: Desoldering facilitates the replacement of faulty components during PCB repair without causing damage to the board. This precision is vital in restoring functionality to electronic devices, ensuring they operate as intended after maintenance.
- Rework: Desoldering is instrumental in correcting errors or making enhancements to PCBs post-production. It allows for modifications to circuitry or layout, enabling manufacturers to optimize board performance and meet specific design requirements effectively.
- Recycling: Desoldering contributes to the recycling of PCBs by reclaiming valuable solder materials. This sustainable practice reduces electronic waste, conserves resources, and minimizes environmental impact, aligning with efforts to promote eco-friendly manufacturing processes and circular economies.
What are Some Safety Precautions When Desoldering?
- Adequate Ventilation: Proper ventilation is crucial to disperse harmful fumes produced during soldering, preventing inhalation of toxic substances. Ventilation systems or working in well-ventilated areas significantly reduce health risks associated with soldering activities on PCBs.
- Protective Gear: Wearing appropriate protective gear such as gloves and safety goggles is essential to safeguard against burns and eye injuries caused by molten solder splatters. This gear provides a physical barrier, minimizing the risk of accidents during desoldering operations.
- Proper Training: Adequate training in handling soldering equipment is essential to mitigate the likelihood of accidents and injuries. Proper techniques and safety protocols ensure the safe execution of desoldering tasks on PCBs, reducing the risk of mishaps and promoting a secure working environment.
Summary
Removing solder from joints and PCB Holes is a simple process, as this article highlights.
We've discussed various simple techniques you can consider undertaking for a desoldering job.
Also, write to us if you have questions on desoldering, and we'll get back to you promptly.
Special Offer: Get $100 off your order!
Email sales@ourpcb.net to get started!