Even though soldering is a critical step in PCB assembly manufacturer processes, the process can lead to malfunctioning or unreliable circuits if you don't weld the joints correctly. A common occurrence is the cold solder joint, which can short or cause a discontinuity in the course. We will look at what this joint is, plus what causes it, how to fix it, and avoid it as you go along. Take a look!
Contents
- Ideal Solder Joint
- Common Solder Joint Issues
- Disturbed Joint
- Cold Joint
- Overheated Joint
- Insufficient Wetting
- Solder Starved
- Excess Solder
- Solder Bridges
- Webbing & Spatters
- Lifted Pads
- Untrimmed Leads
- Stray Solder Spatters
- What is a Cold Solder Joint?
- Types of Cold Solder Joints
- Cracked Solder Joint
- Dry Solder Joint
- Cold Solder Joint
- What Factors Could Cause a Cold Solder Joint?
- How To Detect and Test a Cold Solder Joint?
- Visual Checking
- Checking with a Multimeter
- How To Repair a Cold Solder Joint?
- Disturbed Cold Solder Joints
- Normal Cold Solder Joints
- Vital Soldering Practices To Implement
- Summary
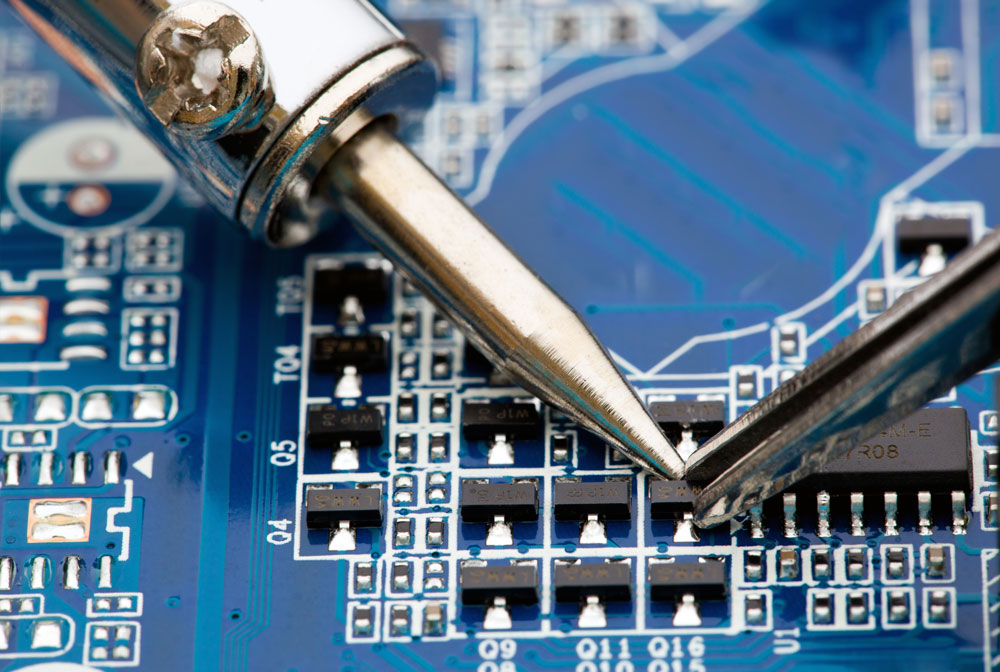
Ideal Solder Joint
The perfect solder joint for through-hole components should resemble a Hershey's Kiss. It means having a neat concave-shaped filet with a shiny, smooth exterior that points out 40° - 70° from the base. The base should have a complete wetting of solid solder.
To achieve this perfection, you need to heat the soldering iron to the peak temperature, usually about 15°C higher than the solder alloy's melting point. Maintain this melting temperature for at least 45 seconds, then begin soldering. Also, clean the oxidation layer above the pads to ensure metal-to-metal contact.
Ideal solder joints (note the shape)
Surface mount components go through a different soldering process (reflow), and since the pins don't stick out on the other side of the board, they won't form Hershey's Kiss.
Common Solder Joint Issues
There is no guarantee that you will get a proper solder joint because the following issues might occur.
Disturbed Joint
A disturbed joint is a weld that has undergone movement or vibrations before drying, and it may appear rough, frosted, or crystalline on the surface.
Cold Joint
This joint occurs due to incomplete or improper soldering. It is unreliable and can form cracks, but you can apply repairs by heating the joint using a hot iron to melt the solder.
Overheated Joint
Overheated joints occur when you crank the temperature too high on the hot iron. Apart from ruining the joint, this can damage the board, leading to costly repairs or replacements. You can try repairing the weld by carefully cleaning and scraping the surface using a knife or a toothbrush & isopropyl alcohol.
Insufficient Wetting
Insufficient wetting at the pad can occur due to a dirty circuit board or failure to heat the pin and base. When dealing with surface mount components, insufficient wetting happens when you heat the pin instead of the pad. It stops the solder from flowing onto the base. On the other hand, Inadequate pin wetting occurs when you don't heat the lead and don't give the solder enough time to flow. On the other hand, Inadequate pin wetting occurs when you don't heat the lead and don't give the solder enough time to flow.
Solder Starved
As the name suggests, a solder starved joint lacks enough solder. It is not a strong joint and can form cracks over time. You can rectify this problem by reheating and adding more solder.
A solder gun used to repair a solder joint,, and the attached electronic component..
Excess Solder
Too much solder is also not good because the blob of molten solder might not wet the pad or pin, and it does not create a reliable electrical connection. The ideal joint should form a concave shape, and you can rectify this problem by melting & drawing off the material using a hot iron.
Solder Bridges
Excess solder can spill over and make contact or form a bridge to the next joint, creating an unwanted connection. You can undo this problem using the same procedure as getting rid of excess solder.
Webbing & Spatters
If you use a small amount of flux when solderin
g, there's a high chance of the occurrence of spatter and webbing. Pollutants on the surface of the PCB can also lead to these issues, which can cause unwanted connections and short the circuit.
Lifted Pads
A lifted pad is a solder pad detached from the board, and it can tear easily from the copper trace surface. It usually occurs after extreme thermal or physical stress and is common in circuit boards with no through plating, thin copper traces, or both.
Untrimmed Leads
Long leads can bend and contact other adjacent leads or traces, creating short circuits.
Stray Solder Spatters
Held to the board by sticky flux residue, stray solder spatters can short the circuit board if they get loose. You can remove the pieces easily using tweezers or a knife.
What is a Cold Solder Joint?
A cold solder joint is an improper "weld" that forms due to various reasons when attaching an electronic component to a circuit board. The joint increases electrical resistance, reducing the reliability of the soldered part.
Special Offer: Get $100 off your order!
Email [email protected] to get started!
Types of Cold Solder Joints
Depending on the cause and behavior, there are three types of cold solder joint problems.
Cracked Solder Joint
A stressed solder joint can give in to form a crack, creating this failure. The gap can detach the pin from the board, creating incomplete circuits.
Movement or flipping can widen the crack if the board is in constant motion. It can also cause an on/off electrical contact between the board and component, resulting in random occasions of expected operation and failure.
This issue is common in electronics goods like CRT monitors when in transit because the vibrations can weaken the mechanical strength of the joints. Therefore, package cushioning is crucial for these devices.
Dry Solder Joint
A dry solder joint is a weld soldered using an insufficient quantity of solder. It can lead to an unreliable joint or an open circuit. As a result, the electronic circuit might experience high resistance, noise, or intermittent conductivity.
Cold Solder Joint
A cold joint is either one of the two above, and its unique characteristic is that it does not work. Therefore, if you are unsure if it is a dry or cracked joint but are sure it does not work, the most common issue is a cold joint.
That said, not all cracked or dry joints are cold joints. But a cold joint can be both cracked and dry.
What Factors Could Cause a Cold Solder Joint?
- Selective soldering frame
- Solder alloy contamination
- Mismatched components geometry
- Improper reflow, melting or wetting at the joints
- Inadequate heating leading to incomplete wetting
- Extremely high soldering temperature, causing premature flux breakdown
- Disturbances between the board and components before the molten solder cools and solidifies
How To Detect and Test a Cold Solder Joint?
There are two ways to do this.
Visual Checking
Since circuit boards and joints are getting smaller, you need a spotlight and magnifying lens to do the visual checking. Start by checking the color of the joint, which should be dull if dry.
Next, inspect the joint's shape. If deformed and lacking a concave shape, most likely, the weld did not melt sufficiently due to a low soldering temperature.
The third check requires the spotlight and magnifying lens. Shine the torch on the joint and use the lens to see if any light passes. If it does, you have a cold-soldered joint.
Lastly, tilt the circuit board and check for overspills or detachments from the base, which indicate a cold joint.
Checking with a Multimeter
A multimeter helps to test the continuity or resistance across the joint. Use the following steps to do the tests.
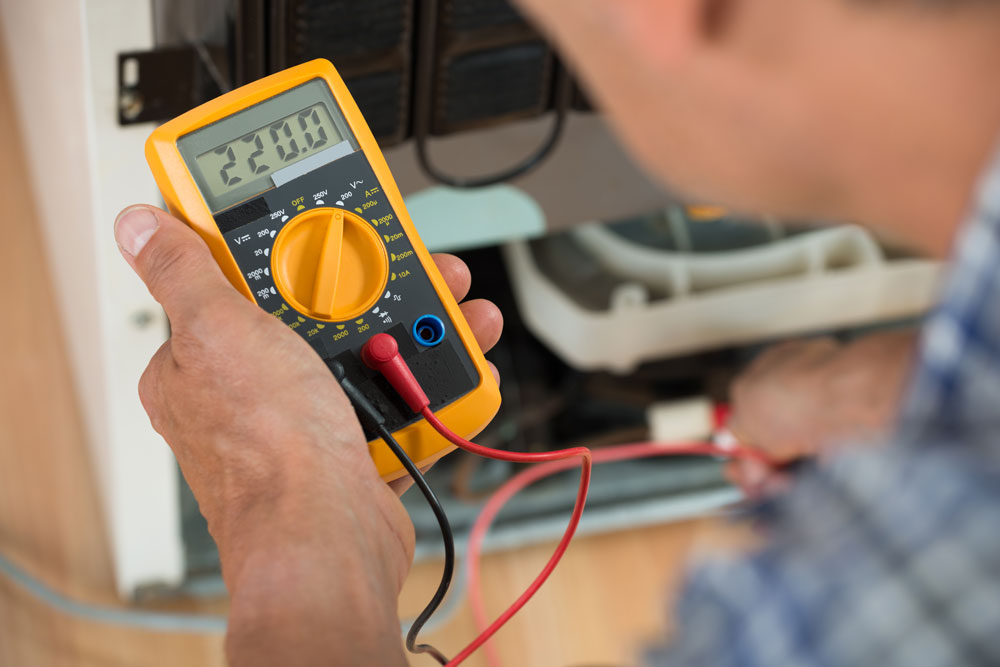
A digital multimeter
Resistance
Set the multimeter to 1000 on resistance mode, then connect the testing probe to check if the device is functioning correctly. The resistance should be zero.
Once you get everything set up, connect one probe to the joint and the other probe to a different component. If the part is not a resistor, you should get a zero reading. If not a resistor and the resistance is above zero, most likely you have a cold solder joint.
Continuity
Continuity testing checks if there is a continuous current flow from one probe to the other. A cold solder joint will break the flow. Adjust the multimeter to continuity mode, then test it by connecting the probes. You should get a beep sound.
Connect the terminals to either end of the solder joint, and if you don't get a beep, you have a solder joint failure.
How To Repair a Cold Solder Joint?
Since disturbed and normal cold solder joints are the most common cold joints, here's how to repair them.
Disturbed Cold Solder Joints
This issue usually happens if there are movements or vibrations before the solder dries and solidifies. Therefore, the solution is to stabilize the board after soldering.
You can repair such a joint by reheating the solder and leaving it to cool undisturbed. Try stabilizing the board on a vise or a securely-fixed table to prevent vibrations.
Normal Cold Solder Joints
Consider using a soldering station with easy temperature regulation. Consider using a soldering station with easy temperature regulation. The common causes of this fault are a contaminated soldering tip, lack of adequate heat on the soldering iron, or both. Therefore, you should clean the soldering head first, then heat it to the recommended temperature before soldering.
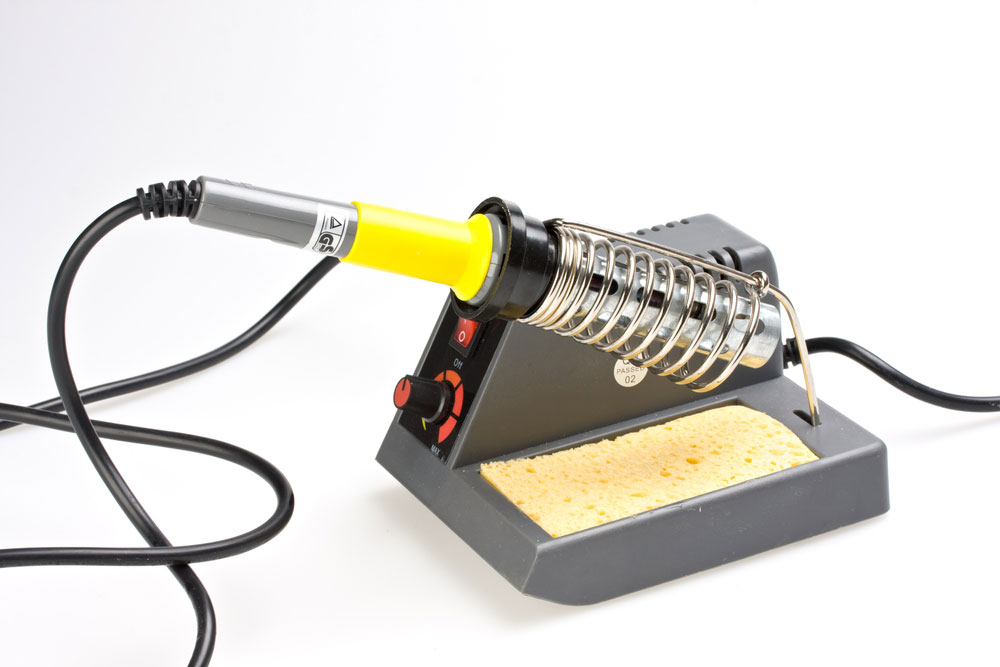
A soldering station
Once you attain the recommended temperature, reheat the joint and mount the component. If your hot iron cools quickly, use the SN96 lead-free solder alloy because it has a lower melting point and a plastic-like transition time.
Vital Soldering Practices To Implement
Although cold joints are impossible to avoid, you can minimize their occurrence by using the following practices.
- Buy the right equipment (high quality soldering iron and alloy)
- Invest in a soldering gun that heats quickly

A soldering gun
- Use a small but adequate amount of solder alloy
- Let the hot iron warm up to at least 15°C higher than the alloy's melting point for 45 seconds minimum.
- Work on a stable desk or vise when soldering.
- Give the joint sufficient cooling and solidification time
- Use a lead-free soldering wire for smooth soldering
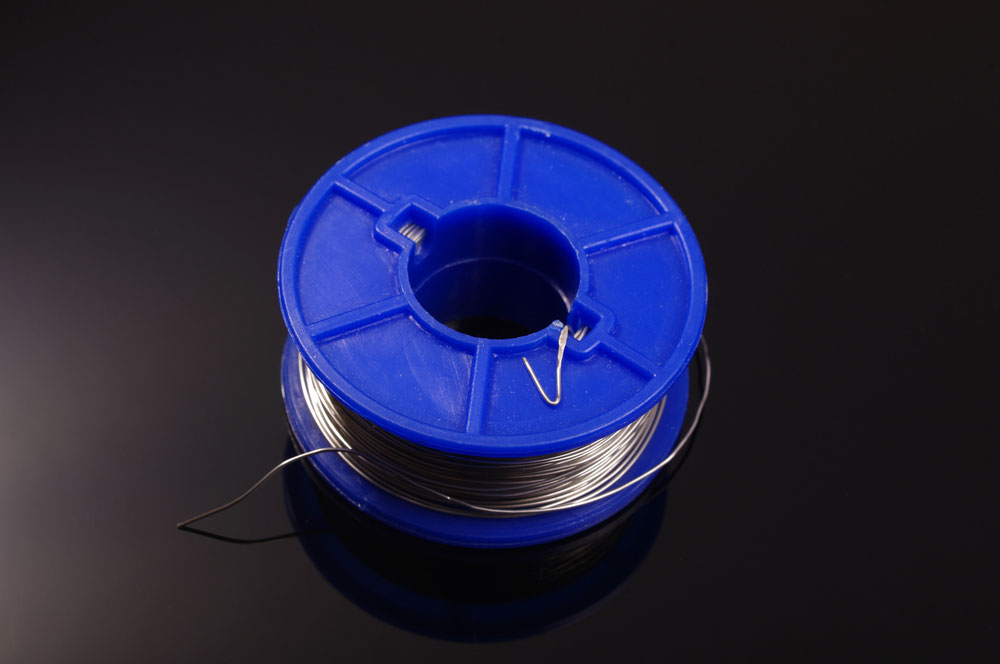
A spool of lead-free soldering wire
- Follow the manufacturer instructions for reflow soldering
- After use, store the iron and alloy away from moisture, dust, and dirt to avoid contamination
Summary
In conclusion, soldering is a critical step in assembling electronic components on a circuit board. But it is easy to mess up the process, resulting in cold solder joints. Therefore, you need to implement the best practices above, then test after assembly to check for any faults. If there are cold joints, repair them using the steps explained above.
We follow strict standards and procedures when soldering to ensure you get a fault-free circuit board for your project. Contact us for more details or if you need further clarification about how to deal with cold solder joints.
Special Offer: Get $100 off your order!
Email [email protected] to get started!