Have you ever wanted to build your very own spark generator? Sure, it’s easy to get one from your local hardware store. But there’s something special about making one with your own two hands. Lucky for you, it’s not as tricky with PCB assembly. In today’s article, we’ll walk you through everything you need to know to build a DIY spark generator from scratch successfully.
Let’s spark your interest in a DIY spark generator.
Contents
- What Is A Spark Generator?
- How Does A Spark Generator Work?
- How To Make A Simple Battery-Powered Spark Generator
- Step One: Set Up Your Transformer
- Step Two: Add Your Resistors
- Step Three: Position Your Diodes And Capacitors
- Step Four: Switch And Batteries
- Step Five: Add Your Coils
- Step Six: Power Up And Enjoy
- Applications
- Summary
What Is A Spark Generator?
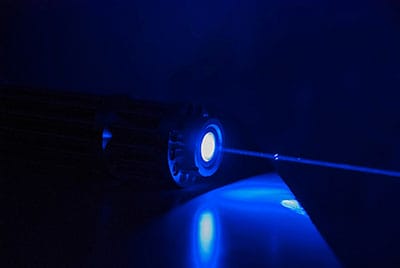
A spark generator creates a spark through the use of a spark plug wire, an electric ignition ground, and a ground plate, and you can use these handy devices in a variety of applications.
More commonly used to ignite gas burners, a homemade generator, Marx generator, or Tesla coil creates fantastic light shows in plasma balls. You can also use them to demonstrate how bug zappers work simply.

Plasma balls use complex spark generators
Special Offer: Get $100 off your order!
Email [email protected] to get started!
How Does A Spark Generator Work?
Spark generators rely on a closed-circuit model that is completed when you activate a switch. Usually, this means you need to turn a knob or press a button so that electricity from your power supply flows through the wires.

Sparks ignite when you turn the control to activate your spark generator.
When this happens, a single spark - multiple if you’re using a Tesla Coil or Marx generator, appears in the spark gap between the electrode rod and grounding plate.
The spark is a result of the rod interacting with gas floating around the immediate spark gap.
How To Make A Simple Battery-Powered Spark Generator
Now that we’ve answered your questions about spark generators, it’s time you get started on building a DIY spark generator.
To get started, you’ll need to get the following:
- 105J film capacitor
- Output voltage 12V/220V, 3A SM transformer
- BC547, NPN transistors
- Three 47pf
- 1 meter enameled copper wire
- Toggle switch
- Two 1k resistors
- 3 1N4007 Diodes
- 4V DC battery with clips
- 45W-65W soldering iron
- Soldering wire with flux
- Jumper wires as needed
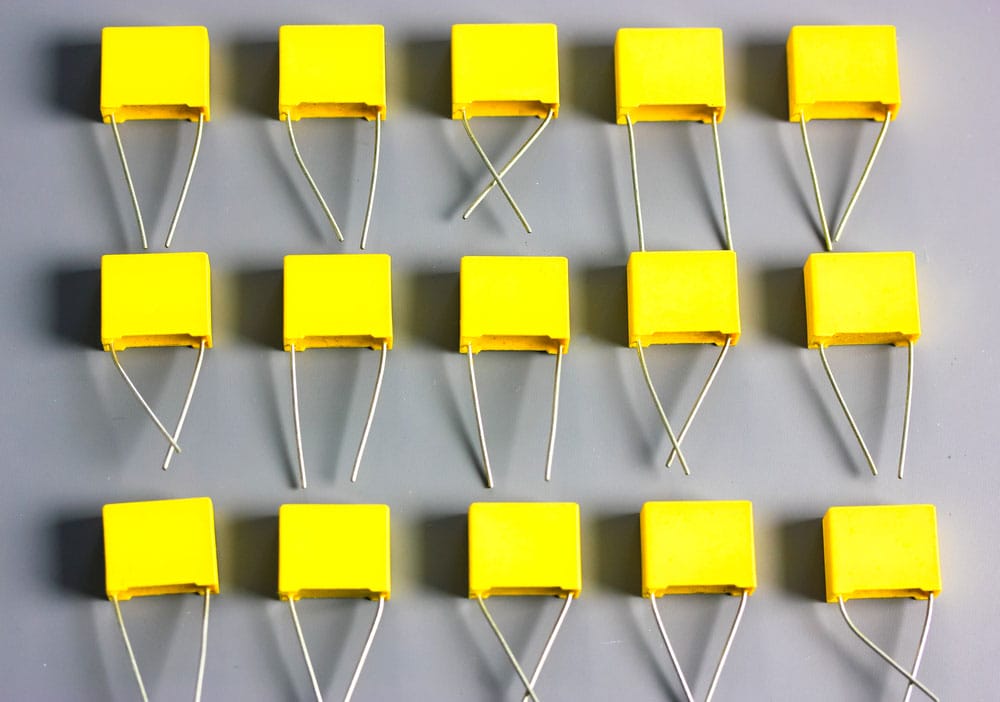
Capacitors
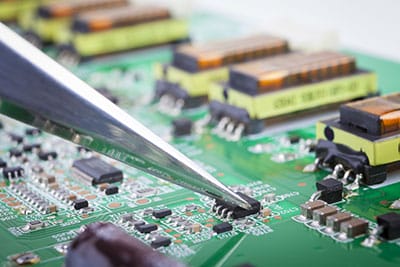
When you have all your materials laid out, organized, and ready, it’s time to get started on building a simple electric start generator right from the comfort of your home.
Pls add a circuit diagram
Step One: Set Up Your Transformer
The first thing is to solder your SM transformer securely onto a Veroboard or stripboard. Make sure you do so near one edge of your board to make it easier to control and manipulate your arc generator.
Next, you need to solder the base and BC547 transistor collector terminal to your transformer’s primary terminals. Ensure your transistor collector is connected to the right terminals - otherwise, your project may not work.
Step Two: Add Your Resistors
It’s now time to load in your 1K resistors. Remember to solder them securely in place.
Step Three: Position Your Diodes And Capacitors
After soldering the resistors, you can solder the diodes and capacitors on the board. Make sure you place them in neat lines of three, side by side. After that, you need to solder your film capacitor underneath your diode and capacitor sequence.
And finally, solder your LED near the top left portion of your transformer.
Step Four: Switch And Batteries
Now, it’s time to solder your toggle switch and battery to the Veroboard.
Step Five: Add Your Coils
Now comes the most challenging part: coil your enameled copper wire so that their ends point towards each other. The ends should be close enough to look like they’re almost touching.
After that, it’s time to solder the coils onto your Veroboard.
Step Six: Power Up And Enjoy
After everything’s done and soldered in place, it’s time to power up your DIY spark generator and test it. If you’ve done it right, the circuit should get completed without any issues, and you’ll see a spark from in between your coils.
Applications
- Science projects and entertainment
- Bug zappers and electric pest control devices
- Gas burner ignition
- Plasma globes
- Light shows
- Tasers
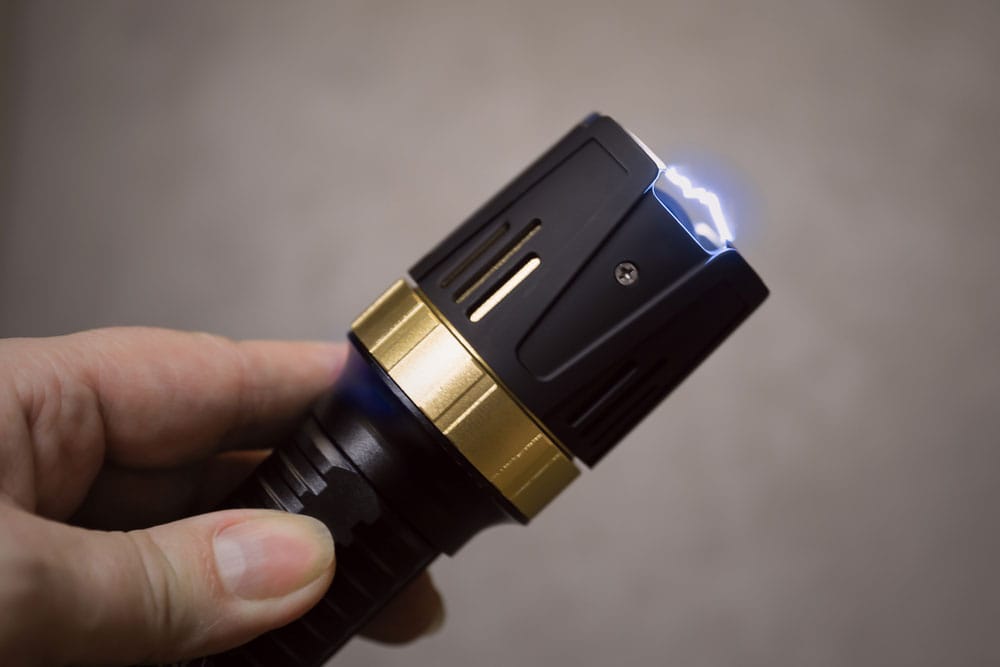
Tasers are one of the most common and obvious displays of arc generators.
Summary
So there you have it - how you can build a DIY spark generator at home in six easy steps. This project is excellent for creating a miniature rendition of a simple Tesla coil or helping beginners understand how an arc generator circuit works.
While it may look complex, it’s essential to keep in mind that being prepared, understanding what you’re doing, and having a sharp eye for detail will help you create simple and even complex spark generators in no time.
Special Offer: Get $100 off your order!
Email [email protected] to get started!