Everyone grew up listening to the radio. It has been an excellent way of getting the latest information worldwide. During the broadcasts, radio stations send signals to your radio set. They pass through a modulation process to transform these signals into meaningful sounds. Usually, a carrier signal is necessary because radio signals have a low frequency. The carrier signal, which has a constant waveform, helps modulate the radio signal sent. Subsequently, we discuss all you need to know about building a simple FM Radio using a homemade FM Transmitter Circuit.
Contents
1. What Is FM Radio?
FM stands for Frequency Modulation. It uses modulated waves to change the frequency of a carrier wave. Next, the carrier wave encodes sound and carries meaningful information to listeners.
On the other hand, an FM Radio is a radio broadcasting system that uses Frequency Modulation to transmit radio waves. This FM broadcasting system helps in converting waves into meaningful information. Furthermore, it blocks out interference and distracting sounds during transmission.
FM has various audio transmissions, music, and audio signal reproduction to increase broadcast accuracy.
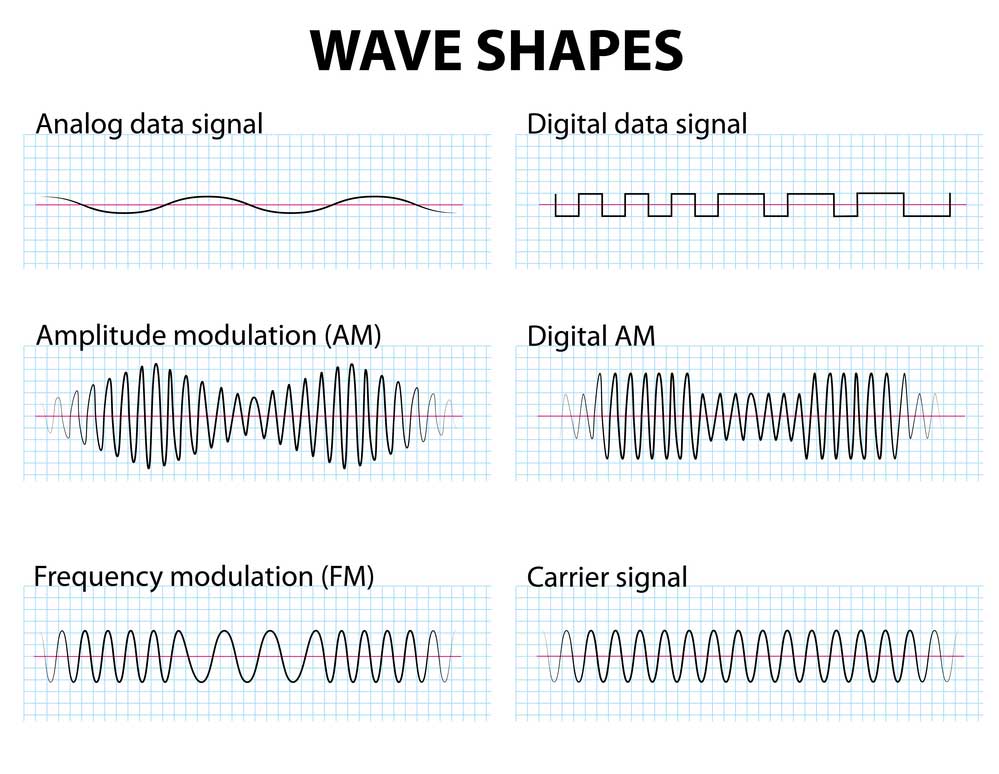
( Image showing the different wave shapes)
Special Offer: Get $100 off your order!
Email sales@ourpcb.net to get started!
2. FM Frequency Range
FM uses a frequency range between 88-108 MHz in most cases. However, radio stations use center frequencies at 200 kHz, beginning with 88.1 MHz, for up to 100 stations.
The bandwidth of each FM radio station is enough to carry and transmit clear and accurate sounds. This way, they produce better quality broadcasts than other broadcasting technologies.

(Fm radio use Transmitters to transfer information over a fixed range)
3. WORKING PRINCIPLE OF SIMPLE FM RADIO
The simple circuit transmits signals into the airwaves. Then an FM circuit receives these signals and reproduces the signals into meaningful sounds in a loudspeaker. One of the circuit principles is to adjust it to the relative frequency using the tank circuit. Some other working principles of Simple FM Radio are as follows:
1. Signals:
One principle that guides the functioning of the simple FM Radio is the picking of signals. For an FM Radio to transmit information from the radio station to your radio set, its antenna picks signals from the back and front of an antenna.
And the quality of the signal reception depends on the direct signal from the FM transmitter.
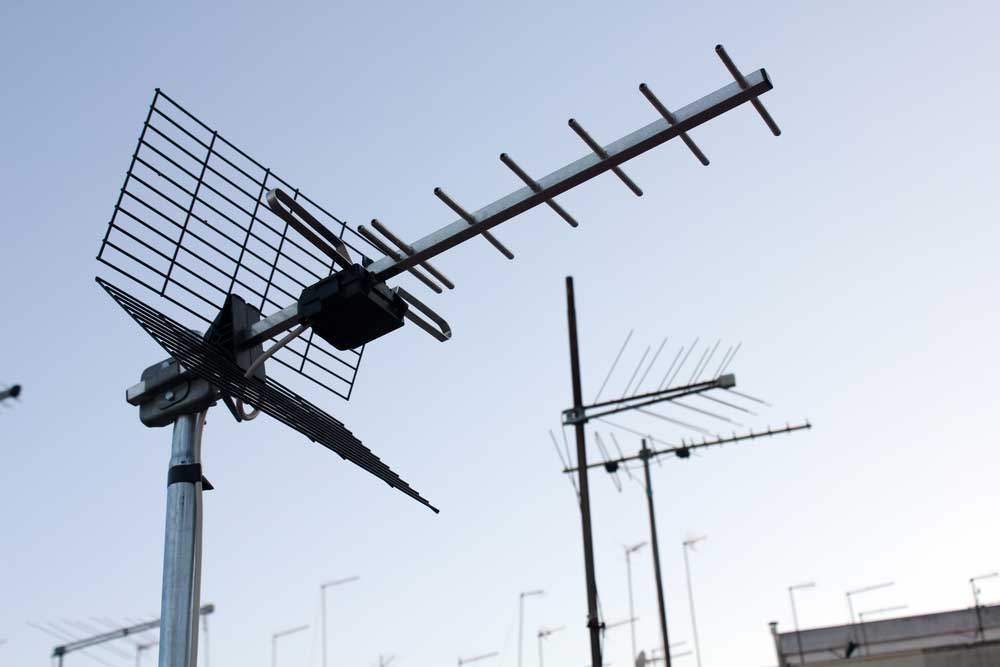
(Antenna receives signals from satellites)
2. Transmission:
Transmission starts at the radio station. Radio broadcasting stations use antennas to send out their broadcast signal. These broadcast signals then contact a carrier wave, causing an electromagnetic carrier wave.
Subsequently, the electromagnetic carrier wave is accessed by your radio antenna through the radio station number. This process makes it possible to move information from radio stations to you at home.
3. Perception:
For the principle of perception, the radio antenna picks up the electromagnetic carrier waves, which are transmitted.
Afterward, the frequency waves push the electrical charges from the electromagnetic waves into the antenna. And this push is to help your radio set decode the broadcasted message through the radio's speaker.
4. Processing and hearing:
Sending a broadcast from the radio station to the listeners is fast. And it is so because electricity is swift and works instantaneously.
5. Loss of signal:
Remember when you were listening to your favorite Radio station and suddenly stopped hearing them? What happened at that point was that your radio lost signal.
Therefore, such occurrence means that there are tendencies for your radio to lose signal while you are listening to a radio broadcast. And this is due to the short wavelength of FM Radio.
Also, signal loss is affected by things such as mountains, hills, etc.
4. How To Build A Simple FM Radio
In this section, we discuss how to build your simple FM radio. Now, some components are required when making a simple FM Radio, and they are as follows:
- LM386.
- 10kΩ Resistor
- 1.2kΩ Resistor
- 4.7kΩ Resistor
- Variable capacitor (1-30pF)
- 2x BF199 Transistor
- 25kΩ Potentiometer.
- 2x 100nF Capacitor
- 10µF Capacitor
- 470µF Capacitor
- 4Ω Speaker
- DC jack
- On/off Switch
- Antenna
- 2x Machine screws
- 2x Machine screw nuts
- Pre-drilled PCB.
- Enameled Copper Wire.
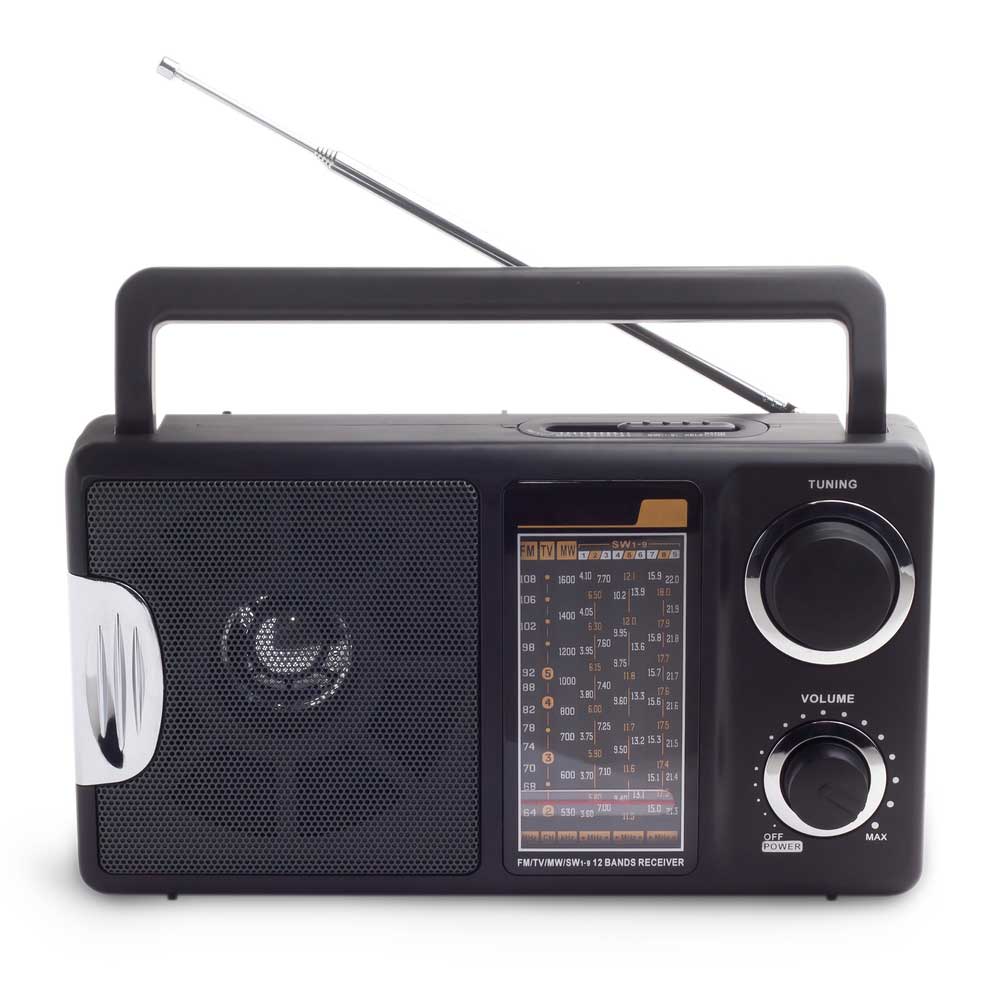
(Image of a vintage black radio)
To proceed, follow the steps below to build your FM Radio.
- First, make your coil using an enamel copper wire and a 4-millimeter drill. The diameter of the ring should be about 5.3 millimeters.
Then build your FM Transmitter circuit by soldering the LM386, 10kΩ Variable Resistor, 1.2kΩ Resistor, 4.7kΩ Resistor, 2x BF199 Transistor, 25kΩ Potentiometer, 10µF Capacitor, and 470µF Capacitor on the Pre-drilled PCB.
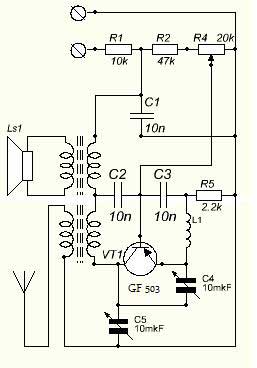
(FM Radio Receiver Schematics)
- Afterward, get a small open case to place the radio components after connecting them.
- Then, drill holes in the open case to help you screw in the components as you put them inside the case.
- Afterward, place the speaker inside the case. Then, insert the machine screw in the drilled hole connecting it to the speaker to hold the speaker firmly inside the case.
- Attach the battery, switch, DC Jack, audio power amplifier, and the FM Transmitter circuit you made in step 1. After coupling these components, you can test the functionality with a multimeter.
- After testing the functionality of the components stated in step 5, you tape the battery with the amplifier and FM Transmitter circuit. Taping them is essential to keep them from disintegrating.
- Now, put the battery and the other attached components into the case, and stick them into the container with glue. Then connect the DC jack and switch to the container, making the wires easily accessible.
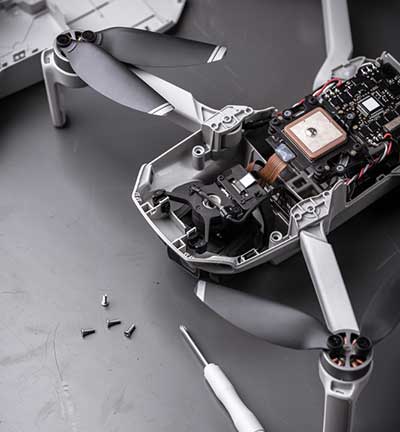
- Afterward, solder meters from the amplifier and FM Transmitter circuit, then attach them to the case, using screws, through the drilled holes.

(Soldering various components onto your PCB)
- Solder the variable capacitor to the FM Transmitter circuit and the amplifier to the speaker. Then, connect the FM Transmitter circuit to the antenna, and glue them to the case.
- Finally, close it up and test.
CONCLUSION
Creating your simple FM radio promises to be a rewarding experience. However, if you follow the process stated above, you will get a good functioning portable radio. Nevertheless, note different approaches to building them, both primary and complex designs.
Let us know your experience, and contact us here if you require further assistance.
Special Offer: Get $100 off your order!
Email sales@ourpcb.net to get started!