Raspberry Pi 4 single-board computers are some of the best in the market, but their processors (ARM Cortex-A72) come with a low default clock speed of 1.5 GHz.
Previous Raspberry Pi 4 could go up to 2.147 GHz. But newer models like the Compute Module 4 and Pi 4 8 GB can hit a max clock speed of 2.3 GHz.
So don't leave any MHz behind to get the best performance boost with these units.
We have listed the steps to follow to overclock your Pi computer below.
Read on to learn more!
Contents
Special Offer: Get $100 off your order!
Email [email protected] to get started!
Why Overclock the Raspberry Pi 4?
Desktop
Unlike Arduino, a Raspberry Pi single-board computer is a complete minicomputer that can run operating systems.
So you can use the Pi 4 as a desktop computer.
Overclocking it will boost its performance to run the OS and applications faster.
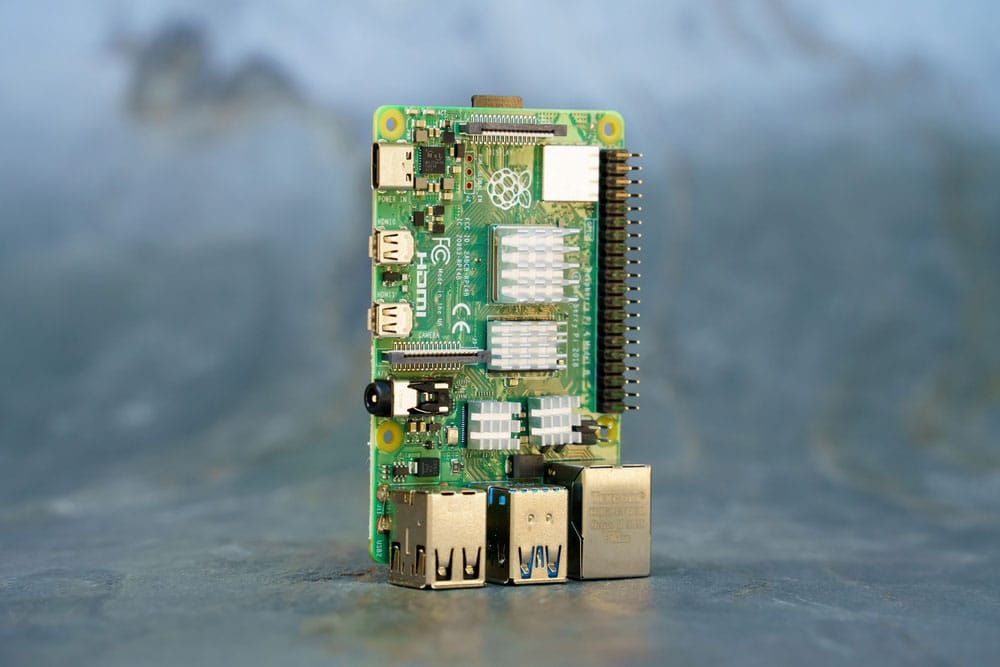
The Raspberry Pi 4 Model B
ExaGear
ExaGear is a virtual machine Android app that lets you run Windows applications on Android ARM devices.
Virtual machines require high processing power to run smoothly; a faster clock speed will help.
Retro Gaming Solution
The high overclocking speeds will enhance your retro gaming experience, especially if running Nintendo N64, Sony PS1, or Sega Dreamcast games on your retro gaming solution.

The user interface of a retro game
Kodi
A Pi 4 at maximum clock speed will not have any performance issues when video streaming using Kodi. Also, this max speed will help if you use a VPN.
Steps
Increasing the CPU clock speed will overheat the processor, so you need to begin this process by preparing the hardware.
Prepare the Hardware
A heat sink (passive cooling) is insufficient for evacuating the additional heat from the high overclocking speeds.
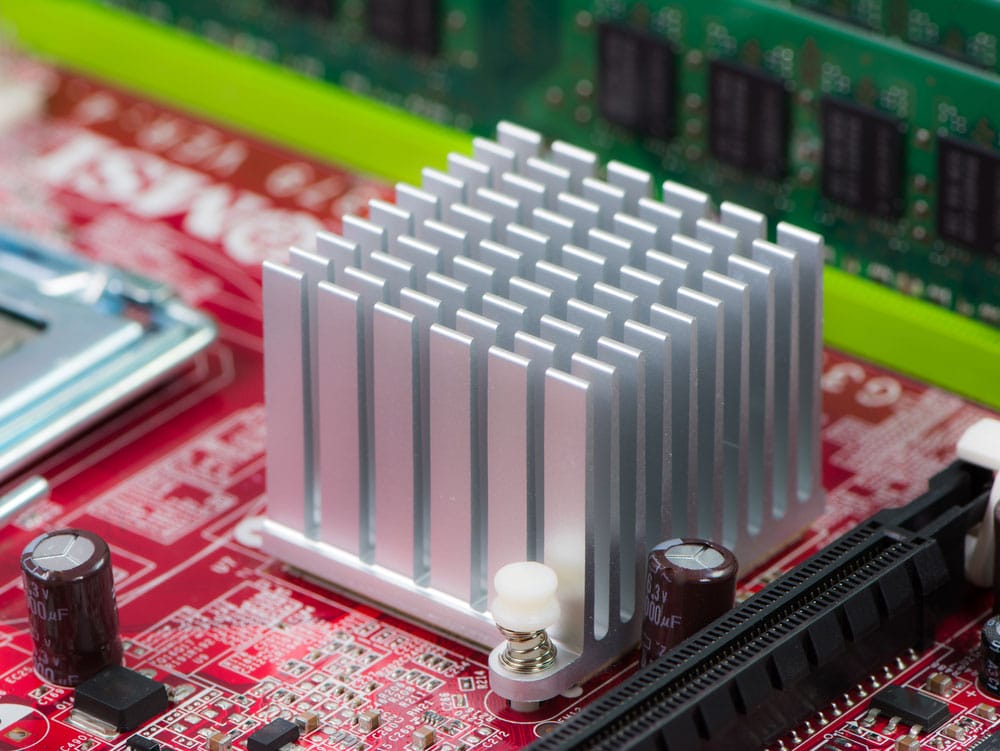
A heat sink on a computer motherboard
You must fit in an active cooling system, like an ice tower cooler, to keep the CPU temperature at around 40°C.
This cooling system can run directly from the 5V GPIO pins.
Image Flashing on Compute Module 4 Lite and Raspberry Pi 4
Compute module 4 does not have eMMC storage.
Therefore, you must flash the image with the Raspberry Pi Imager into a microSD card.
This process is similar to flashing a microSD card in other Raspberry Pi models and involves the following steps.
- Download and install the official Raspberry Pi Imager.
- Insert the microSD card into the reader and connect it to the computer.
- Click "Choose OS" and pick "Raspberry Pi OS (32-bit)
- Click "Choose Storage" and pick the connected microSD card.
A Raspberry Pi 4 in a white case
- Then, click the settings button on the bottom left section.
- Fill in the settings fields (set the hostname, enable SSH, use public key/password authentication, username & password, configure wireless LAN, wireless LAN country, and set locale settings).
- Click "Write"
- After setting up the microSD card, update the OS using the following commands.

- Also, update the firmware using this command.

Compute Module 4 Image Flashing (with eMMC Storage)
Compute Module 4 has 32 variants, but the two primary models are Compute Module 4 and its lite version described above.
The former features internal eMMC storage, but the latter requires an external microSD card.
So with Module 4, you must use another Raspberry Pi or a Linux computer to flash the OS.
Begin by downloading a Git repository, then follow these steps.
- Open the terminal and close the repository using this command.

- Change the directory to go into the download repository.

- Next, install the developer tool that enables USB access using scripts (libusb)

- After that, use the downloaded files to make a rpiboot application.

- Connect Module 4 to its IO board, hook up a micro USB cable to your Linux PC, and the other end to Module 4’s micro USB port.
A single-board computer is being configured.
- Install a jumper on pins J2 to disable the eMMC boot (use a female-to-female connector if you don't have a jumper).
- This step should prevent booting, enabling you to mount Module 4 like a USB drive on the Linux computer.
- Mount the module by running the rpiboot command

- The drive should appear after a few minutes.
- Download and open the Raspberry Pi Imager.
- Open the application, then pick Raspberry Pi OS (32-bit).
- Click "Choose Storage" and select Module 4.
- Flash the OS to the eMMC storage by clicking Write.
Additional Compute Module 4 Configuration
These configurations are necessary to activate the IO board's USB ports, which by default remain disabled.
- Open file manager, find the module's boot partition (or microSD card), then open config.txt in a text editor.
- Add these two lines at the end to activate the USB ports.

Although unnecessary, you can enable the external antenna by adding the following lines.

Eject the root and boot partitions from your PC before unplugging the microSD card or USB cable.
Booting
Remove the USB cable. If using Compute Module 4, remove the jumper from J2.
But if using the Lite version, insert the microSD card.
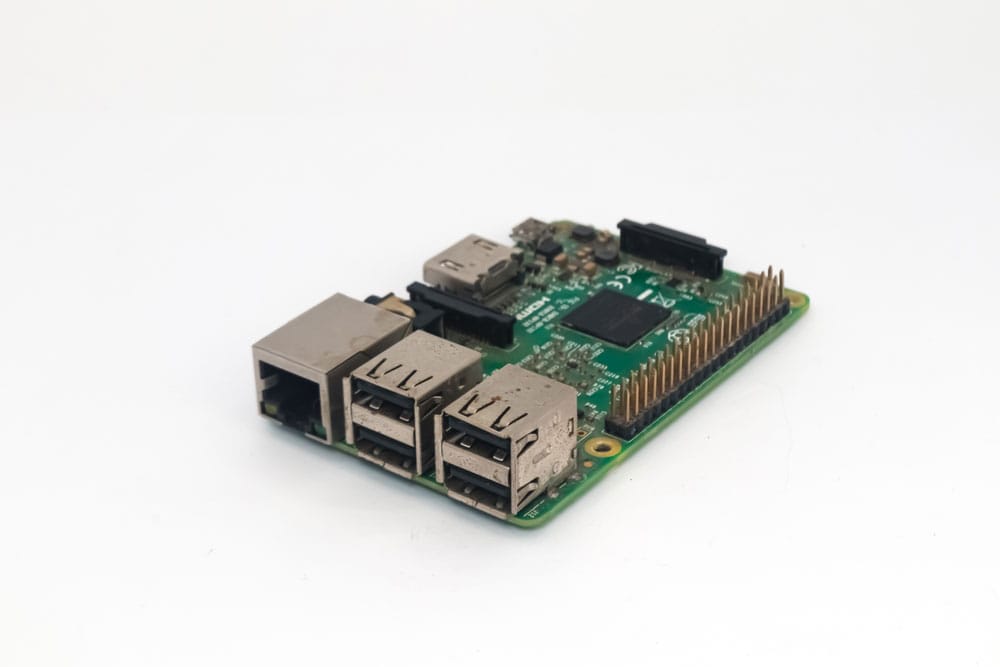
The Raspberry Pi 4
Connect your mouse, keyboard, external antenna, and HDMI (with either board).
Next, connect the power supply to boot the computer.
Overclocking
- Open config.txt in a terminal on the Pi computer using the following command.

- Navigate to the end of the file and comment to show the overclock configuration instructions.

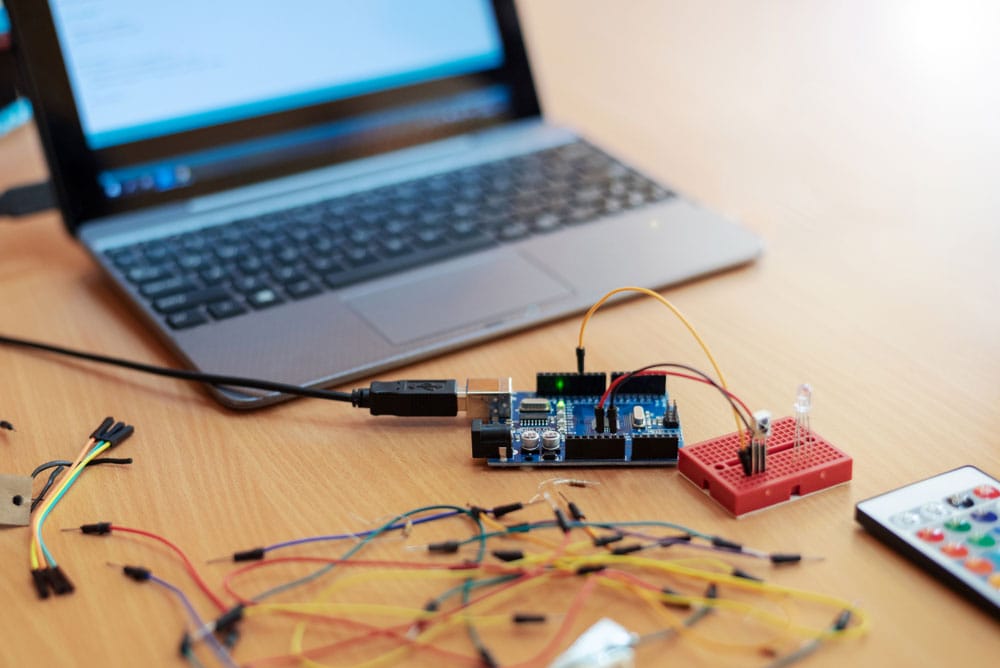
A project using a Raspberry Pi mini-computer and a blue LCD screen
- Increase the CPU frequency by including the arm_freq setting and type the new speed in MHz.
- For instance, you can set the CPU to overclock at 2275 MHZ (2.275 GHz) using the following command.

- Changing this value sets the maximum CPU speed. Therefore, use numbers like 2275, 2250, 2200, etc.
- Next, add this line to overclock the GPU to 750 MHz.

- Overclocking needs extra power, so raise the CPU voltage by 1.4V to 8V using this line.

- Save, then exit the file by pressing CTRL+X, followed by Y
- Reboot the Pi computer, then open the terminal
- Use the vcgencmd command to display the current ARM CPU speed.

If the Raspberry Pi fails to boot, the CPU cannot operate at these extreme speeds.
So insert your Module 4 or microSD card into another computer, then edit the clock values to the stock speed.
Overclocking to 2.3 GHz
It is vital to note that this overclocking will only work with the Compute Module 4 Lite (8 GB) and Raspberry Pi 4 (8 GB).
And it will invalidate your warranty.
The maximum you can achieve with the Raspberry Pi 4 (4 GB) and Compute Module 4 (1 GB) is 2.275 MHz.
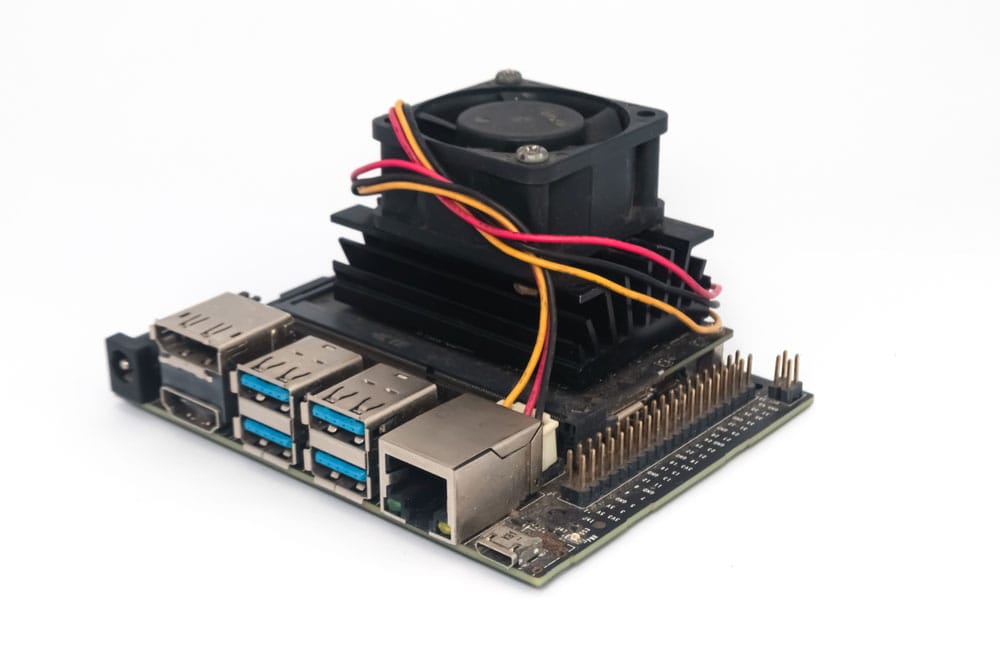
A mini-computer with a fan installed above the GPU
The 2.3 GHz overclock process has similar steps to the one above, so edit config.txt by adding these lines.

The last line forces turbo mode frequencies whether the ARM cores are busy or idle.
Running using "force turbo" invalidates the product's warranty.
Wrap Up
There you have it! Overclocking your Raspberry Pi 4 to boost performance only requires a few steps.
However, you must ensure you achieve stable overclocking.
And as you can see above, some Pi 4 mini computers remain stable at 2.275 GHz, while others can hit 2.3 GHz.
With this max CPU clock speed, you will void the warranty. So if it breaks, it's on you.
That's it for now. Contact us if you have questions or need the Pi 4 for this task.
Special Offer: Get $100 off your order!
Email [email protected] to get started!