When you have a flat battery or your battery is running low, and there's no power for a quick charge. Then, all you need is a power bank or perhaps a homemade power bank.
So, with a power bank, you can run your electronic devices for a long time without them getting a low battery.
However, some questions surround the power bank, like how does it work? How can I make a power bank? How to build a power bank circuit?
So, if you have those questions, then you've come to the right place.
Here, we'll show you everything you need to know about power banks, how a power bank works, and how to make one—and make it easy for you to understand.
Are you ready? Then let's begin.
Contents
- What Is a Power Bank?
- Types of USB Power Banks
- 1. Solar Power Banks
- 2. Wireless Power Banks
- 3. Standard Power Banks
- What Is the Charging and Current Capability of Power Banks?
- The Rechargeable Batteries of Power Banks
- How Does a Power Bank Work?
- DIY Power Bank
- How to Make a Power Bank at Home
- Step 1: Get Your Materials Ready
- Step 2: Create Your Battery Pack
- Step 3: Build Your Circuit
- Step 4: Test and Fix Problems
- Step 5: Finish Touches
- Step 6: Cover Up the Circuit
- Final Words
What Is a Power Bank?
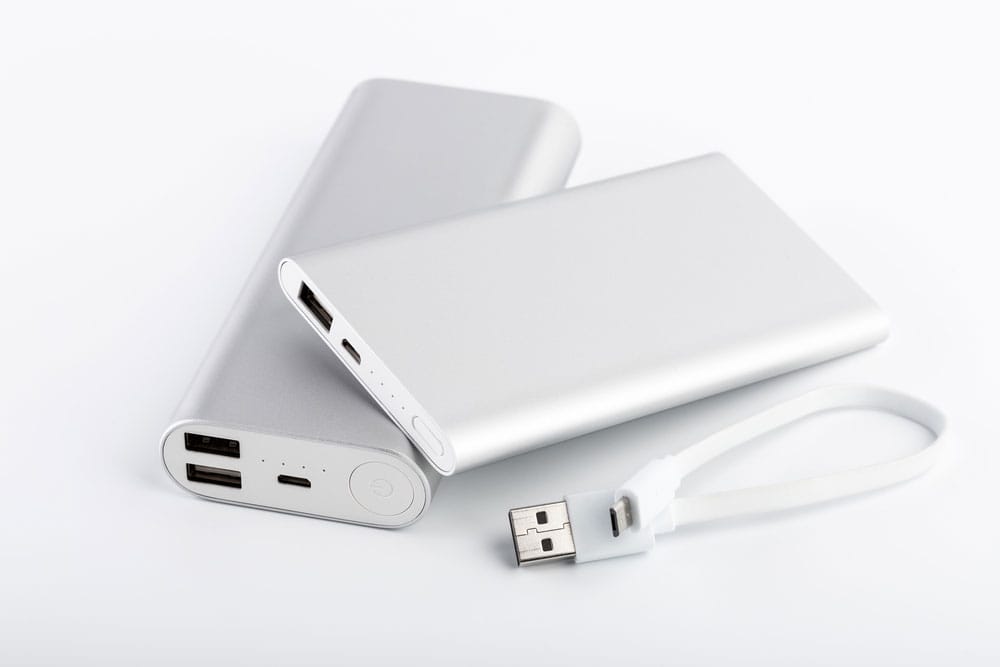
Two power banks with different USB port
Simply put, power banks are battery banks. People get power banks for one purpose only—to recharge battery-powered electronic devices on the go. Power banks come in various sizes. Some have large battery capacities with big sizes, while some are small enough to fit your hands or pockets.
Furthermore, there are different types of power banks you can pick. Also, size and battery capacity are two major features that differentiate power banks. However, there are some other things to look at when getting a power bank.
With that in mind, here are the main types of USB power banks:
Types of USB Power Banks
1. Solar Power Banks
These kinds of power banks use solar energy to charge up. It's possible because of the photovoltaic cells that convert sunlight into energy sources—for the power bank batteries.
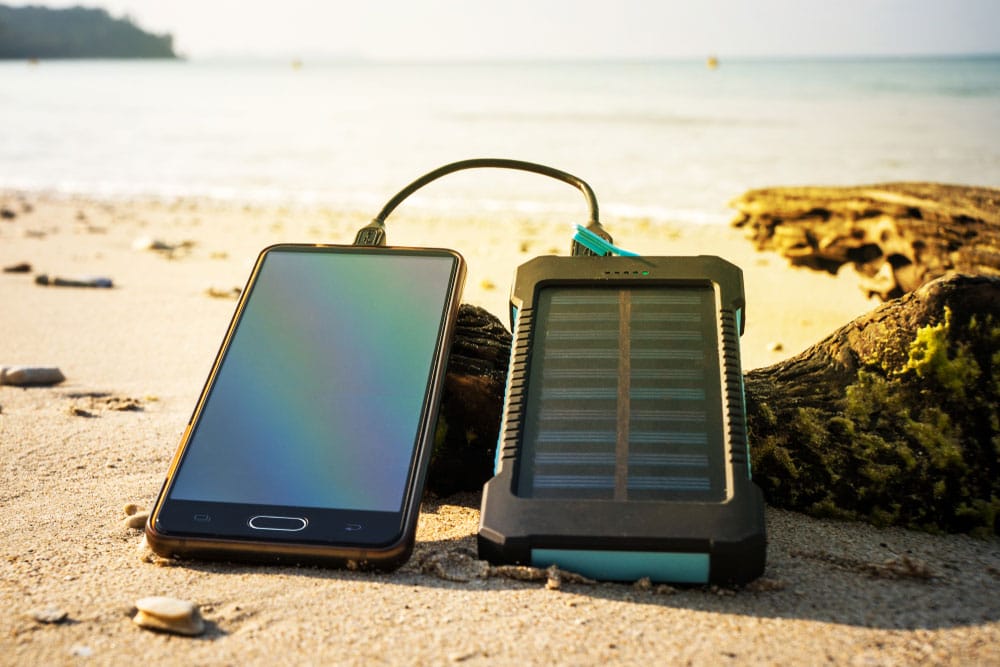
A solar power bank
However, you can charge these power banks with a portable charger (USB) if you feel the solar charging is too slow.
2. Wireless Power Banks
Wireless power banks are one of the recent advancements in power bank technology. These types of power banks are capable of charging devices wirelessly.
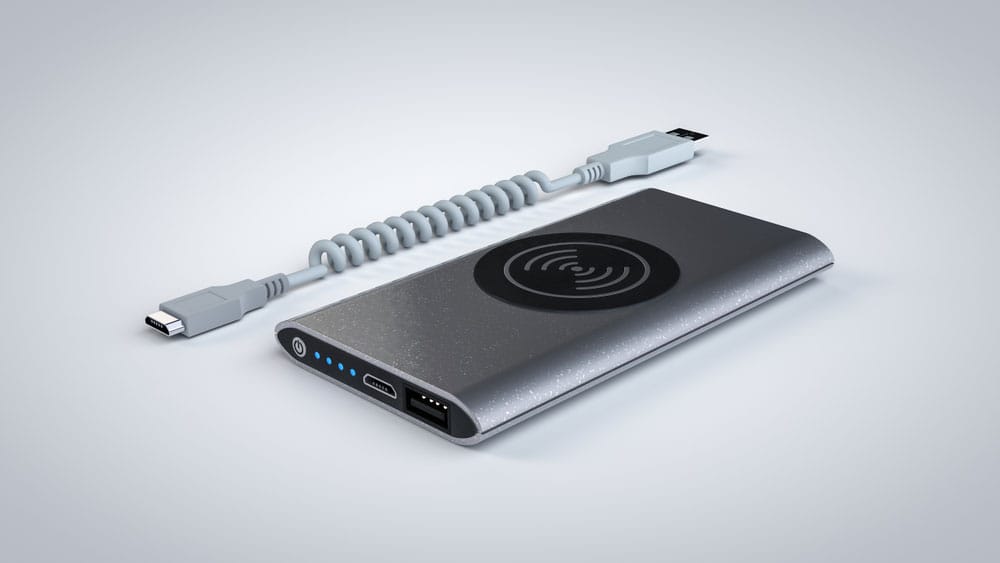
A wireless rechargeable power bank
Simply put, the wireless power bank establishes a connection without a USB cable. But the device has to be wireless charging compatible; otherwise, it won't work.
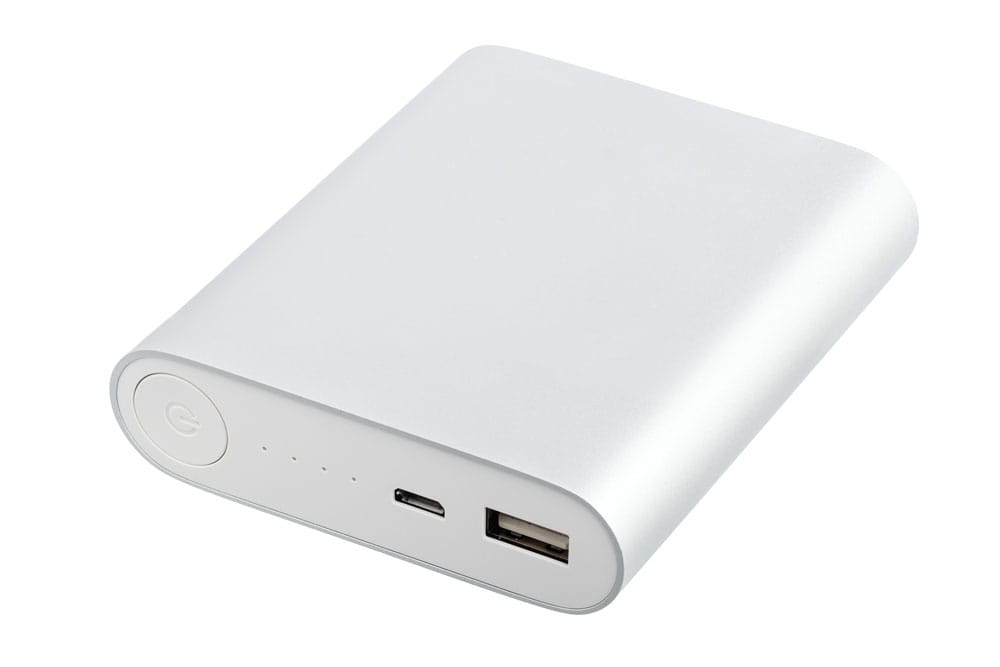
3. Standard Power Banks
These are the most prevalent or regular power banks in the market. You can get one online or at any of your local stores.

A standard power bank
Also, you can charge with a normal USB charger. Once you charge it fully, it can charge other battery-powered devices, even a laptop battery.
What Is the Charging and Current Capability of Power Banks?
The current and charging capacities of power banks are usually different. Previous generation power banks had small capacities of 1000mAh. On the other hand, recent devices come with a huge 25000mAh or more.
Moreover, most recent power banks dish out 2.5A currents that allow for fast charging with a portable charger.
Special Offer: Get $100 off your order!
Email [email protected] to get started!
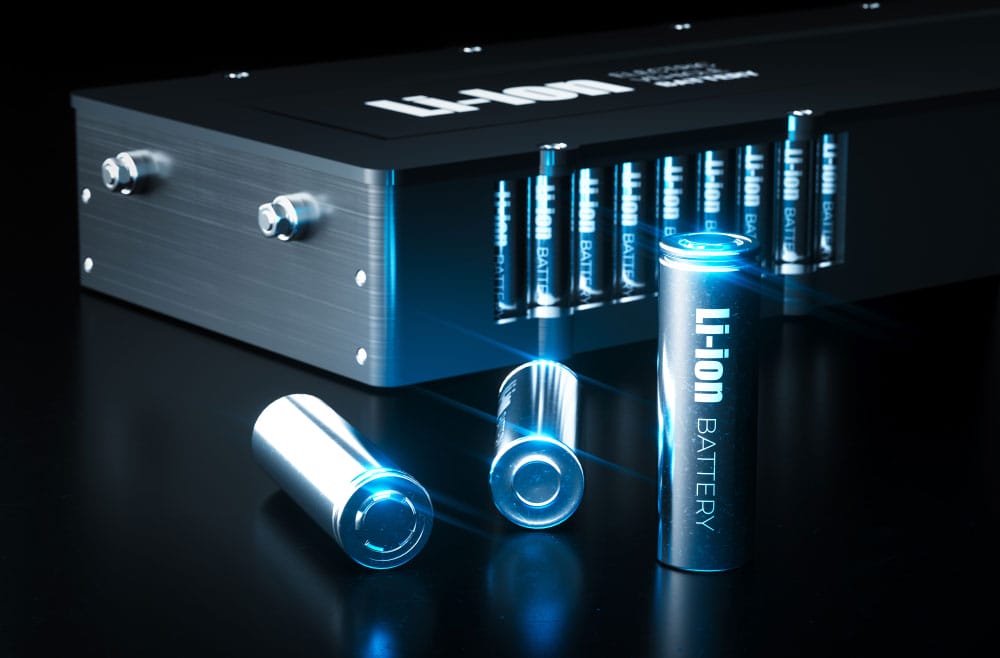
The Rechargeable Batteries of Power Banks
All power banks have one thing in common: a rechargeable battery. These rechargeable batteries revolve around lithium technology. Currently, power banks use lithium-ion and lithium-polymer batteries.
Lithium-ion batteries can store a lot of electrical charges in a specific volume. Plus, it's cheaper to manufacture and has a longer lifespan.
Modern Lithium-ion Battery
On the other hand, lithium-polymer batteries don't have a long life. Also, it's more expensive to produce these batteries.
Regardless of the battery type, power banks work well. But you need to find the perfect balance between performance and cost.
How Does a Power Bank Work?
As we mentioned earlier, there are different types of power banks. One of them includes a Ni-Cd power bank. This emergency charger pack circuit uses rechargeable 1.2v Ni-Cd cells batteries to dish out 4.8v—by arranging four of these cells.
The structure of a Ni-Cd battery
Plus, it makes this charger pack circuit the optimal charge of all kinds of mobile phones.
However, if you build a 3.7V Li-Ion battery cell power bank, the voltage might not be suitable for charging a cell phone battery with the same voltage parameter.
Why? Because connecting two similar batteries would create a situation where the cells exchange power to achieve an equilibrium condition. So, it means that both sides will get an equal amount of charge.
Here's an example:
If you fully charge a 3.7V power bank to about 4.2v and then use it to charge a mobile phone with a drained 3.3v cell, both sides would try to reach a level = (3.3 + 4.2) / 2 = 3.75V by exchanging power.
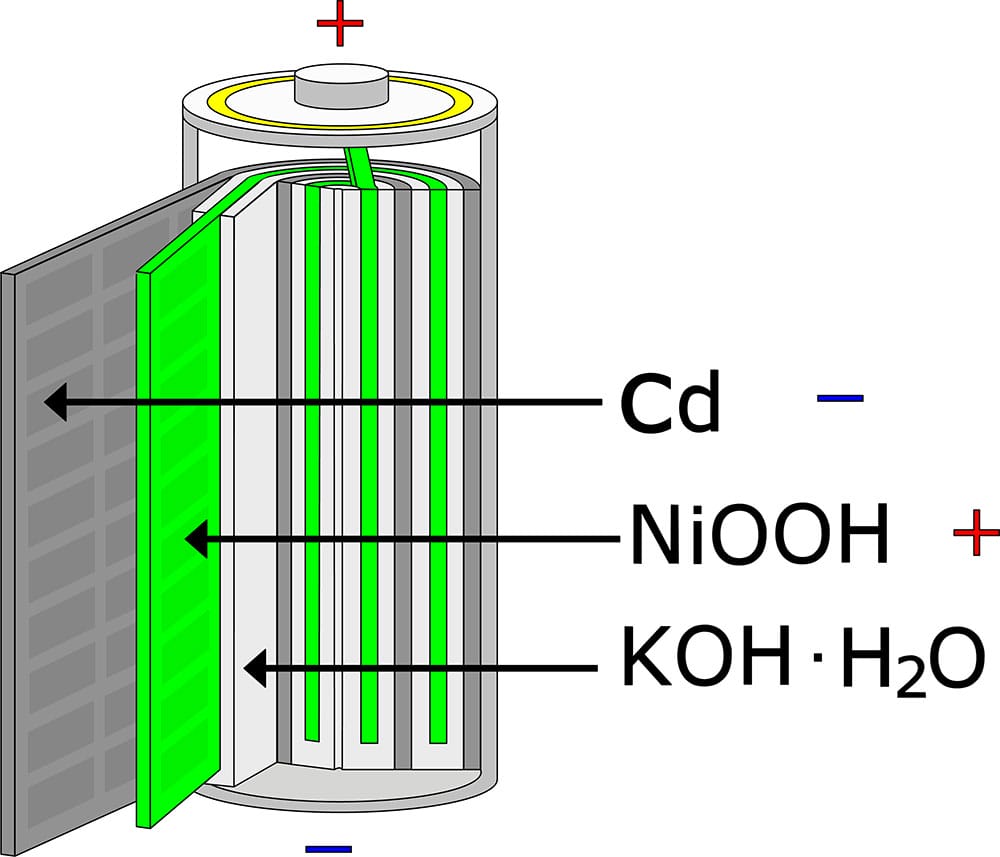
Nickel Cadmium Batteries
Nevertheless, we can't consider 3.75v as the full charge level—as most mobile phones require a full charge level of 4.2v for an optimal charge.
DIY Power Bank
It's easy to make a simple DIY homemade power bank, so you don't have to spend money getting one.
We used the following components to make this DIY power bank:
- 18650 Lithium cell
- Slide switch
- 3v to 5v boost converter
- TP4056 Module
Here's a circuit diagram to help you understand how this power bank works:
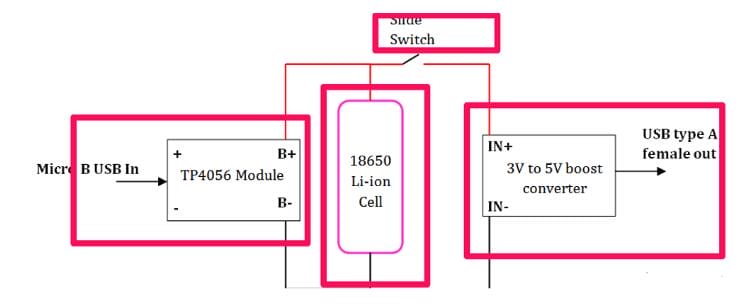
Power bank circuit diagram
Source: Wikimedia Commons
The battery is our DIY power bank's first component. So, we used a 18650 lithium-ion cell (18 mm in diameter and 65mm in height). Plus, these cells come with different capacities and are rechargeable with an output of 3.7v.
Next, we connected our TP4056 module to carry out a constant charger (CC) charging method.
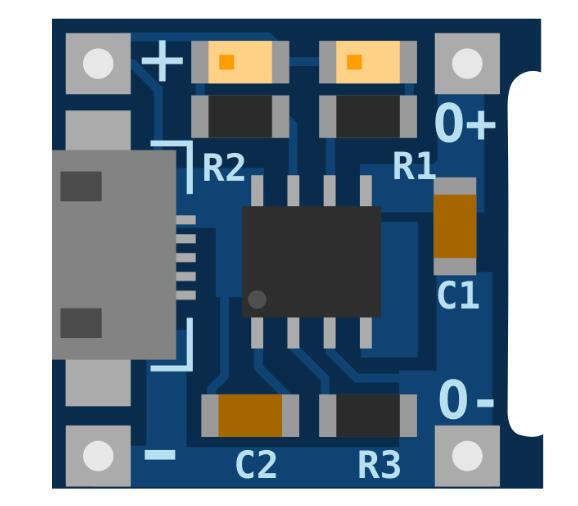
TP4056 Module Structure
Source: FreeSVG
Here, the charger applies constant current while increasing the voltage till it reaches the limit.
After that, the TP4056 applies a voltage equal to the maximum cell limit, which slowly reduces to the lower current threshold—with 3% of constant current.
Plus, this module has two LED indicators, which includes:
- The first LED (L1) shines red when the power bank is charging
- The second LED (L2) shines blue when the charging is complete
Furthermore, the battery in the power bank only provides 3.7v, and we needed more than that (up to 5v) to charge a mobile phone.
So, we connected a 3v to 5v boost converter board module, which increased the power bank's overall output to 5v. Plus, the module comes with a universal USB female (type-A) port. And it has an indicator that lights up when there's a current supply from the battery.
Finally, we connected a slide switch to turn on/off the power of the portable charger.
How to Make a Power Bank at Home
Now that you're familiar with how a power bank works, it's time to learn how to make one.
So, here are the steps you need to follow:
Step 1: Get Your Materials Ready
Here are the materials you need to build this circuit:
- 18650 Li-ion cells
- Wires
- Protective case
- TP-4056
- Soldering iron
- Step up module
- Solder wire
Step 2: Create Your Battery Pack
Before creating your battery pack, confirm that the voltage for the batteries is the same—especially if you're using two or more batteries.
After confirming the voltages, use some hot glue or tape to join the batteries. Next, connect the matching battery terminals (anode to anode and cathode to cathode)—with wires. Finally, use your soldering iron to secure the wires.
Step 3: Build Your Circuit
Here, you connect the negative terminal (cathode) of the battery to the -ve terminal of the step-up module and TP-4056. Then, you merge the positive terminals (anodes) to the +ve terminal. But that's not all. You can adjust the step-up module's output to 5v with a potentiometer. Finally, join the USB port to the step-up module's output.
Step 4: Test and Fix Problems
You can now charge your mobile device.
But there's a small snag.
This circuit only charges mobile phones that use less than 700mA. But thankfully, you can easily solve this problem by salvaging the PCB of an old power bank, preferably one with a 10,000 mAh capacity. Or, you can use a DC 0.9 - 5V, 3V - 5V boost converter module to increase the capacity.
Step 5: Finish Touches
Install a new 5 mm white LED and push button with your soldering iron on the power bank's PCB. By doing so, you add finishing touches.
Step 6: Cover Up the Circuit
Finally, don't leave the circuit exposed. Hence, use a protective case to keep your circuit protected. You can use see-through covers or a standard power bank casing.
So, that's how you make a simple power bank at home.
Final Words
Overall, the power bank is a digital product with growing features that allow users' frequent use of smartphones. In addition, the extra power from a power bank can save you the trouble of looking for an AC outlet in certain scenarios.
However, constant use of the power bank could certainly reduce the runtime of the battery.
That's why we wrote this article so you can learn how to make a portable DIY power bank as a spare power source for emergency purposes. Moreover, it makes the power bank a cool project.
Additionally, you should consider working quality and battery protection when working with lithium batteries. That's why we recommend the 18650 lithium-ion cells. Most of these cells have good protection as well as great quality.
That wraps things up.
If you need more information, feel free to contact us. We'll be happy to help.
Special Offer: Get $100 off your order!
Email [email protected] to get started!