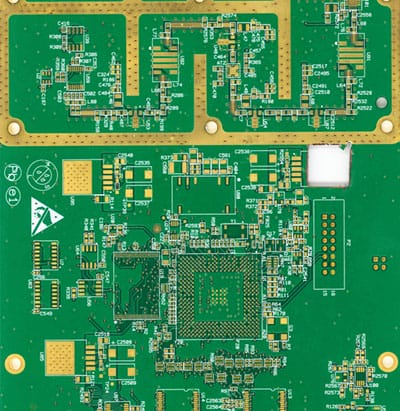
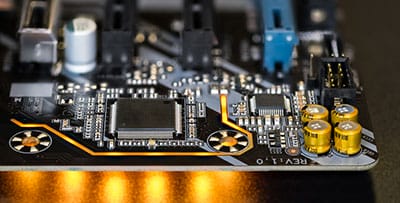
A heatsink is a substance or device that absorbs unwanted or excessive heat. What’s more, it has many forms, like a LED heatsink and beefier heatsinks, all of which are achievable DIY heatsinks.
In today’s article, we will learn how to make a high-quality and effective heatsink that you can apply to your power supply devices.
Contents
Special Offer: Get $100 off your order!
Email [email protected] to get started!
Some discussion of the DIY Heatsink
Often, there are cases when you want to make a heatsink but can't match their priciness. As a result, you’ll opt to use strips of aluminum stock and only perform minimally on sawing and drilling. While it is a good idea, what are the drawbacks and solutions?
Drawback;
The DIY may not work for more giant machines since they have a low surface area which means less heat dissipation.
Solutions
- First, stick to standard sizes and only focus on milling, sawing, and cutting processes.
- Alternatively, buy copper or aluminum sheets, then cut them into small strips before soldering them.
- Heat Sink Types
There are tons of heatsinks you can settle for depending on the manufacturing process and fin arrangement.
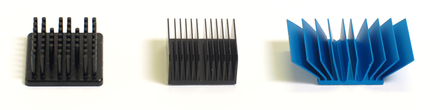
Heatsink types (depending on fin arrangement)
Source; Wikipedia
The six major types include;
-
Extruded Heat Sinks
Manufacturers use extruded aluminum to make the majority of commercial heatsinks. Additionally, they have a low to high-range performance. Besides suiting many applications, you can also get extruded heat sinks at a custom specification and low cost.
Unfortunately, the maximum width of extrusion often limits the dimensions.
-
Bonded Heat Sinks
The second type is ideal for applications requiring large-sized heat sinks. Its advantages include having a different fin material and base material. In addition, heatsink manufacturers can combine copper and aluminum fins rather than solely use a fin material. Consequently, you add a minimal amount of weight while improving thermal performance.
However, most bonded heat sinks are expensive and only offer moderate performance.
-
Skived Heat Sinks
Thirdly, we have skived heat sinks made from a solid block of metal, principally copper. They usually provide high design flexibility making it possible to gain high fin density and performance. So, there’s more surface area for heat dissipation performance.
Drawbacks; directional sensitivity and high weight.
-
Stamped Heat Sinks
Here, manufacturers stamp and solder metal fins onto the base, making them suitable for low-power applications.
Advantage; It’s a cheap heatsink due to its automated production.
Drawback; Low performance
-
Forged Heat Sinks
Manufacturers make forged heat sinks by compressing copper or aluminum through hot or cold forging.
Advantages; Manufacturers can make them at low cost for high volumes. Moreover, they have medium performance.
Drawback; Despite having many applications, there are limited design capabilities.
-
CNC Machined Heat Sinks
Lastly, we have CNC machined heat sinks with high thermal conductivity and the ability to achieve the most complex geometries. Therefore, they have several design flexibilities.
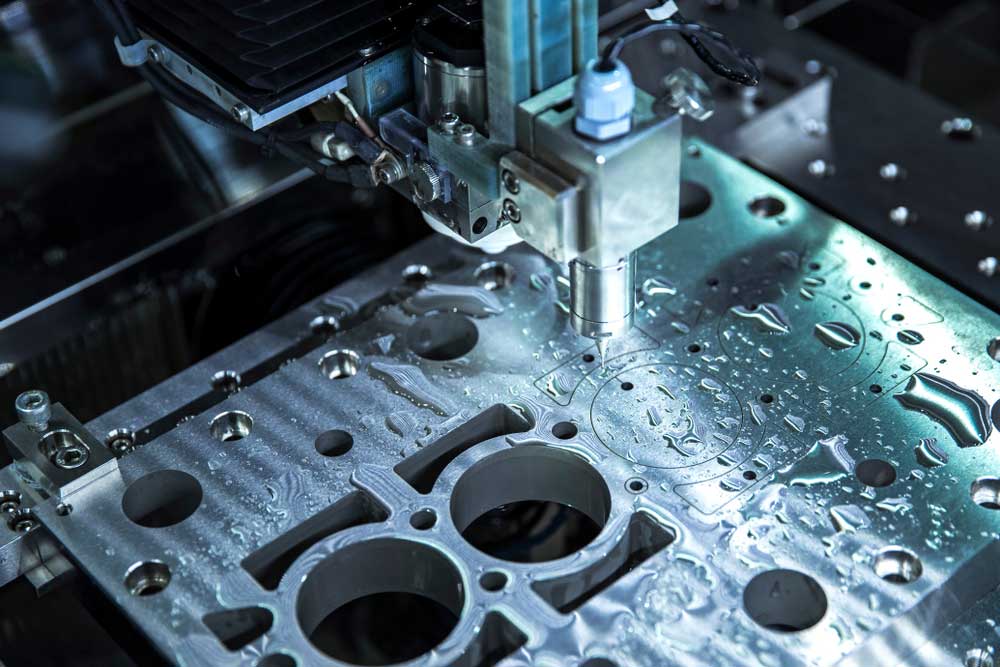
(CNC machining)
Drawbacks; First, they are costly. Also, they are less-than-ideal for high-volume projects because of the long production time for each piece.
- A DIY Heatsink project
Now that you know the types of heat sinks, how about we make one? The assembly process on homemade heatsinks is simple, and you'll only need to follow the instructions below.
Step 1: Prepare the materials.
Tools
- Sandpaper and files

(sandpaper)
- Tip snips or a nibbler
Materials
- Thermal paste compound (for CPU heatsinks)
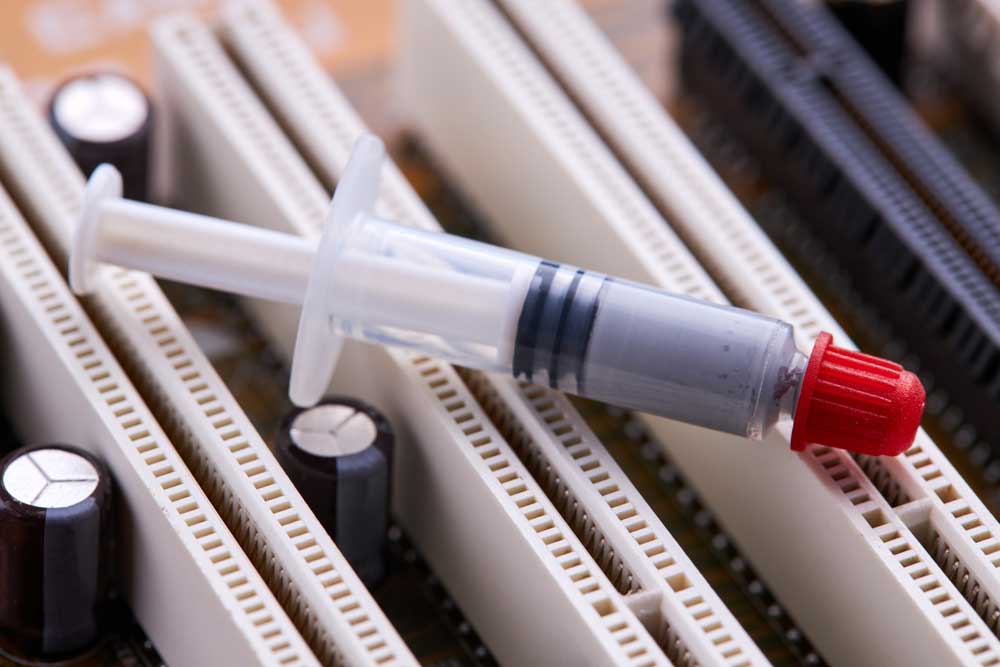
(thermal paste)
- Heat shrink tubing
- Heatsink material; aluminum, copper, or another sheet metal
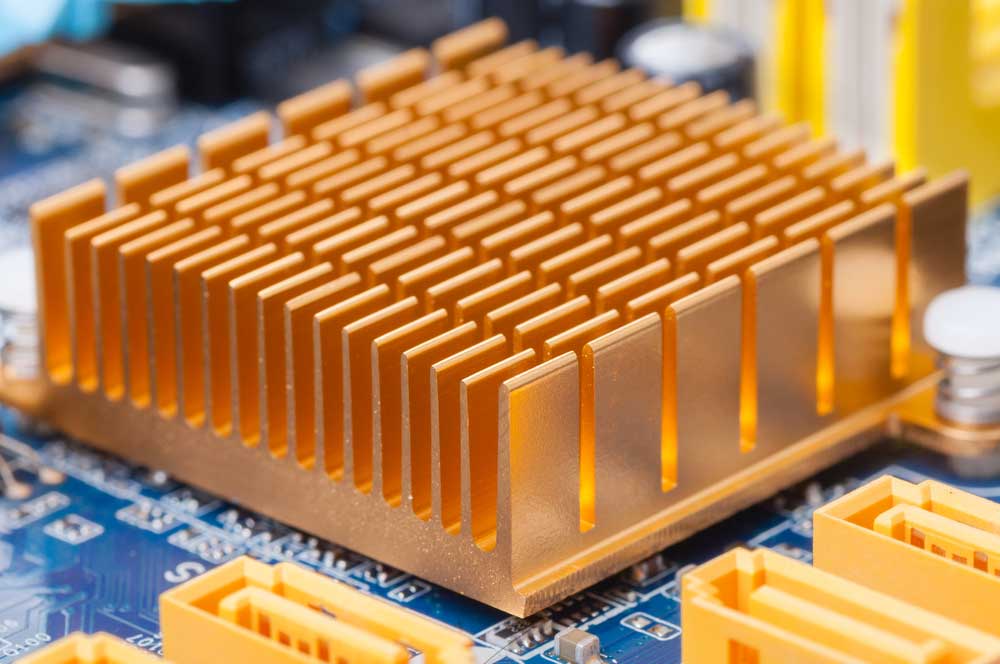
(copper metal heatsink)
Step 2: Cutting out the Heatsink
Use the nibbler to cut shapes from your piece of aluminum. Then, ensure the heatsink has a large surface area to absorb excess heat. While it can be any shape, note that the tab should be taller and a little wider than the transistor.
Furthermore, you can add a heatsink hole for attaching a circuit board if you need one.
Step 3: Fine-tuning the shape
Shape the aluminum heatsink by incorporating a narrow throat or a few notches at the tab's top to keep it intact. The bill won't slide off the transistor and heat shrink tubing.
Step 4: Pressing, Filing, and Sanding until flat
Generally, an aluminum finish should maintain a flat surface appearance achieved by not deforming the metal in the DIY process.
However, if you have a deformed metal material, you can;
- Use a file handle to press it. Alternatively, use two pieces of flat steel and put the metal in between, then press.
- File out the high spots on the material.
- Sand the material after failing to achieve a smooth surface for excellent thermal contact.
Step 5: Assembling
Start by cutting a tiny piece of heat shrink tubing longer than the tab. Secondly, ensure all the parts fit via a test.
Next, smear thermal paste (a small amount) onto the flat side of the transistor.
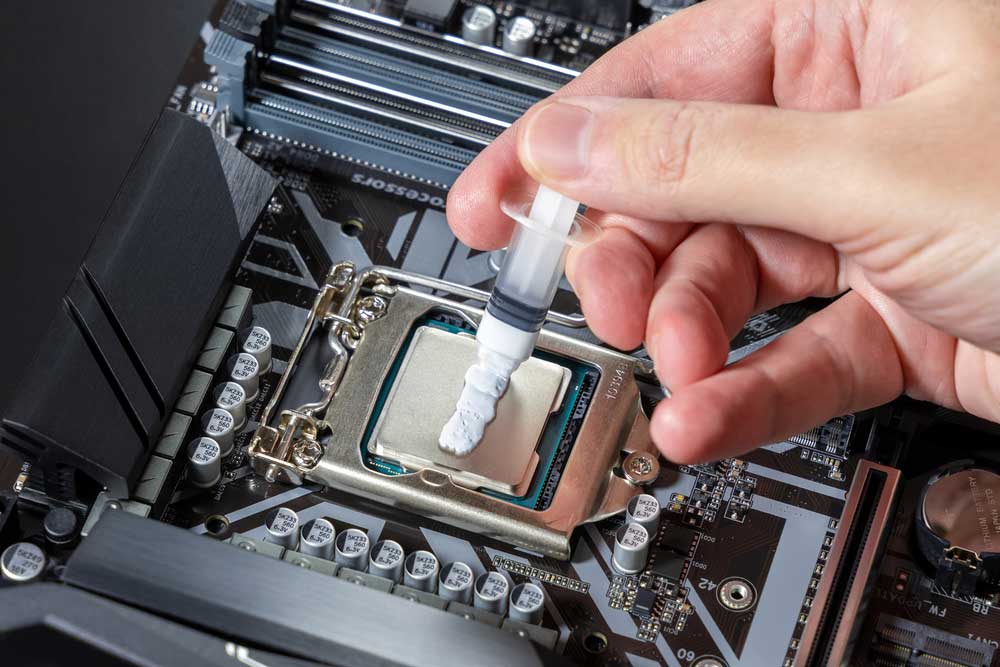
(applying thermal paste)
Afterward, place the heat shrink tubing on top of the metal tab before cautiously sliding it into the transistor. The heatsink should be in contact with the transistor’s flat side.
Finally, use a heat source like an electric stove or heat gun to shrink the tubing.
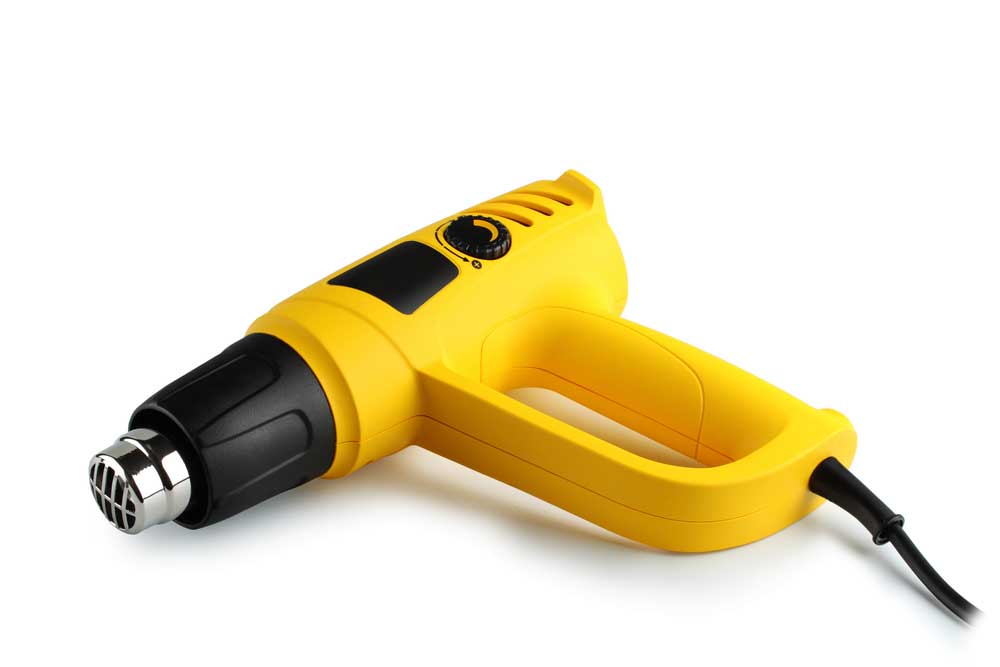
(heat gun)
Note; Initially, using the heatsink makes the transistor generate heat that shrinks the assembly and achieves a more solid unit.
Step 6: Using it
The heatsink is now ready for use.
Conclusion
That marks the end of our DIY project today. We are confident that you can make a heatsink from the comfort of your home. However, if stuck, do not hesitate to reach out to us.
Special Offer: Get $100 off your order!
Email [email protected] to get started!