Programming is not a cup of tea for everyone because following the logic code flow in abstract form is challenging. However, using Arduino block programming makes things easier when working on Arduino projects.
Block programming provides a graphical coding interface that makes it easy to follow the code logic and implement all functions accurately.
Let’s analyze this programming format and its significance, especially in education.
Contents
- What Is Arduino Block Programming?
- Features and Capabilities of the Arduino Block Programming Interface
- Visual Coding
- Intuitive User Interface
- Block Libraries
- Real-Time Feedback
- Event-Driven Coding
- Simulation and Emulation
- Code Generation
- Documentation and Community Integration
- Physical Hardware Compatibility
- Cross Platform Support
- Block Categories in Arduino Block Programming
- Input/Output
- Logic
- Loops or Control
- Variables
- Arduino Block Programming Advantages
- Arduino Block Programming Disadvantages
- How To Set Up an LED Blink Project Using Arduino Block
- Code Uploading
- Expected Results
- Wrap Up
What Is Arduino Block Programming?
Arduino block programming is a block-based visual programming platform that enables beginners or people without programming skills to create functioning code. Some common platforms for Arduino block programming are Arduino Blocks and Code Kit.
This block programming requires you to assemble the relevant blocks to follow the logic or pseudocode of the program you want to create.
Features and Capabilities of the Arduino Block Programming Interface
Visual Coding
Block coding is a visual programming language that lets you create programs by dragging and dropping blocks to handle the functions and commands. You can enter variable values directly on the blocks.
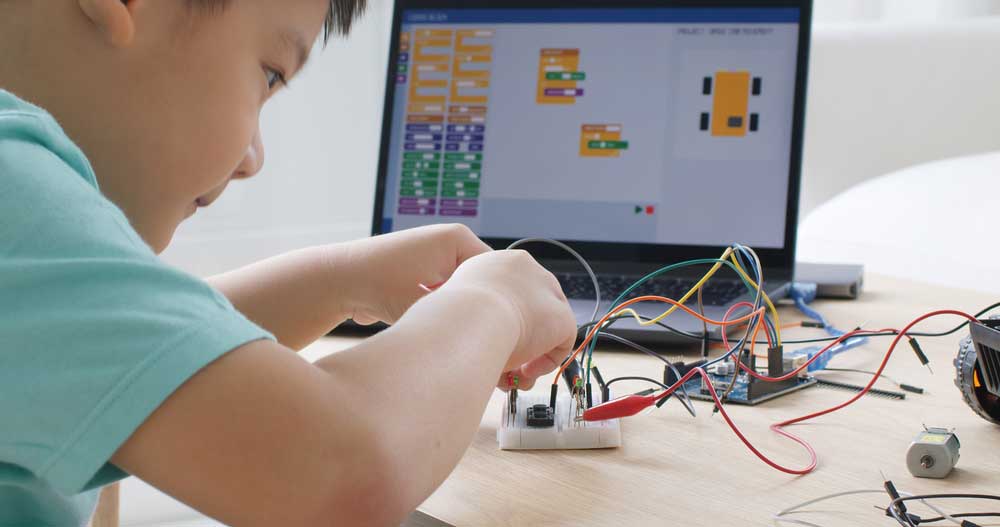
A young lad assembling an Arduino project before programming using block codes
Intuitive User Interface
The visual coding interface is intuitive and user-friendly to learners and beginners with zero programming experience. Part of this intuitive UI is color coding to represent different functions and clear labels/icons.
Block Libraries
Although less complex than text-based programming, block coding incorporates libraries to extend the functions you can use. Some examples include sensor, actuator, and Wi-Fi module libraries.
Real-Time Feedback
Depending on the development environment, Arduino block programming interfaces can provide real-time feedback when connecting the blocks. Therefore, you can view the relationships or data flow between the blocks and experiment or adjust accordingly.
Event-Driven Coding
Most platforms allow users to respond to different triggers or events without requiring complex conditional structures in the blocks.
Simulation and Emulation
Some block programming platforms allow you to simulate the blocks for testing before deployment to the Arduino board. So, you can spot and fix errors that damage the hardware or cause it to misbehave.

Several kids using Arduino block programming to code robotic cars
Code Generation
As you code using blocks, the development environment converts these structures to traditional text-based code to run the hardware. You can check this generated code to learn more about the syntax of the text code.
Documentation and Community Integration
These block programming development environments usually integrate with documentation resources and online communities. You can access this data to help you start or develop a collaborative development team to accelerate your learning process.
Physical Hardware Compatibility
Whether text-based or block-based, Arduino programming aims to control physical microcontroller boards. Therefore, these platforms are compatible with a wide range of Arduino boards.
Cross Platform Support
Lastly, these Arduino block programming platforms are compatible with major operating systems, including MacOS, Windows, and Linux. So, you can block code from any computer of your choice.
Special Offer: Get $100 off your order!
Email [email protected] to get started!
Block Categories in Arduino Block Programming
Although the platforms might differ in features like the UI, most have similar block categories, which include the following.

Two elementary school kids discussing a block programming project
Input/Output
These blocks enable you to communicate with devices like sensors, lights, and speakers/buzzers via the Arduino board.
Logic
Logic blocks primarily include if statements to control operations and skip certain sections until the data meets the specified criteria. They can also include mathematical functions and sensor inputs. But other platforms have separate math block categories.
Loops or Control
Loop blocks enable code sequence repetition until the data meets the specified conditions. They simplify the code (blocks), making the logic flow easier to understand.
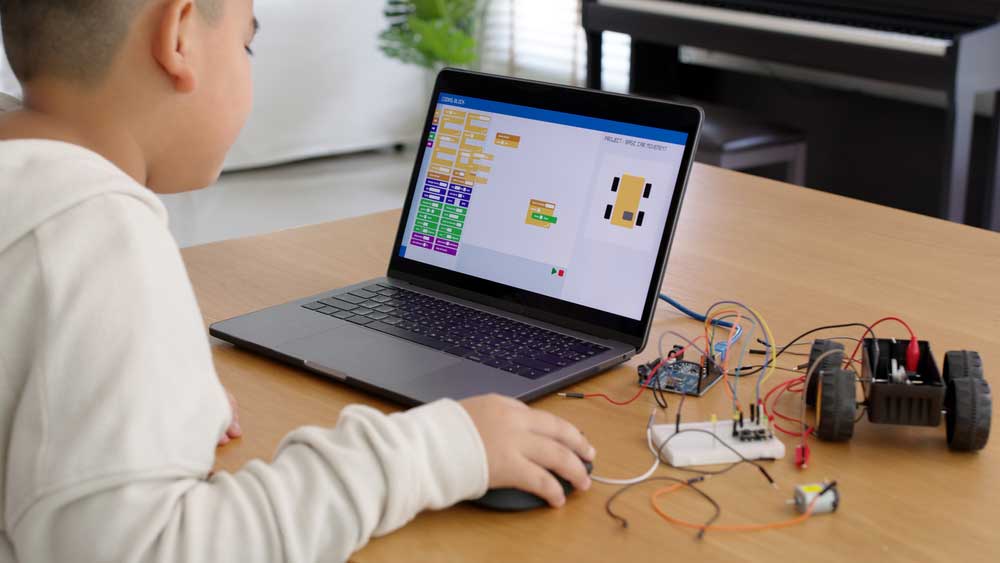
A young kid coding an assembled robot car using block programming (note the Arduino board in the background)
Variables
Variable blocks enable you to input text and numbers into the code to use and access throughout the program.
Arduino Block Programming Advantages
- Syntax-free coding: Writing programs using text-based programming is challenging because you must follow the syntax. Even leaving out semicolons, characters, or curly braces will pop an error. Block coding eliminates syntax errors, but the semantics must be accurate.
- Easy to understand: Visual coding makes it easier for learners to understand the abstract code logic in text-based programming. You only have to drag, drop, and arrange the blocks to create the program and see the results immediately.

Kids learning programming using visual tools in elementary school
- Quick results: Learning and mastering text-based programming takes time. But you can get started with block programming and produce something meaningful in a short time. These fast results are motivations to learn and develop more programs.
- Encourages logical thinking: Since it is simpler and enables you to create projects quickly, block coding encourages learners to delve more into critical thinking. Kids will break down complex issues into tiny steps and solve the problem.
- Enhances creativity: Practicing logical and creative thinking over time enhances creativity.
Arduino Block Programming Disadvantages
- Limited complexity: Although graphical blocks simplify coding, they have limited complexity, meaning you can only use them to create non-complex programs. Blocks are invaluable learning tools, but you’ll have to advance to text-based programming at some point. This disadvantage explains why the platform has limited industry adoption.
- Less exposure to syntax: Programmers and software engineers must have the syntax knowledge to develop complex projects. Block programming makes you miss out on this knowledge, and you’ll have to learn it when switching to text-based coding.
How To Set Up an LED Blink Project Using Arduino Block
You’ll need an Arduino UNO board to blink its internal LED. But you can also blink an external LED. This outer bulb project requires a breadboard, an external LED, a current limiting resistor (about 220 ohms), and jumper wires.
We’ll use ArduinoBlocks for this project, so you’ll need an ArduinoBlocks account. Create one, then a new personal project. You’ll notice the void setup and void loop blocks are already in the editor window.
Arduino text-based programming uses these functions, so you must include the blocks in these containers.
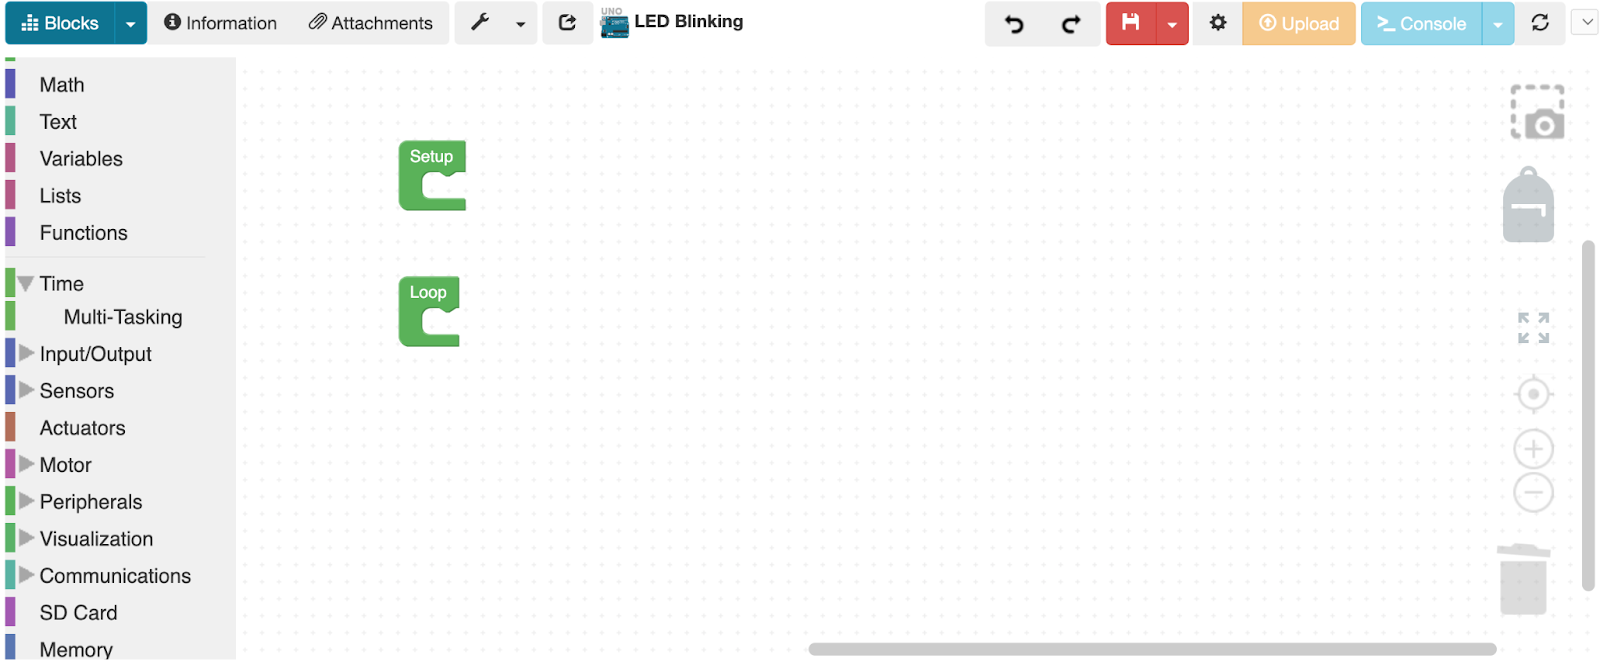
The ArduinoBlocks block development panel
The setup function runs first to initialize the serial output port and configure the I/O pins. On the other hand, the loop function runs continuously.
Locate the input/output palette in the left panel (categories of blocks) and drag the block “Write Digital Pin” to the loop block. Snap it into place and change the number to 13. Pin 13 points to Arduino’s built-in LED.
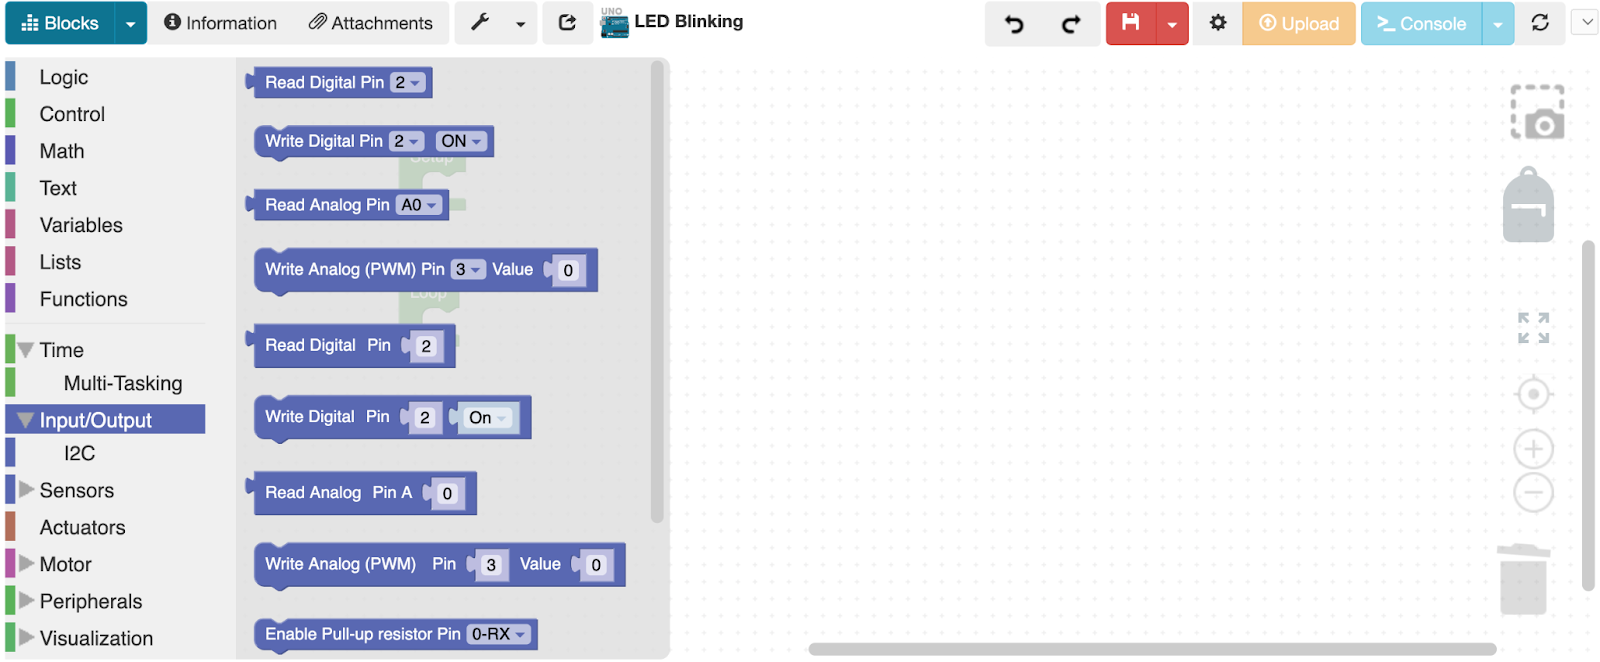
The blocks under the Input/Output palette
Next, find the time palette and drag the “Wait 1000 Milliseconds” block. Drag and insert it under the “Write Digital Pin” block in the loop function.
Duplicate the “Write Digital Pin” block, insert it under the time block, and set it to off. Alternatively, you can drag and drop an extra block from the palette.
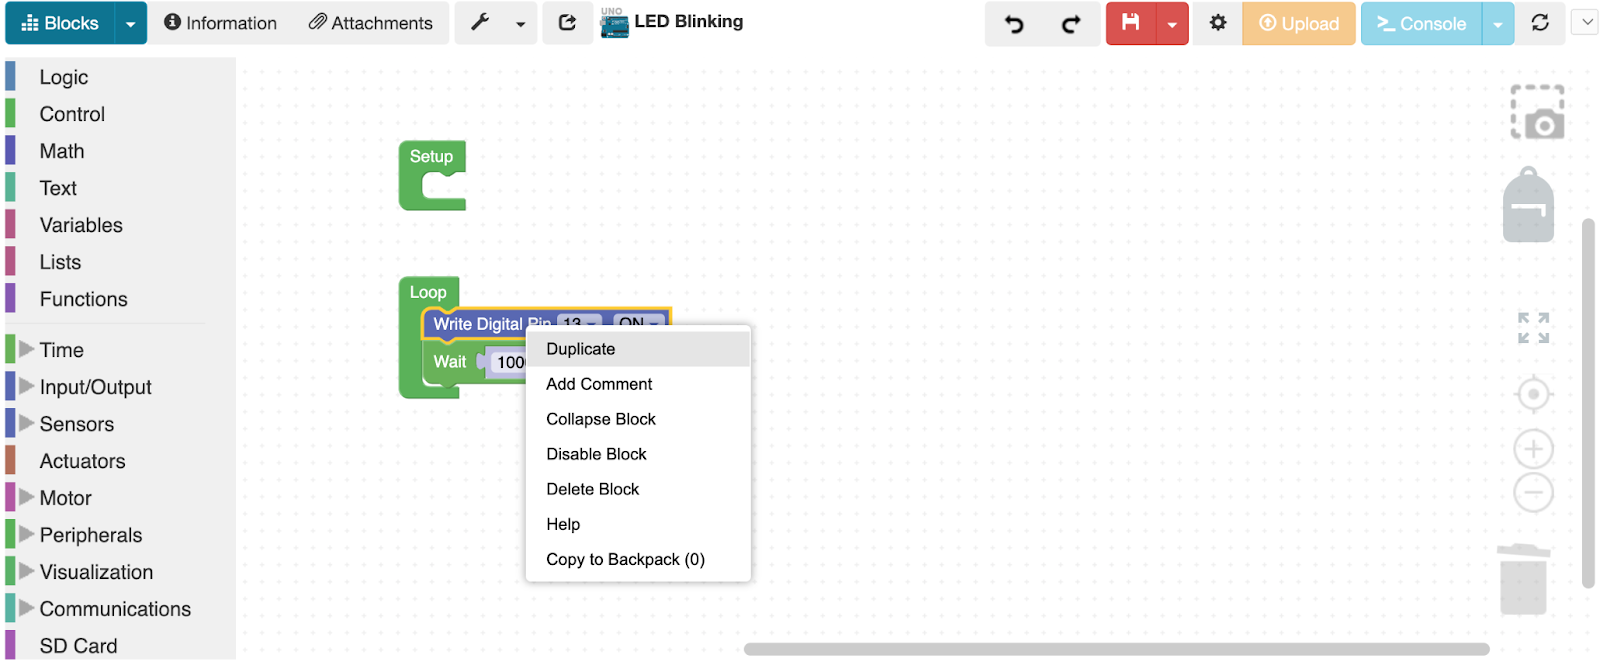
Block duplication
Lastly, duplicate the “Wait 1000 Milliseconds” block and place it as the last piece of the puzzle. We’ll not use the setup function.
Code Uploading
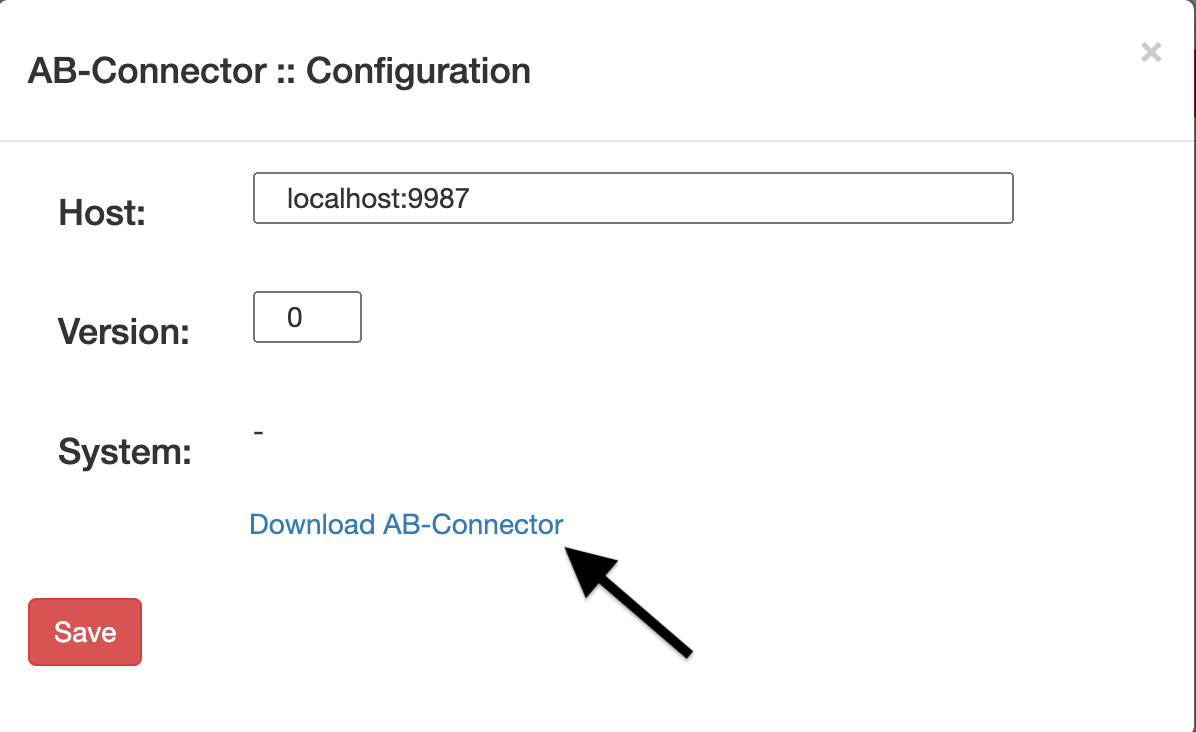
Upload this code to your Arduino board using the upload button on the top right corner. But you must download and install ArduinoBlocks Connector to enable this upload feature.
Alternatively, you can copy the text-based code generated by ArduinoBlocks and paste it into your Arduino IDE code editor to upload to the microcontroller. Click the dropdown button next to the Blocks button and select “view code” to get the text code.
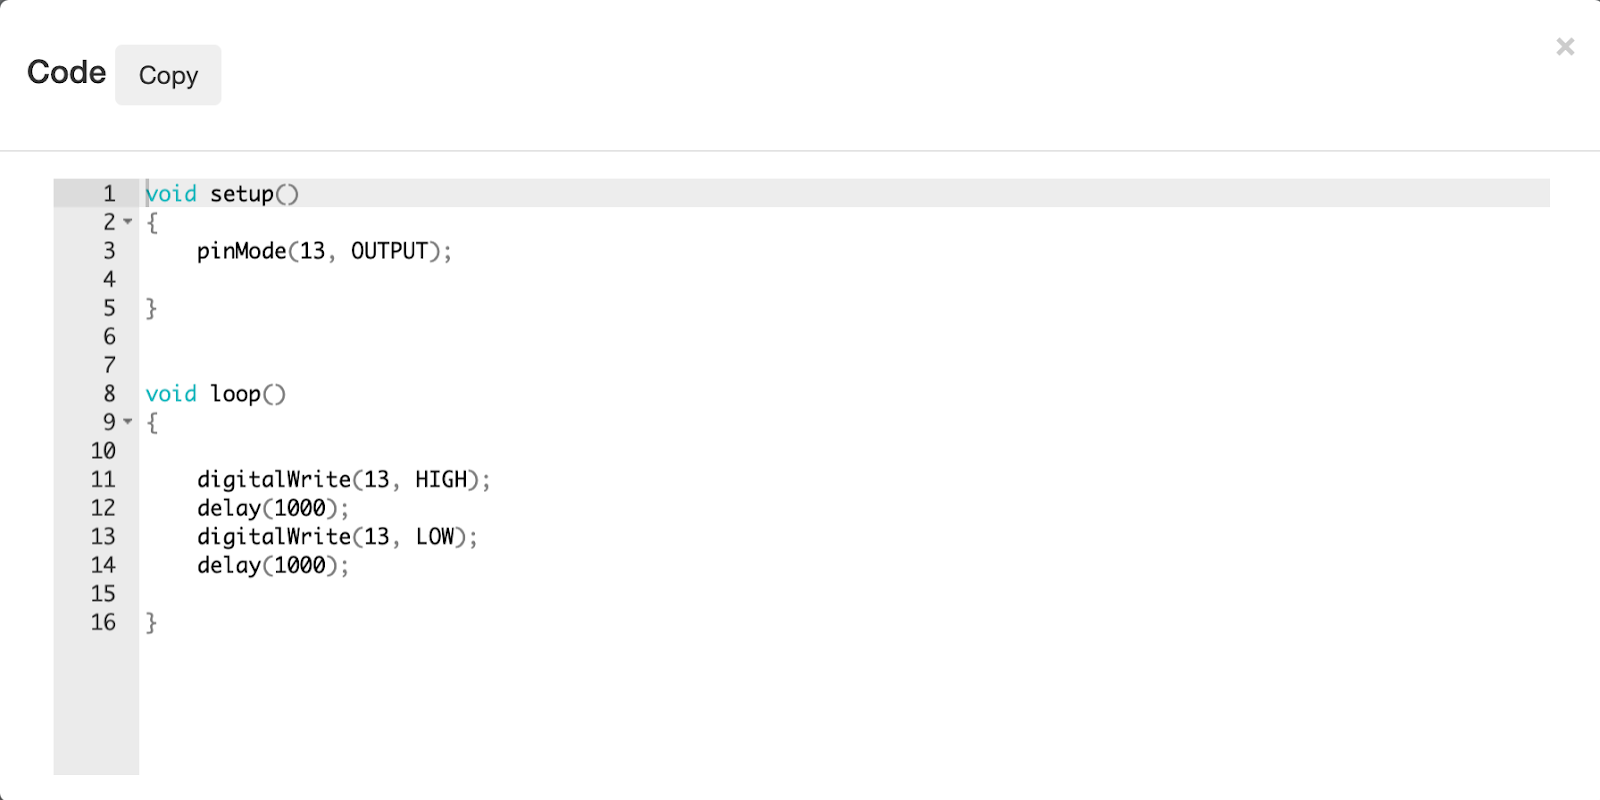
The text code from the block (note the program automatically configured pin 13 mode in the setup function)
Also, you can download the Arduino-compatible file (.ino) and import it into your Arduino IDE.
Expected Results
The Arduino microcontroller board should blink its onboard LED on and off in one-second intervals (1000 milliseconds = one second).
Wrap Up
Arduino block programming is a powerful learning tool for kids to grasp logical and critical thinking at an early age.
However, this visual programming technique has limitations, making it unsuitable for advanced programming projects.
Try other block projects using this graphical programming language, and let us know if you need help. We can ship an Arduino board to your address to help you get started. Contact us for more details.
Special Offer: Get $100 off your order!
Email [email protected] to get started!