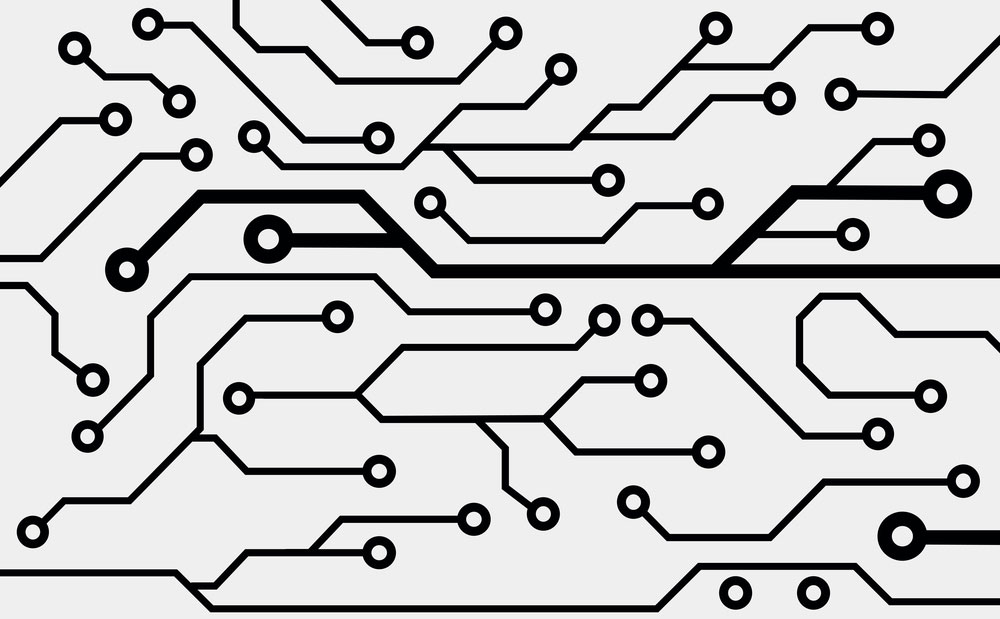
We live in a highly technological society, which in turn has made printed circuit boards an essential part of our daily lives.
You will inevitably find an electronic circuit in computers, home appliances, phones, and industrial machines.
Now, various types of PCBs are made from different materials. This article takes a comprehensive look at the high-quality PCB manufacturing and assembly services provided by OurPCB.
Contents
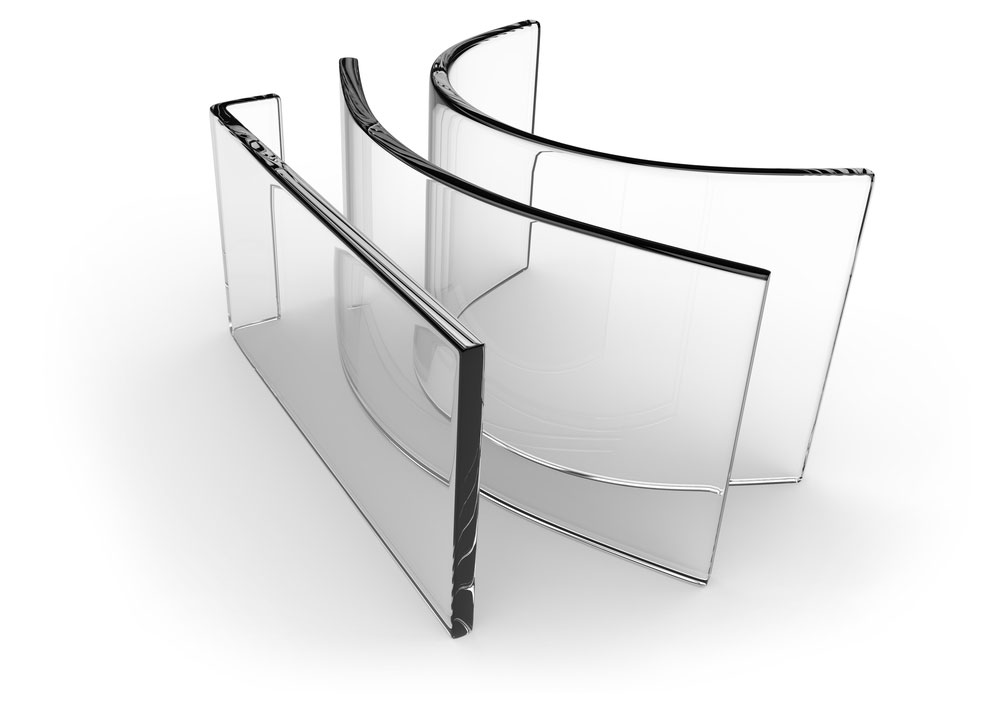
What is Glass PCB
Glass substrate printed circuit boards are present-day PCBs used in light transmittance and thermal dissipation.
But, what exactly is a glass substrate?
PCB
A glass substrate is an exceptionally homogenous and thermally stable material.
Normally to print a circuit, you will have to design a board covered with copper, then by a process known as etching, remove the unrequired copper.
However, you will require an ultraviolet curable mask to relocate the circuit with the glass PCB. We use UV curable masks to provide accurate results notwithstanding narrow track widths.
Glass PCB Material Specification and Features
Note that Glass PCB's primary substrate material is ultra-clear float glass. Let us first look at the specifications of this material.
Specifications
Glass PCBs Ultra Clear Float Glass Features
- Dust, moisture, and waterproof
- Corrosion-resistant & High reflectance
- Workable for lamination with other materials like metals
- Reduced coefficient expansion
Special Offer: Get $100 off your order!
Email [email protected] to get started!
Types of Glass PCB
Sapphire glass
The glass is chemically inert, has high glass transition temperature and infrared thermal conductivity, making it suitable for PCB use.
Tempered Glass
Made by the pre-stressed glass, tempered glass is four times tougher than regular glass.
Bent tempered glass.
The glass also has high thermal conductivity and is used in infrared systems such as vision cameras.
Quartz Glass
Generally used in optical elements, microelectronics, and radiative heaters, quartz glass is tough and visible to infrared and UV light.

Quartz glass lenses
Even though the glass has lower heat resistance than the others, it more than delivers.
How to make a Glass PCB?
Working Process
Firstly, a circuit designer will lay a UV curable resist etch onto a copper board then present it to a UV light source.
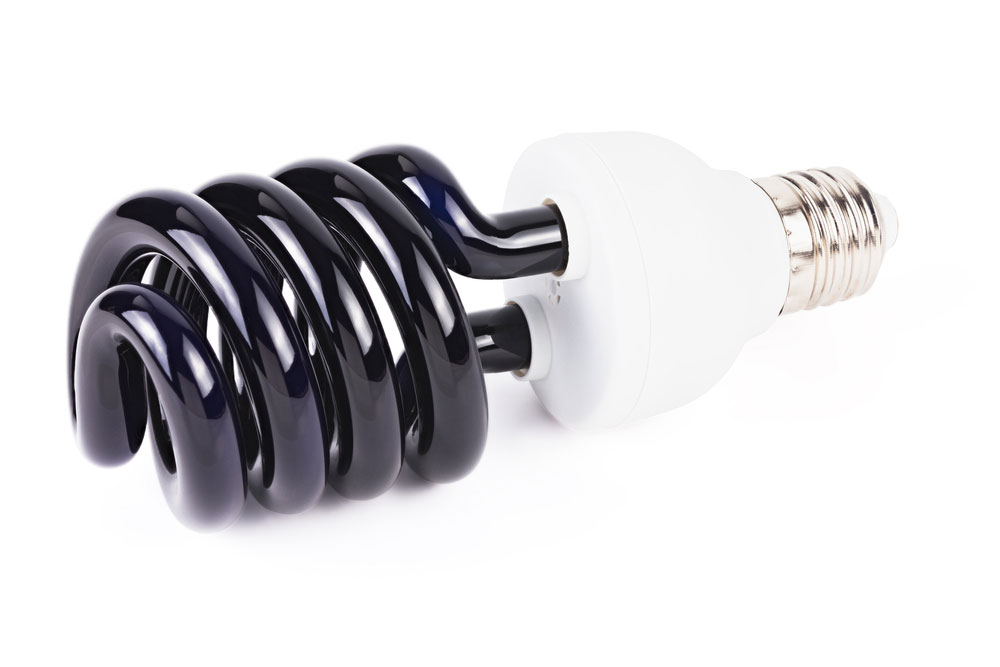
A UV light bulb
Circuit designers can do so with the help of an opaque film that has the circuit's image.
Consequently, the circuit diagram cures on the resist film. After which, the designer will apply a developer to extract the uncured movie and get the circuit ready for etching.
A developer is an essential solution like baking soda, which can remove the uncured resist.
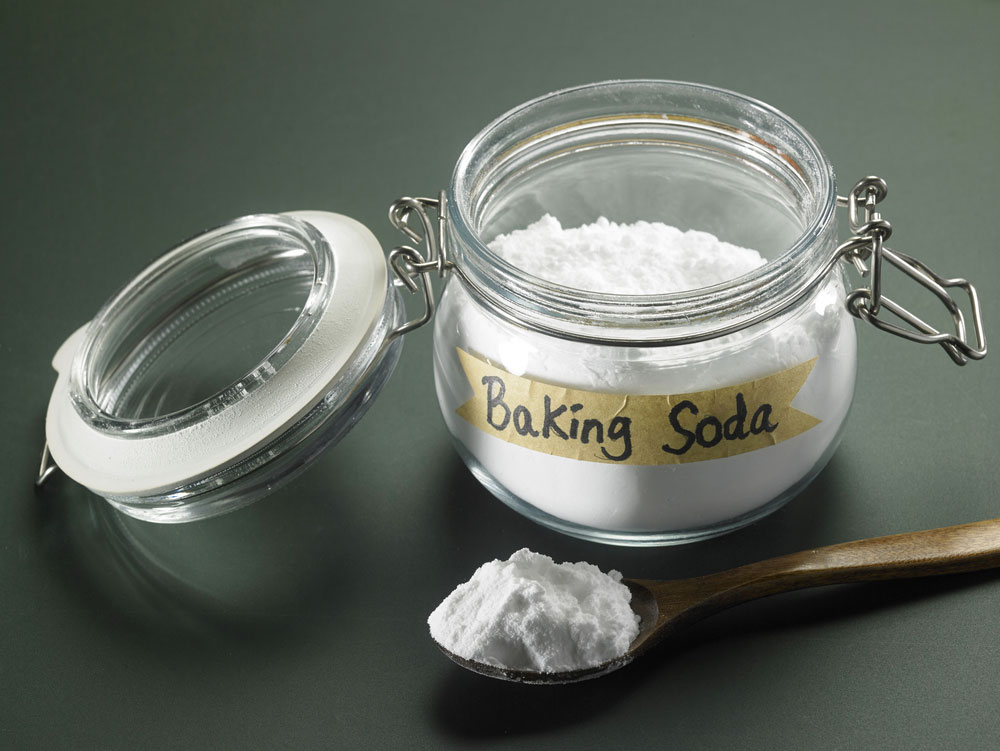
Baking Soda
Mainly because all parts except the photoresist dissolve when you apply the developer. Then the positive turn to negative and vice versa. Hence, to make our glass PCB, we will use a harmful UV resist.
Materials required
- Baking Soda
- Iron chloride
- A Piece of glass
- Ultraviolet photoresist
- Glue
- Copper foil
- Overhead projector printout (OHP)
Procedure
Prepare the circuit design.
We first need to design the circuit to transfer it to a transparent sheet using OHP paper.
Therefore, start by making the circuit's schematic diagram, then duplicate your PCB layout. Next up, use a routing tool to route your circuit's path.

A circuit schematic diagram
After routing your circuit's path, you will realize that the design will have many component diagrams and unneeded texts.
Hence, after confirming your design, seclude the layer pallet and the pathways pads. Then transfer the monochrome image in PNG form.
Considering you are using a negative photoresist, you have to expose the resist areas where you want the copper to light.
You will thus use the white on the black alternative when exporting the dialog, as it keeps the pads and tracks white on black background.
Print the circuit design
The OHPS's primary purpose is to protect the resistance from UV light spread in unwanted areas. Thus, the OHP prints black parts need to block light entirely.
Nevertheless, a single layer will not efficiently block the light. Hence, you will need to align three layers then bind them together with glue for stability.
Glue copper foil to the glass
First, you need to dissolve the unwanted copper with ferric chloride to achieve a diameter of about 0.05mm. The reason being thick copper requires more working time.
After which, rub alcohol on the glass and the copper plate board surface. Doing so ensures the copper plate will properly stick on the mirror.
Once you finish cleaning, apply enough glue on the glass while evenly spreading it.
Then affix the copper on the glass while ensuring zero air bubbles between the glass and the copper.
Also, remember to press your copper foil and remove the excess glue.
Apply the Photoresist
The photoresist has two sides, and each of them has a clear cover.
After removing the covers, you can easily affix it onto your copper board as the photoresist has abrasive properties. You will need to begin by cutting the photoresist the size you require.
Then place scotch tape on both sides of the photoresist and remove both covers using the scotch tape.
Next, place the exposed part of the photoresist atop the copper. All the while ensuring zero air bubbles between the copper and photoresist.
A photoresist
Source: Wikipedia
Light Setup
Now that you have applied the photoresist prepare a setting to introduce UV light.
So take your OHP printout and put it on your copper board, placing it correctly to avoid print mirroring.
To ensure your OHP print firmly sticks on your copper board, you can place a piece of glass on it, using two parts for stability.
Expose to UV light
You can use an artificial UV light source; if not, bright sunlight will work just fine.
Exposing the setup for 5 to 8 minutes will do the trick. Don't forget to keep the configuration stable throughout the expose.
You can then dismantle the design to view print cured atop the resist.
Develop resistance
Start by removing another cover layer on the resist film using scotch tape.
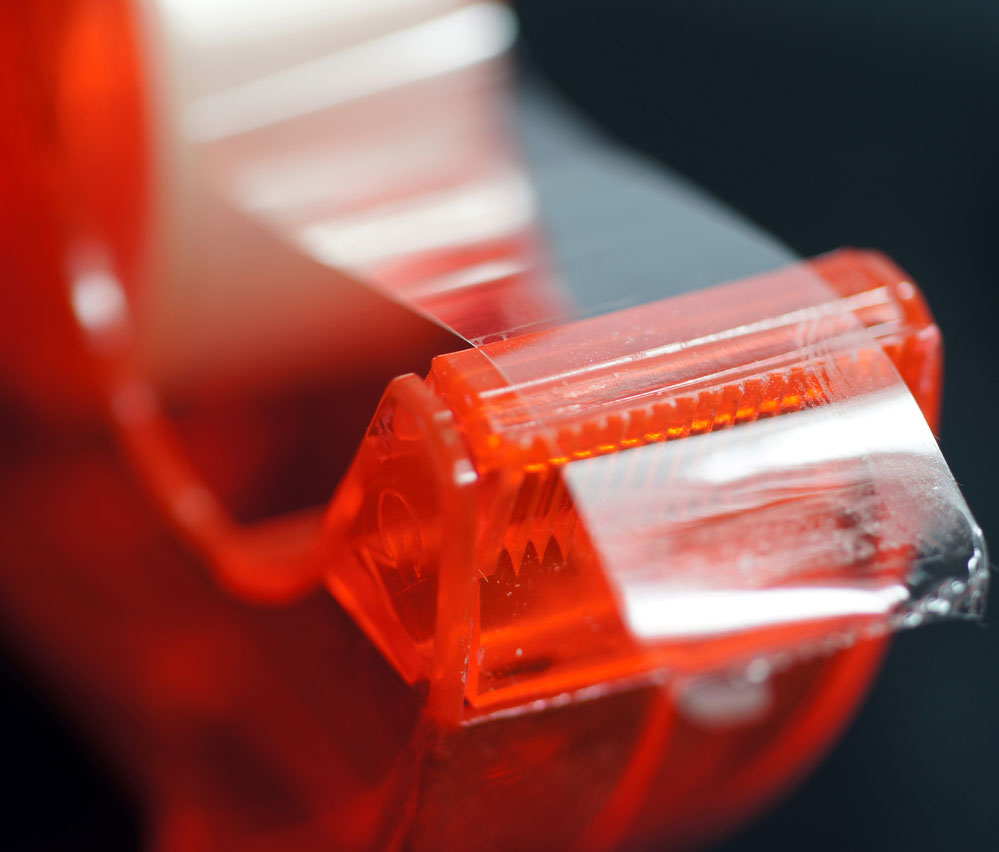
Red scotch tape
Then prepare the developer by making a baking soda solution. If you lack baking soda, you can use rinse powder.
Secondly, dip the copper board in the developer for one to two minutes. After removing the copper board and washing it, observe that the unexposed parts fly away.
Keep doing so until all the unexposed parts wash away and your copper board will have cured resist tracks.
Copper board etching
Dissolve ferric chloride in about 150mm of water and ensure that the solution is entirely black. If not, add more ferric chloride.
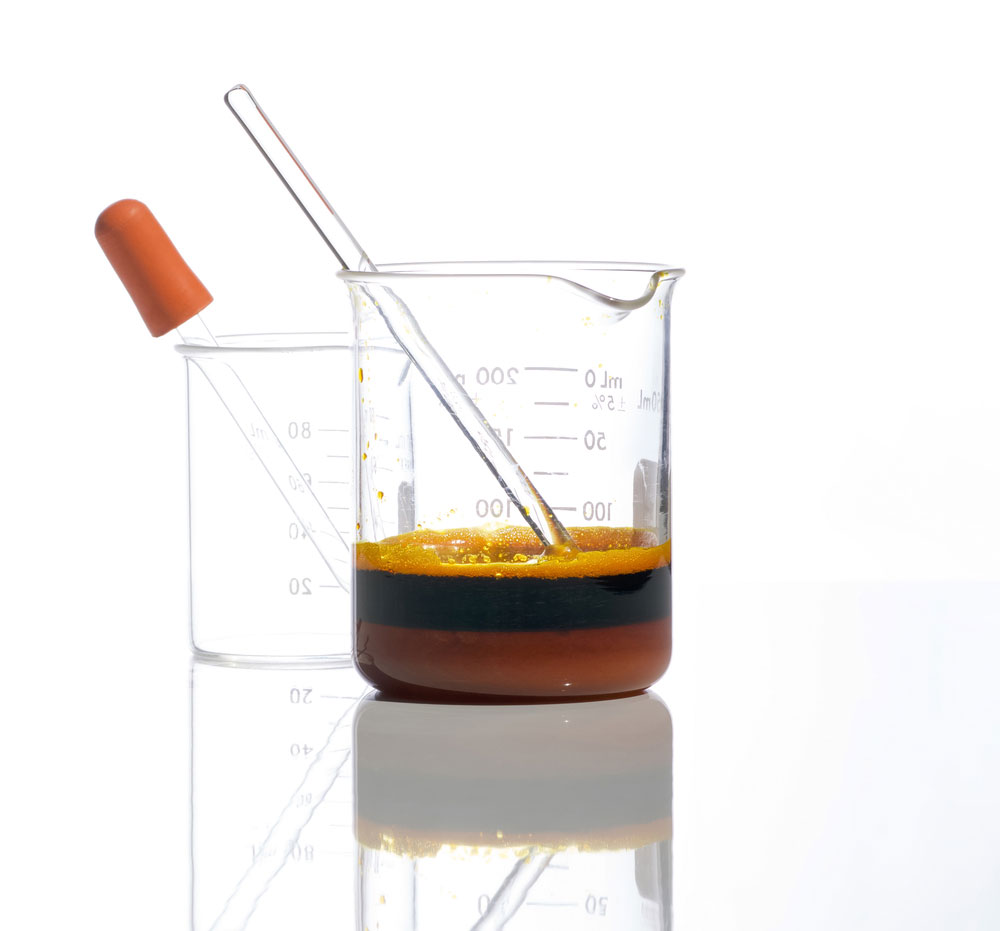
Ferric Chloride
Then dip the copper board into the solution and shake for proper etching. Within 10 to 15 minutes, the unwanted copper will have fallen off the remnant pathways.
You can then use acetone or warm water to remove the resistance of copper pathways.
Moreover, you will only need to replace the glass with Kapton tape to make flexible circuits.
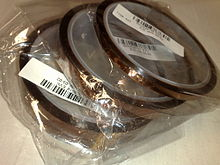
Kapton Tape
Source: Wikimedia Commons
Glass PCB Benefits
Even though glass PCB has no electrical advantages, it still has many other benefits.
- Low deformation rate
- Flat and transparent
- Heat resistant & Tear-resistant
- It doesn't need a heat sink
- Zero light attenuation
- 360-degree luminance emission
- Chemical resistance
Applications of Glass Substrate Circuit Boards
- Led Displays
- 3d printers
- Solar panels
- Optical devices
Summary
Glass PCBs are good looking no doubt. Their high heat resistance makes them suitable for high-temperature environment applications. Hence they have greatly improved the circuit board industry.
We hope we have answered all your Glass PCB questions, but you can always contact us for more information on the subject.
Special Offer: Get $100 off your order!
Email [email protected] to get started!