About Wire Splicing: When working on electrical projects on your vehicle, household, or electrical appliances, you’ll likely have to splice some wires to make them longer.
Wire splicing is cheaper than installing new cables because it involves cutting the damaged sections and connecting wire parts.
Let’s dive deep into this topic to understand the wire splicing types, techniques, and more!
Contents
- What is Wire Splicing?
- Wire Splicing Techniques
- Twist-on Wire Splicing
- Soldering
- Crimping
- Factors Influencing the Splicing Technique Choice
- Wire Gauge
- Application
- Environmental Conditions
- Aesthetics
- How To Splice a Wire
- How To Create Twist-on Wire Splices
- How To Create Solder Splices
- How To Create Crimping Splices
- Wrap Up
What is Wire Splicing?
Wire splicing refers to joining the endpoints of at least two electrical cable conductors. It results in the linking of wires having different lengths, forming a longer continuous wire.
So, instead of replacing the wire with a new one, you can cut the damaged part and splice one or several pieces to form the electrical connection.
Splicing is also common in fiber optic connections, but these don’t have metal conductors inside.
Fiber optic cable splicing involves connecting the glass strands that transmit light in the cables, and it requires sophisticated equipment.
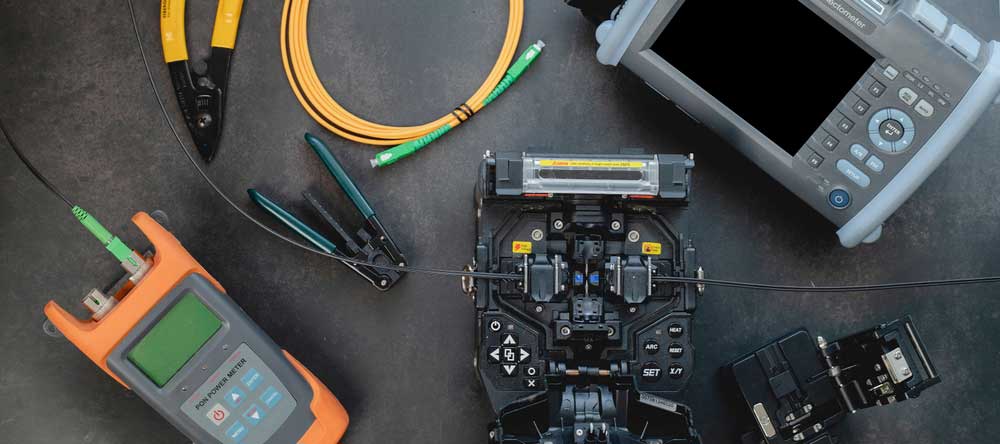
A fiber optic fusion-splicing tool
Let’s focus on electrical wire splicing.
Special Offer: Get $100 off your order!
Email [email protected] to get started!
Wire Splicing Techniques
You can use either of these techniques to form the wire splices.
Twist-on Wire Splicing
This technique involves twisting exposed wire ends to join the copper strands.
It is the most straightforward technique, but you can only use it for temporary links or low-voltage splicing.
And you can’t leave the wires exposed after splicing. Apply electrical tape (black tape) or a twist-on wire connector (wire nuts) for safety.
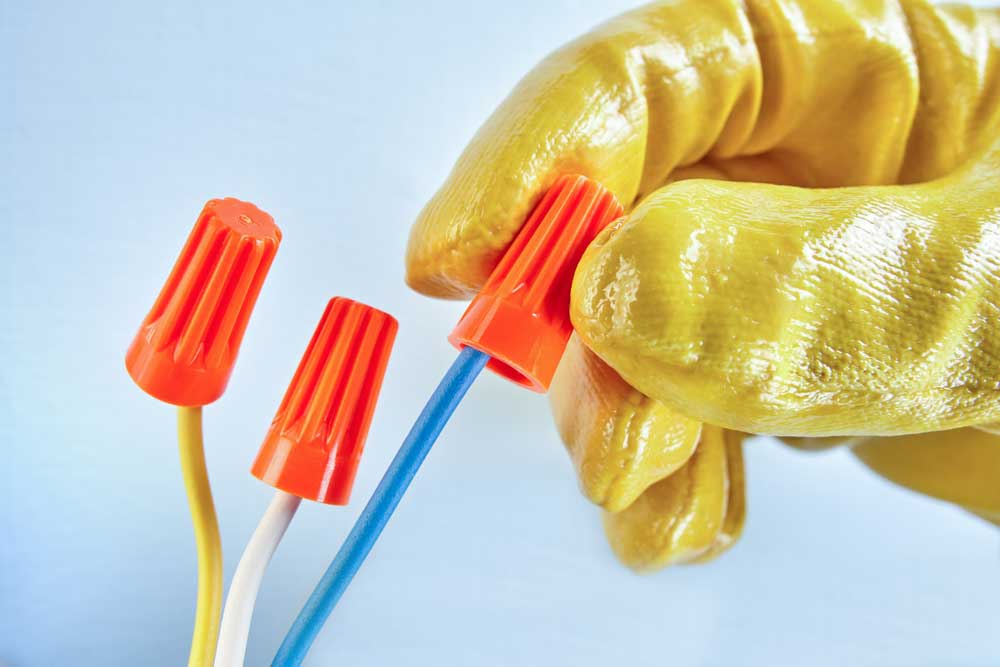
Twist-on wire connectors
Some twist-on wire splicing types include rat tail, palm frond, Lineman’s, and J-Hook.
Soldering
Soldering requires specialized materials and tools to apply and melt solder tin alloys to fuse the wires. These tools include a soldering gun, flux, and solder.
The alloy forms a sturdy, low-resistance electrical connection that is clean and effective.
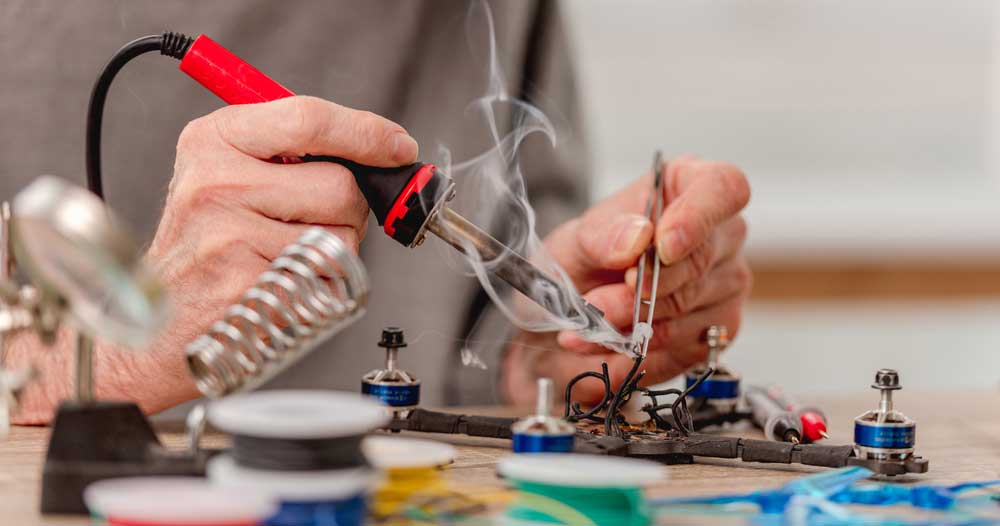
A person soldering wires in an electronics project
This technique is common in electronics and appliances because they have tiny, delicate wires and printed circuit boards.
But you can also use solder to reinforce twist-on wire splicing.
Crimping
Like soldering, crimping requires a specialized tool, a crimping tool in this case. A crimper resembles a pair of pliers.
After inserting the wire ends into a crimp connector, such as the butt type, use a crimper to compress the ends to form a tight mechanical connection.
Crimping is better than soldering because it forms sturdy, durable, and vibration-resistant mechanical electrical joints.
However, the choice of crimp connector and crimping tool determines the quality of the splice.
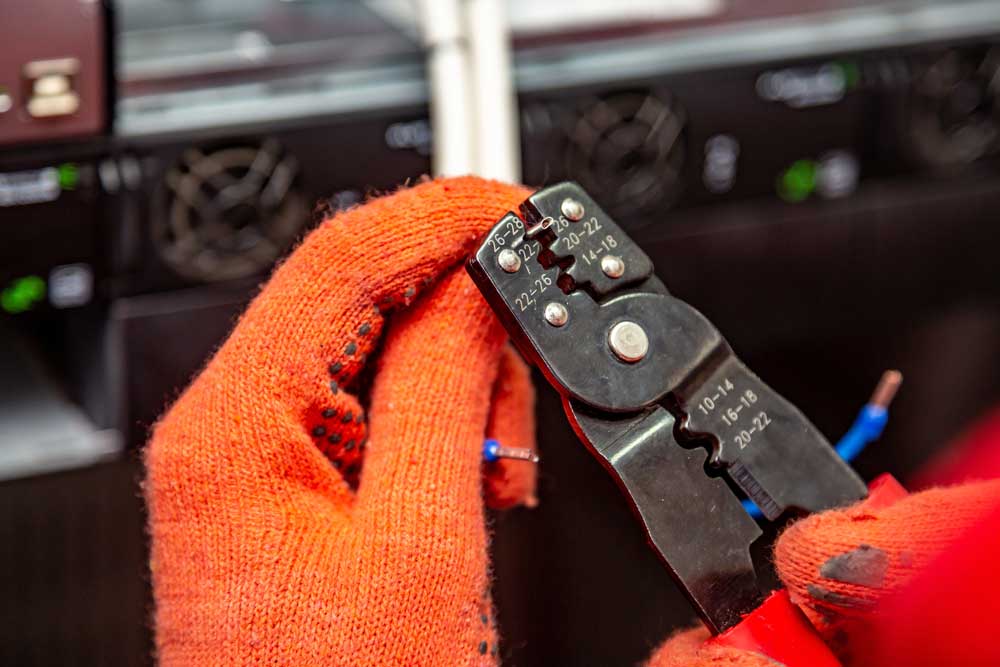
A crimping tool with markings for handling different wire gauges
Factors Influencing the Splicing Technique Choice
Consider the following factors to determine the most effective crimping technique for the electrical connection.
Wire Gauge
Twist-on wire splicing is sufficient when handling thin wires that transmit low voltages. But soldering and crimping are better for thick, low-gauge wires.
Crimping is the better option of the two because it introduces mechanical strength.
Application
There are three primary applications of wire splicing. They include household wiring, electrical appliance or electronics repair, and vehicle wiring.
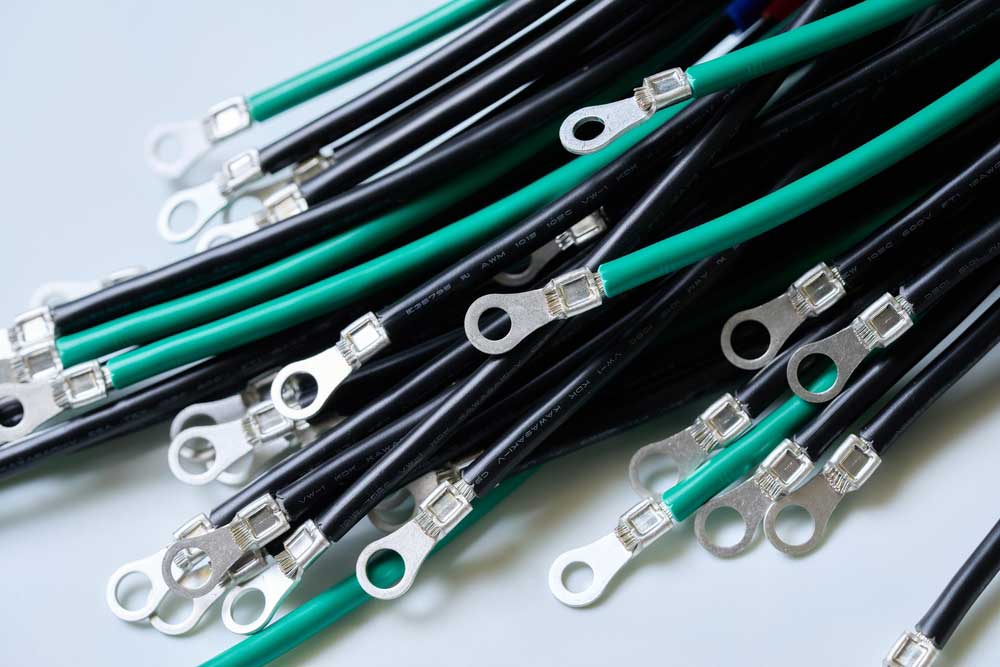
Crimped ring terminals on wires for power machine tools
Soldering is ideal for electronics and electrical appliances, while crimping is the best for vehicle wiring because the joint can withstand road vibrations. For complex industrial projects requiring multiple splices and organized wire routing, partnering with a custom wiring harness manufacturer can provide pre-assembled solutions that eliminate the need for field splicing.
But you can use any technique for building wiring while considering factors like wire gauge.
Environmental Conditions
External conditions like temperature variations, chemicals, moisture, and vibrations affect the long-term reliability of splices.
But some are more resilient than others. For instance, crimp joints can withstand vibrations, making them ideal for vehicle wiring.
These crimp connectors usually have heat-shrink tubing to insulate the joint from moisture, chemicals, and the elements, making them better.
But you can install heat-shrink tubing on solder and twist-on connections to waterproof them.
Aesthetics
In some cases, the aesthetics matter in electrical installations, such as electronics with transparent cases or custom-made devices.
Solder joints and splices covered with colored heat-shrink tubing have a more pleasant appearance, so consider them.
How To Splice a Wire
You’ll need the following materials.
- Wire cutter
- Needle-nose pliers
- Wire stripper
- Various heat shrink tubing sizes
- Wire crimper
- Butt splices
- Heat source (heat gun)
- Soldering iron
- Solder
- Flux
How To Create Twist-on Wire Splices
Rat Tail Splice
This type is the simplest twist-on splice to form and involves these steps.
First, strip about half an inch of wire insulation from both stranded wires, then twist them slightly to avoid splaying.
After that, place the wires next to each other in parallel with the striped ends facing each other and twist the exposed strands together to form the rat tail.
Palm Frond Splice
As the name suggests, creating this splice involves shaping the conductor strands to form a palm leaf.
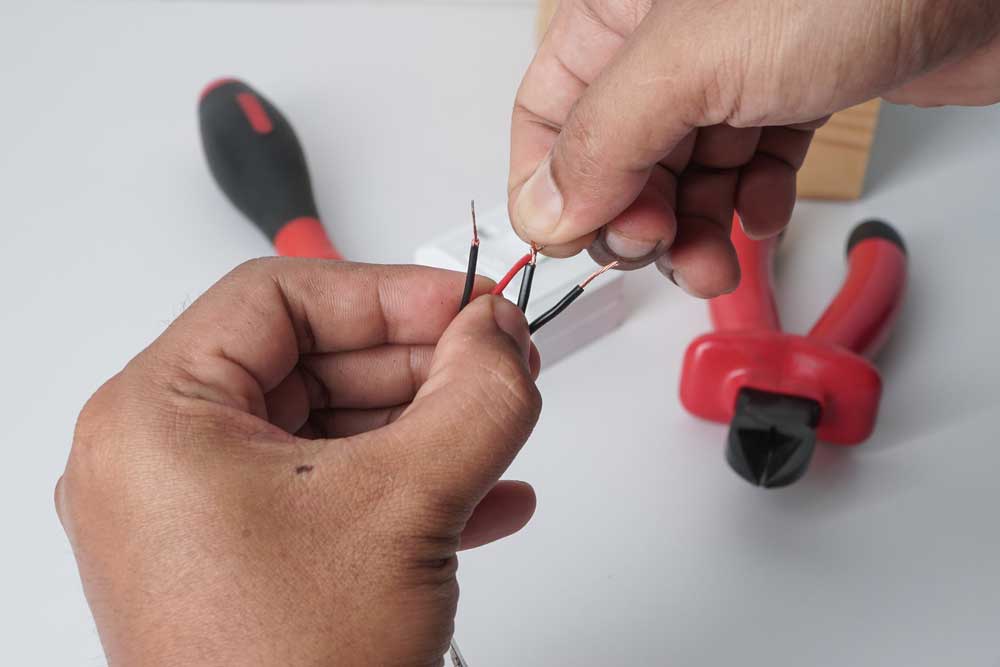
A person creating twisted splices
Strip about half an inch of insulation from both wires, then splay the strands from each wire to form a palm frond.
Place one frond above the other, then twist the wires together.
The joint creates multiple contact points between the wire strands, creating a firm connection.
Lineman’s Splice
This splice requires a lengthier wire conductor section.
So, strip an inch or two of the insulation from both wires, then cross the bare strands a third way up and wrap each bare wire around the other three times minimum.
J-Hook Splice
This splice requires J-shaped wires, so strip an inch or two of insulation from the wires, then twist each wire individually to keep the strands together.
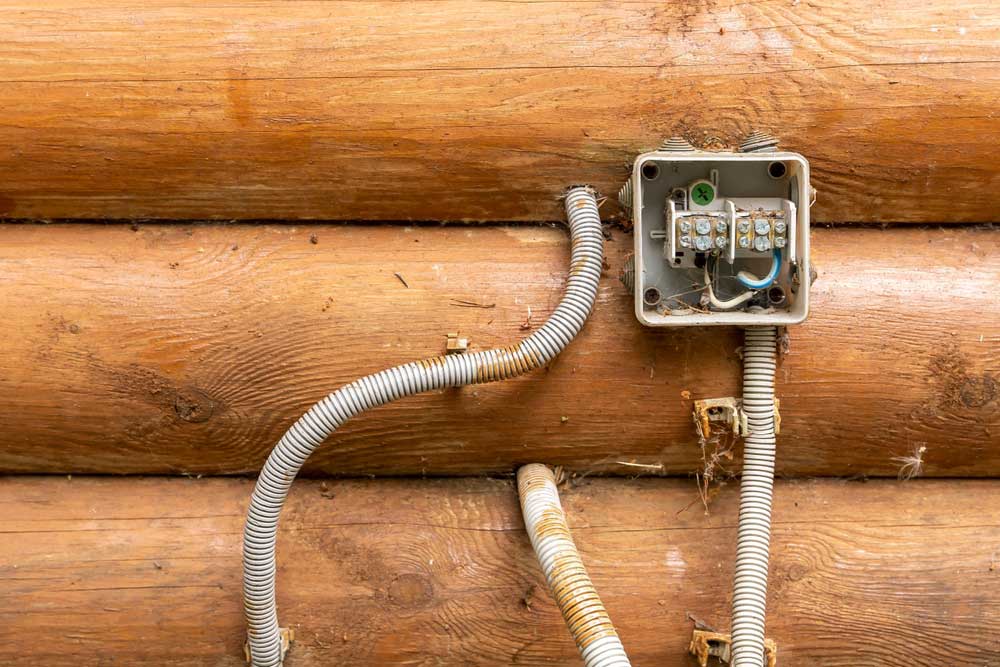
A junction box with twisted and soldered wires
Form these twisted ends to form a J on each wire, then hook them. Wrap the tail end of either bare wire around the trunk to lock the hooks to each other.
You can insert heat shrink tubing in one of the wires before splicing to slide it around the joint and heat it to insulate the splice. The alternative is to use a twist-on wire cap.
How To Create Solder Splices
Strip about half an inch of insulation from both wires, insert heat-shrink tubing in one of the wires, then twist the strands to prevent them from splaying.
Place these twisted wires next to each other. You can secure them using tape on wooden blocks for precise solder application.
Next, apply flux over the wires and heat the material to remove impurities and the oxidation layer on the wires to enable the solder to stick to the metal.
After that, heat the solder wire above the two wires using the soldering iron to melt it and flow around the wires.
Leave to cool, then push the heat-shrink tubing above the splice and heat it to shrink.
How To Create Crimping Splices
After stripping the insulation and twisting the strands to prevent splaying, insert the wires in a crimp connector, such as the butt type.
Butt connectors usually have heat-shrink tubing, meaning there’s no need to use an external piece.
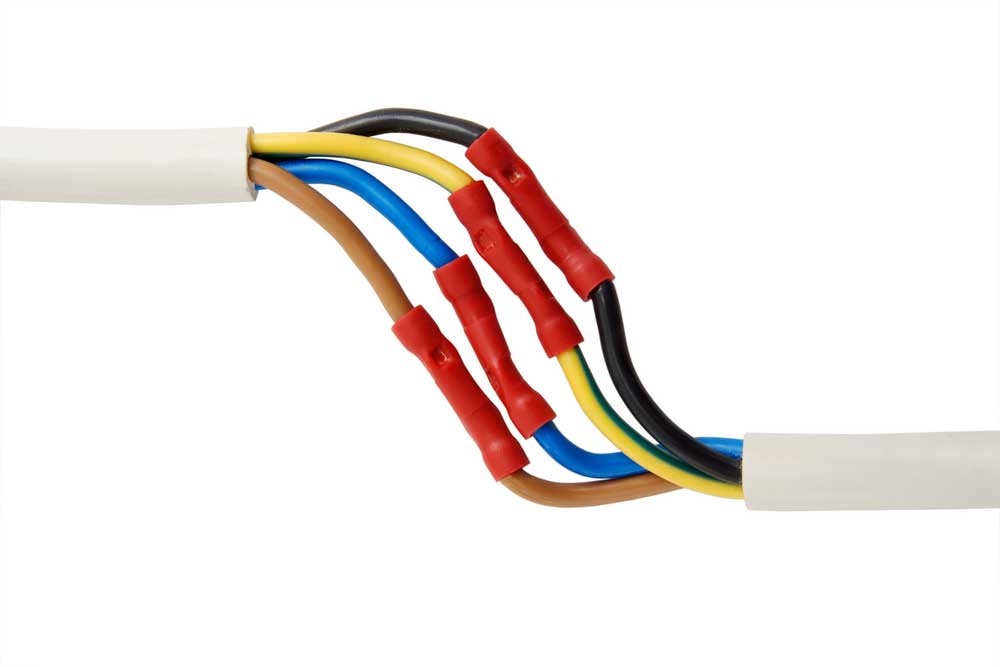
Joined electrical wires using butt splices
Crimp the connector at the specified areas at least twice while pressing the handles firmly.
Use the heat gun to warm the tubing until it shrinks, then test the joint. Pull the wires to assess if the splice is firm.
Wrap Up
It is almost impossible not to have splices in any electrical wiring project, so this article will help you when making these joints because we’ve covered all bases.
If you feel we’ve left something out or need further clarification in the areas discussed above, contact us or comment below.
Special Offer: Get $100 off your order!
Email [email protected] to get started!