3D Printing Service: Tailored Solutions for Every Project
✅ Custom Solutions: Tailored designs for items like prosthetics and jewelry.
✅ Rapid Prototyping: Speeds up prototyping, up to 10x faster and 5x cheaper.
✅ Diverse Applications: Used in automotive, healthcare, and construction.
✅ Complex Geometries: Creates intricate shapes not possible with traditional methods.
✅ Material Versatility: Works with plastics, metals, and composites for various needs.


Are You Looking for a Reliable 3d Printing Services?
Are you searching for a world-class 3D printing service provider? OurPCB specializes in delivering high-precision 3D printing solutions with a focus on quality, efficiency, and customer satisfaction. Our cutting-edge additive manufacturing capabilities include rapid prototyping, small-batch production, complex geometries, and multi-material printing, catering to diverse industries such as electronics, aerospace, and medical devices.
As a premier 3D printing service provider trusted by industry leaders across the United States, OurPCB delivers innovative solutions that drive progress in American manufacturing. Get in touch with us today for a customized 3d printing quotation online or consultation on your 3D printing needs – we’re ready to transform your ideas into reality!
How Much Do 3D Printing Services Cost?


The cost of 3D printing services can vary significantly, depending on several key factors such as the size of the object, complexity of the design, type of material used, print quality or resolution, post-processing requirements. Quantity of items printed, and turnaround time. As a result, project costs can range from as little as $10 for small, simple objects like a keychain or phone case, to $100-$500 for medium-sized, moderately complex items such as functional prototypes or custom figurines. And $500 to over $1000 for large or highly complex objects like full-scale product models or intricate art pieces. Pricing models may include per-part pricing, material plus machine time calculations, or even subscription models for regular users.
Note: For exact prices, contact OurPCB directly. Our team will look at your project needs and give you a clear quote. Costs change based on what you need and current market prices. We offer fair pricing for all 3D Printing Service projects. Get in touch with us today to discuss your needs.
How does 3D Printing Work?
Let’s break down the process step by step for a comprehensive understanding.
The 3D printing process begins with a digital 3D model, which is created using 3D modeling software or obtained through physical scanning.
Then, the “slicing software” slices the 3D model into a series of thin layers and generates the instruction code, like G-code.
The instruction code guides the 3D printer’s operations to solidify or deposit materials layer by layer.
Once all layers are printed, post-processing is done, such as removing support structures, polishing surfaces, or applying dye, to meet the final functional or aesthetic requirements.


- 15+ Years of Experience
Our team has extensive experience creating both standard and custom wiring harnesses.
- Competitive Pricing
Well-priced and payable via PayPal, bank transfer, Western Union, or Moneygram.
Our 3D Printing Capabilities


SLA (Stereolithography) Curing Molding
Processing Accuracy: ±0.1mm/100mm
Maximum Molding Size: 800*800*450mm
Product Materials: Chinese 9400 resin, Lasty-R resin, high-toughness resin 8220, black resin TOP31B, transparent resin, translucent resin, imported transparent resin
SLS (Selective Laser Sintering) Sintering Molding
Processing Accuracy: ±0.2mm/100mm
Maximum Overall Molding Size: 380*380*350mm
Product Materials: Solid-state powders for SLS, including Nylon (FS3300PA) and Nylon + Glass Fiber (FS3400GF)
What are the Advantages and Disadvantages of 3D Printing?
Advantages of 3D Printing
- Complex and intricate designs
- Rapid prototyping
- Customization and personalization options
- On-demand production
- Material waste minimized
- Accessibility and ease of use
Disadvantages of 3D Printing
- Limited material options
- Time-consuming process
- Limited size and scale
- Limited surface quality
- Post-processing often needed
- High equipment cost
- Intellectual property concerns
Millions of business and innovators use OurPCB


What are the Common Materials Used for 3D Printing?
PLA is especially suitable for consumer-grade 3D printers. It is biodegradable, eco-friendly, and can be used without a heated bed, making the printing process more straightforward. PLA plastic is available in various colors, including translucent and fully transparent materials.
ABS is one of the most commonly used 3D printing materials in FDM technology. It is durable, impact-resistant, and commonly used in automotive and electronics.
PETG combines the strength and durability of ABS material with the printability and environmentally friendly properties of PLA material. PETG material features high temperature and corrosion resistance, prints smooth items that require no post-processing, and offers high transparency and flexibility.
Acrylic, also known as PMMA or acrylic glass, is a transparent or translucent 3D printing material. It has a smooth surface and is suitable for printing models that require transparency, such as dental correction models.
As one of the most popular materials for 3D printing, nylon has good mechanical properties, including toughness, high strength, high flowability, low static electricity, low water absorption, and a moderate melting point. It is suitable for manufacturing casings and housings, consumer sports equipment, complex prototype plastic parts, and prototypes with specific shapes, assemblies, or functionalities.
Stainless steel powder can be 3D printed using SLS technology to create sturdy and durable products. Stainless steel is used for making models, artwork, as well as various functional and decorative items.
This metal is lightweight, high strength, good toughness, corrosion-resistant, and can achieve minimum feature sizes of 1mm. Parts made from titanium alloy exhibit superior mechanical properties compared to forged components. Titanium alloy is used extensively in the aerospace industry.
This alloy has high mechanical workability, ductility, and excellent strength-to-weight ratio. Widely used in aerospace manufacturing, mechanical equipment, transportation, and other fields.
Why Choose Us as Your 3D Printing Service Provider?
With advanced CNC machining, 3D printing, silicone molding, rapid molding and injection molding, sheet metal processing, and various surface treatment technologies, we combine multiple processes and provide one-stop prototype and product processing services.
As your most reliable 3D printing service provider, you’ll always receive fast quotations and real-time tracking of order status from our highly skilled team.
Not only are we ISO 9001, ISO 14001, IATF 16949, and ISO 27001 certified, but we also have a comprehensive quality control system. It’s our goal to be your go-to 3D printing company by consistently exceeding your expectations in regarding customer service, product quality, and price.
Contact us today for a tailor-made quote or consultation. We’re looking forward to collaborating with you on your next project!
Popular 3D Printing Technologies
Fused Deposition Modeling (FDM)
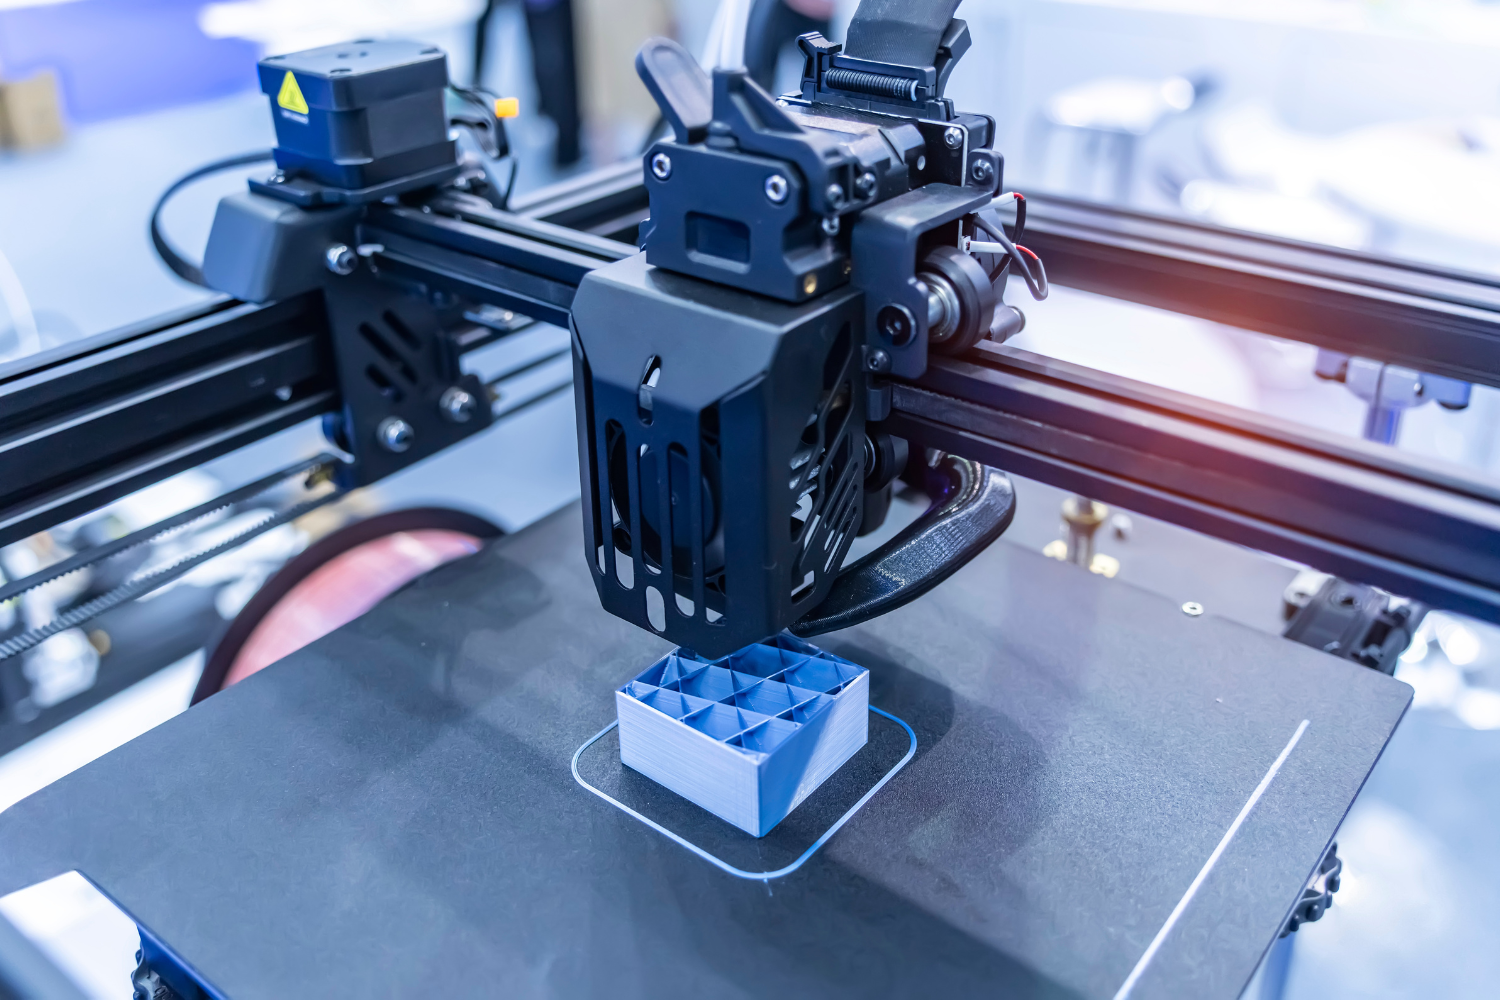
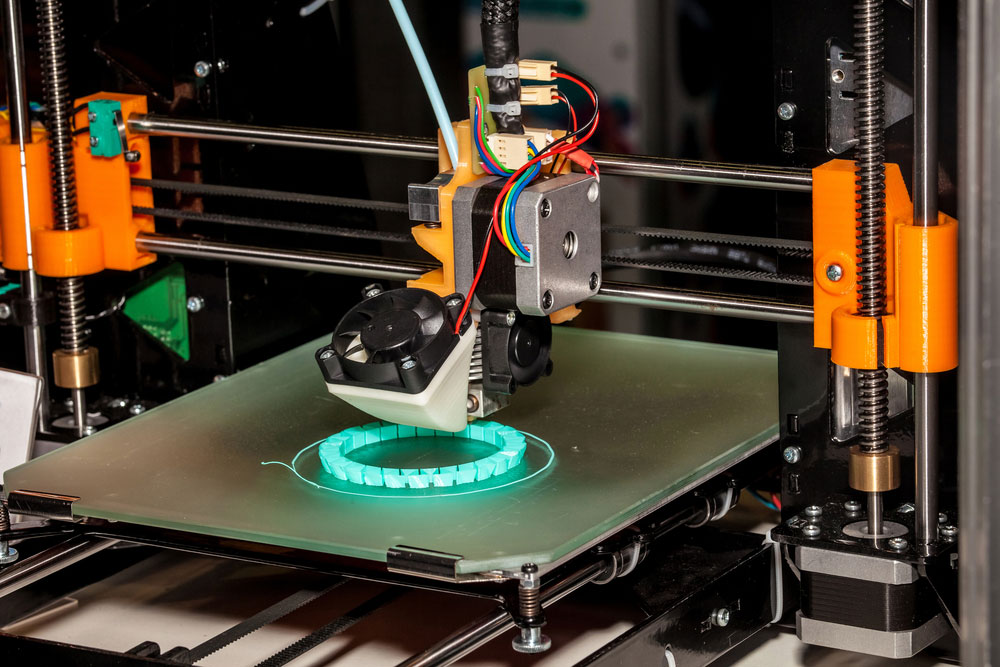
FDM uses heated and extruded thermoplastic filament. CAD models control the 3D printer nozzle, which deposits the filament layer by layer to create final products.
Advantages: There is a wide selection of materials, such as ABS, PLA, etc., which are suitable for use in office environments. These materials are commonly employed in prototype design, educational settings, and household applications, and the cost is relatively low.
Limitations: It has lower precision; directly printed chips may encounter leakage issues, and the surface roughness is higher, so it will require post-processing.
Stereo Lithography Apparatus (SLA)
An ultraviolet laser solidifies liquid photosensitive resin layer by layer according to the machine instructions on a build platform. SLA produces highly detailed 3D parts with smooth finishes.
Advantages: It is high-precision and capable of manufacturing complex microfluidic structures, suitable for rapid iterative design in academic research.
Limitations: Traditional SLA struggles to achieve micron-level accuracy along the Z-axis, and it is prone to over-curing which leads to channel blockages. Moreover, high-resolution printers are expensive.
Selective Laser Sintering (SLS)
Uses an infrared laser to sinter powdered material (like nylon or metal) layer by layer, enabling complex geometries and functional prototypes or end-use parts.
Advantages: It is suitable for the manufacture of high-temperature resistance and high-strength, complex components or molds, especially in the production of large and complex parts in fields such as aerospace and automotive manufacturing.
Limitations: The prototype’s cost is high, its surface roughness is relatively high, and the manufacturing process may produce harmful gases.
3DP (3D Printing) Jetting Technology
This printing technology jets binder onto a powder bed material to build a 3D object layer by layer.
Advantages: 3D jetting allows for the simultaneous use of multiple materials, making it suitable for rapid prototyping, small batch production, and manufacturing complex multicolored models such as interior and exterior decorations, medical models, etc.
Limitations: The limited strength of the materials, issues with liquid leakage, and resolution limitations in inkjet printing restrict its applications.
These technologies vary in materials, resolution, and application suitability, but all enable the creation of customized, intricate objects with high precision and efficiency.
Future Trends in 3D Printing
3D printing technology will continue to make breakthroughs and innovations in equipment, materials, and applications.
Equipment: Trends for 3D printing include high precision, high speed, and large-scale 3D printing devices becoming mainstream.
Multi-Material Printing: More new materials will be developed and applied, covering a wider range of application areas.
Personalization and Customization: Traditional manufacturing often focuses on mass production, whereas 3D printing technology enables small batch and customized production. In the future, as consumer demand for personalization continues to grow, personalized customization will become an important direction for the development of the 3D printing industry.
Green and Sustainable Development: Traditional manufacturing often generates a large amount of waste and pollution; however, 3D printing technology enables efficient use of materials and reduces waste production.
Intelligent Manufacturing: 3D printing technology will deeply integrate with emerging technologies such as smart manufacturing and the Internet of Things (IoT). In the future, 3D printing technology will deeply integrate with these technologies to achieve digital and intelligent manufacturing.
Cross-Disciplinary Integration and Collaborative Innovation: The 3D printing industry will integrate across different sectors, achieving complementary advantages and collaborative innovation. For example, 3D printing will merge with fields such as biomedicine, education, and the arts, creating more innovative products and services.
Regulatory Challenges: Evolving regulations will address IP, safety, and certification issues as 3D printing technologies mature.
These advancements promise to reshape manufacturing, health care, and beyond, ushering in an era of innovation and efficiency.

Mon-Fri: 24 hours,
Sat: 9am-6pm, GMT+8

Reach us at
[email protected]
24 hours online

+86-199-30589219
Mon-Fri: 24 hours,
Sat: 9am-6pm, GMT+8
Injection Molding FAQs
What is 3D Printing?
3D printing, also known as “additive manufacturing,” is a process that builds 3D objects by adding materials layer by layer based on digital models. Using materials like plastic, metal, or ceramics, it creates complex shapes quickly and accurately. Commonly used for prototypes and end-use parts, 3D printing is popular in industries like aerospace, healthcare, and consumer goods.

