Here is a guide about how to enable VNC Raspberry Pi.
If you use your Raspberry Pi to perform continuous tasks without having to access it all the time, VNC can give you graphical remote access via a virtual desktop.
For instance, the Pi computer might be part of a robot’s embedded system, or you might not have a spare monitor.
This access means you can use your Pi in a headless setup (without a monitor connection).
But you need to enable VNC Raspberry Pi to get this remote access. Here’s how to do it.
Contents
- What Is VNC?
- How To Know If You’ve Enabled VNC on Your Raspberry Pi?
- How To Enable VNC Raspberry Pi
- How To Enable the VNC Server on Your Raspberry Pi
- How To Install the VNC Client on Your Computer
- How To Connect and Use the VNC Client To Remotely Access Your Raspberry Pi
- Other Crucial Factors To Consider
- Wrap Up
What Is VNC?
VNC is an acronym for Virtual Network Computing, a platform-independent graphical desktop sharing system.
The platform uses the RFB (Remote Frame Buffer) protocol to transmit mouse and keyboard inputs from one computer to the other.
This transmission relays the screen updates graphically over the network, giving you remote access/control.
Special Offer: Get $100 off your order!
Email sales@ourpcb.net to get started!
How To Know If You’ve Enabled VNC on Your Raspberry Pi?
The VNC radio button should be in the “enable” position in the Raspberry Pi configuration options.
Go to the main menu, click preferences, then select Raspberry Pi configuration. Click the interfaces tab to check the VNC status.
How To Enable VNC Raspberry Pi
The setup has three sections: enabling the VNC server on your Raspberry Pi, VNC client installation on your computer, and connecting the two.
How To Enable the VNC Server on Your Raspberry Pi
Let’s primarily focus on Raspberry Pi computers running on the Raspberry Pi OS Bookworm.
Enabling VNC Server on Raspberry Pi OS
This procedure is straightforward because Raspberry Pi operating systems have the VNC server pre-installed on all versions.
But the OS has this feature disabled by default for security reasons. There are two ways to enable it.
From the Graphical Desktop Screen
If you can get a monitor, keyboard, and mouse to access and use Raspberry Pi’s desktop, here’s how to enable VNC Server on Raspberry Pi OS.
- Go to the main menu, then click Preferences
- Select Raspberry Pi Configuration
- Go to the interfaces tab and tap on the toggle button to enable VNC (it can be a checkbox in some versions)
- Click “OK” to apply the changes.

A STEM education Raspberry Pi project with an LCD screen indicating “Raspberry Pi is EASY.”
Using the “raspi-config” Command
If you can’t get full access to the Pi computer, use these steps to enable VNC via SSH using the raspi-config command.
- Open a Raspberry Pi session and go to the terminal window
- Type the command sudo raspi-config
- Select VNC on the submenu interface
- Confirm that you want to enable this feature (VNC server)
- Exit raspi-config
Enabling VNC Server on Other Operating systems
Raspberry Pi computers can run other operating systems apart from the Raspberry Pi OS. These include Manjaro, Ubuntu, Batocera, DietPi, LibreElec, etc.
You can install and enable VNC in these operating systems, but the procedure will differ depending on the VNC tool.
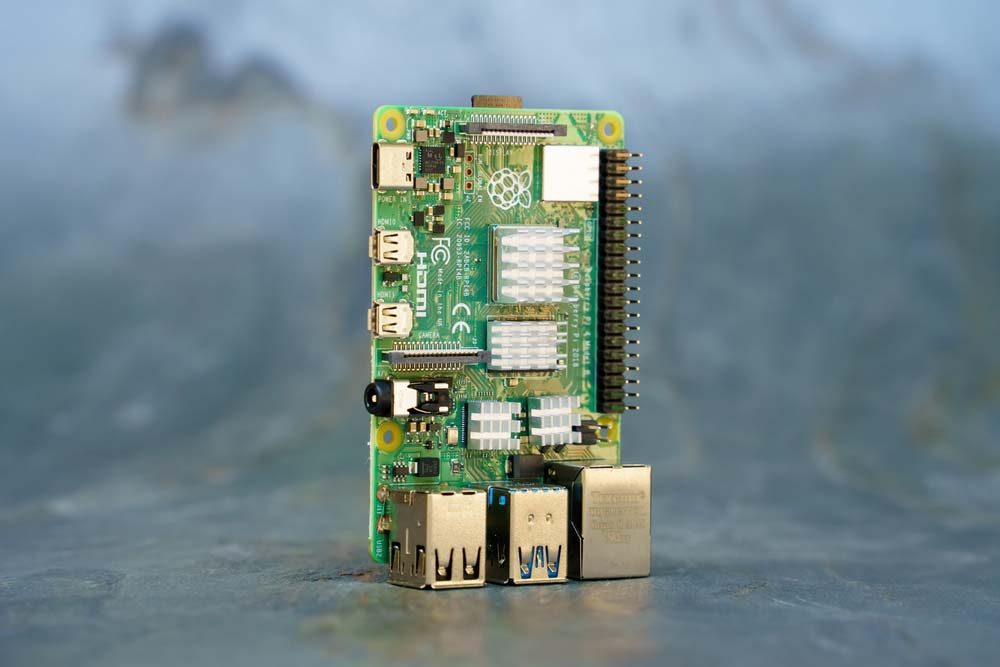
A Raspberry Pi 4B single-board computer
We recommend checking the package manager for your Linux distribution (OS). Search for any VNC package in the default repository to identify the most compatible type.
And you should use the same client-side software on your computer to access the Raspberry Pi remotely.
You can use the search command “sudo apt search vnc” to find the included packages in the default repository.
For instance, TightVNC can work on Manjaro and Ubuntu distributions. TigerVNC is another alternative that works for Arch-based and Red Hat distributions.
Please note that some VNC tools are premium. However, the ones included in the default repositories are free to use.
How To Install the VNC Client on Your Computer
With the VNC server running on the Pi computer, you need client-side software to access the server remotely.
Let’s work with the TigerVNC, one of the best for Raspberry Pi OS versions. These steps can also work when installing other clients.
Installing VNC in Linux Operating Systems
Check if TigerVNC is available in your operating system’s application store or package manager.
It should be easy to find if you’re running Ubuntu on your computer. But with Debian, you must use the APT (Advanced Package Tool).
After downloading the viewer software, install it using this command. “sudo apt install tigervnc-viewer.”
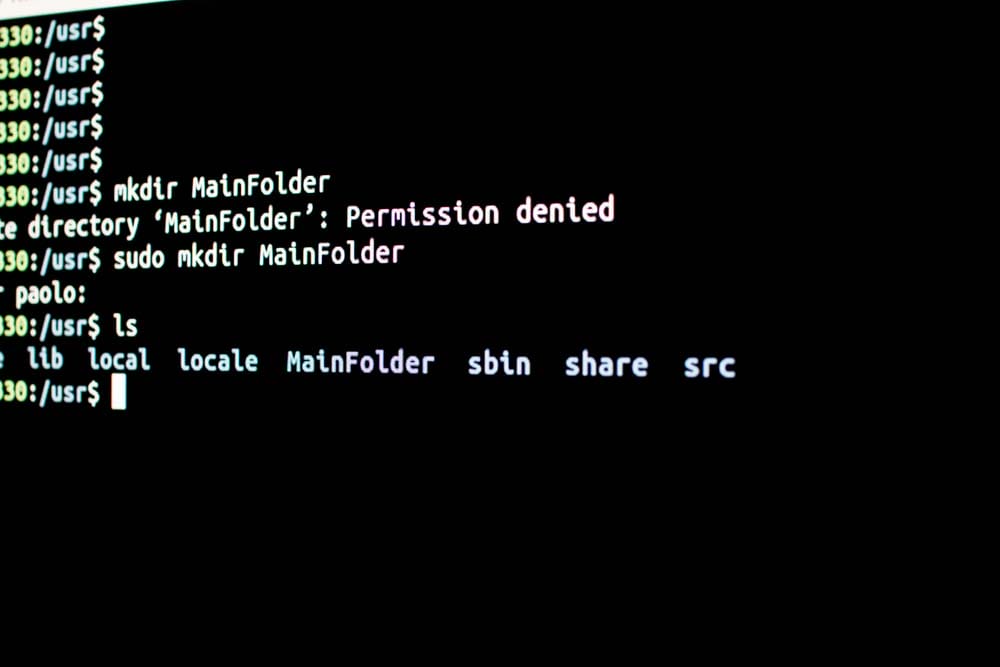
Linux terminal commands
Installing VNC in Windows and Mac Operating Systems
You can get lost while searching for TigerVNC on the official website, so it is easier to go directly into Sourceforge to get the application files.
Before downloading the file, check whether the application is for a 32-bit or 64-bit Windows system. It should have a .exe file extension.
For Mac installation, the file extension should have the .dmg file extension.
Please note that these TigerVNC applications are specifically for Intel-based Macbooks.
The software might not function properly on an M1, M2, or M3 Macbook.
Double-click the file after downloading to install the application.
How To Connect and Use the VNC Client To Remotely Access Your Raspberry Pi
This connection process requires two steps.
Find the Raspberry Pi Computer’s IP Address
You need the Pi’s IP address to locate it on the local area network.
The easiest option is to hover the mouse cursor above the network icon in the system tray to display the network name and the device’s IP address.

IP address pinging
But you can also use the “ip a” or “ifconfig” commands. These two commands can show or manipulate devices, routing, and tunnels, but “ip a” is more powerful because it has more functions and facilities tied to it.
Enter either command, then check the inet parameter. This address should contain four numbers separated by periods.
An example is 192.168.123.5. You’ll need this address to create a new connection to the server running on the Pi computer.

The inet parameter from an “ifconfig” command
Create a New Connection Between the Client and the Server
Launch the VNC viewer application and paste or type the Pi computer’s IP address on the connection details window.
Leave the other settings as they are, then click the connect button.
The software should send a prompt to accept the server’s fingerprints on the initial connection. Click “Yes” to accept and proceed.
Next, enter the Raspberry Pi computer’s username and password to access the current device session.
If you haven’t changed these login details, the default values can be pi and raspberry. Enter them and click okay.
If the session login details are correct, you should get a complete graphical interface of the Raspberry Pi’s desktop environment.
This remote desktop connection enables you to make changes on the embedded computer.
Other Crucial Factors To Consider
Connection Errors
If your Raspberry Pi computer runs an older Raspberry Pi OS, including Bullseye, you might get a ZRLE compression error.
The connection will halt almost immediately, then display “Exception on worker thread: ZRLE decode error.”
The solution to this issue is disabling compression in the VNC client’s settings.
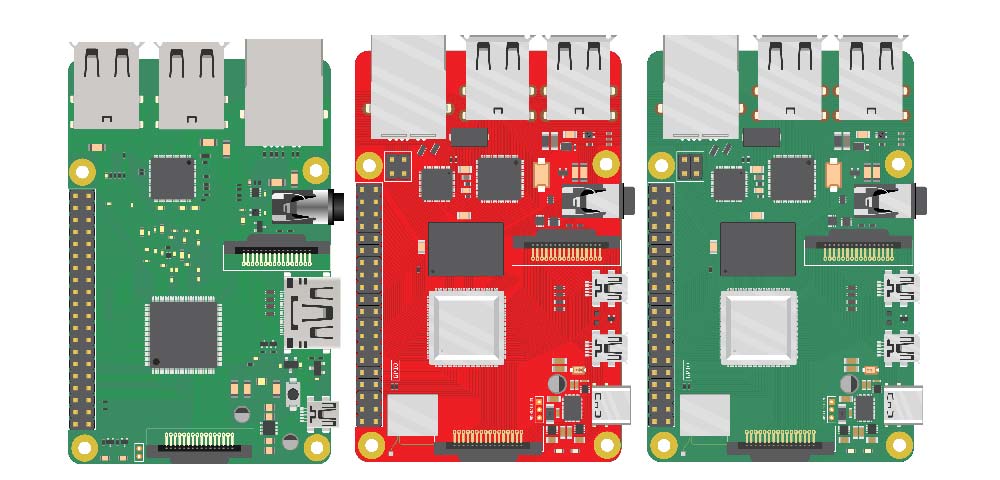
Vector images for the Raspberry Pi 3 and 4
If using the TigerVNC, go to the options tab under the IP address text box, then click the compression tab on the left menu.
Uncheck the “Auto select” radio button and click “Raw.”
Click okay to activate the changes and try connecting to the server.
Changing the Headless Resolution
If you plug a monitor into the VNC server, it will initiate the connection with a lower resolution on your computer, especially if the connected screen is smaller.
You can fix this issue by changing the headless resolution to match your computer’s screen under options>display.
Alternatively, you can use the raspi-config command tool.
After entering this command, go to the display options (or advanced options), then select VNC screen resolution. Pick an option that matches your screen from the list.
Wrap Up
If you’ve managed to install or embed a Raspberry Pi computer on a robot or other system project, enabling VNC on it should be a walk in the park.
You only have to set up the server and client sides, then link the two using the IP address.
This process is more straightforward if you run Raspberry Pi OS on the device but is also doable when using other operating systems.
Check out these Raspberry Pi projects to try out, and contact us if you need this computer for your project.
Special Offer: Get $100 off your order!
Email sales@ourpcb.net to get started!