Blog  /  SMT Stencil: Why You Need One

SMT Stencil: Why You Need One

OurPCB's expert PCBA services offer a seamless solution for engineers facing challenges with SMD attachment, aligning closely with the use of SMT stencils. By providing precise Printed Circuit Board Assembly, we ensure that your components are accurately placed with consistency, saving time and enhancing the quality of your projects. Let's explore the benefits and processes of SMT stencils in detail.
Quote Form
check whiteFast Turnaround check whiteISO Certified
1 2 3

Are you an engineer who struggles to attach SMDs to your printed circuit board with your bare hands? If your answer is yes, then you need an SMT stencil. Unlike hand-based soldering, SMT stencil-based soldering helps save your time and enables consistency.

So, in this article, we'll dive deep into more about SMT stencils.

Let's get started!  

What Is an SMT Stencil?

The SMT (surface mount technology) stencil moves solder paste to a standard circuit board. Also, the SMT stencil has other names like; laser stencil, solder paste stencil, and PCB stencil.

You can adequately spread the solder paste on a circuit board before selling the PCB components with an SMT or PCB stencil. Beforehand, a stainless-steel foil on the board usually creates an opening for every part attached to it.

When the stainless-steel foil leaves the board, the solder paste stays. Then, the components remain attached to the circuit board—with the help of the SMT stencil.  

Why Do You Need an SMT Stencil?

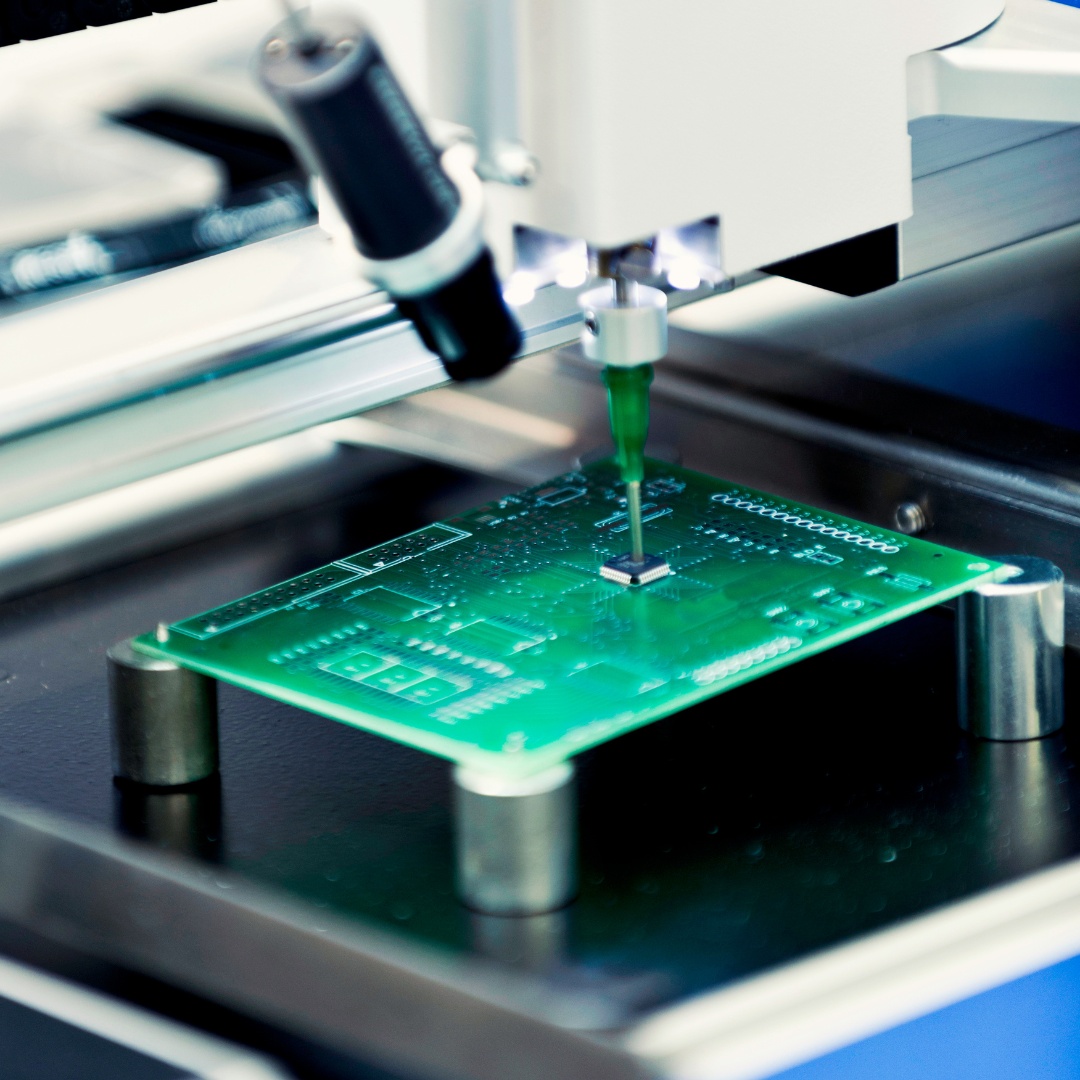
The first step of production is to do solder paste printing on your PCB's component pads. And the process involves using precision to apply the solder paste in the appropriate places.

Interestingly, you can execute this step flawlessly with surface mount technology stencils. That said, stencils usually comprise stainless steel foil. And the foil is laser cut to fit the areas where you'll place the surface mount devices on the board.

So, when you cut the SMT stencil, it uses a metal squeegee blade to apply the solder paste over the openings. Also, when you pull out the stainless steel foil, the result will be a perfectly placed solder paste on your board. Hence, you can set your surface-mounted devices.  

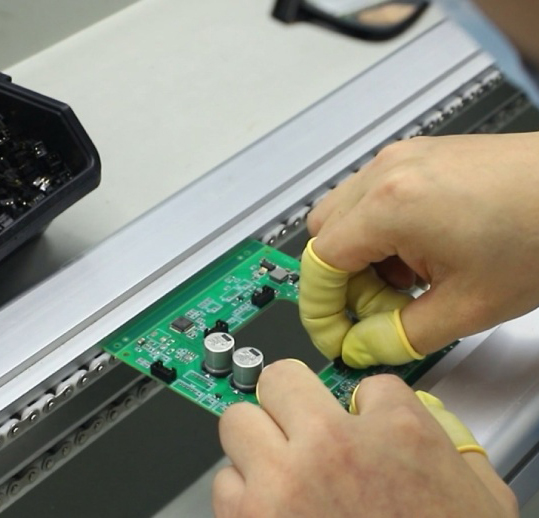
Can you skip the process of using the stencil? Yes, if precision isn't on your to-do list. Aside from that, applying soldering paste with your hands is time-consuming.

Also, there's no guarantee that the manual method will give you the required consistency. So, your result may have a lot of errors.

And other serious issues you may face as a result of manual application include the following:

  • Voids in the soldering process
  • Short circuits
  • Bumpy and stressed material

But your printed result should have:

  • Accuracy in the position and size of the apertures
  • A burr-free and smooth sidewall of the apertures
  • Consistent tension distribution over the whole PCB surface
  • Flat and unstressed material


Special Offer: Get $100 off your order!

Enjoy $100 off your order! No hidden fees and no minimum order quantity required.
Email [email protected] to get started!

Types of SMT Stencil

There's a variety of stencil types, and the one you opt for will fall under one of the following categories:  

Based on Their Manufacturing

Manufacturers use robust materials to make SMT stencils. And they form the stencil's aperture in any of the following ways:  

Chemical Etching

This procedure involves removing materials (metal) using a protectant first to mask a specific area. Then, submerge the cloth into an acid or etchant. Consequently, it will help extract any material the photoresistor protectant didn't cover.

Also, it provides tight tolerances, and the procedure is ideal for fabricating apertures for hybrid and step stencils.  

Laser Cutting

It is a thermal process involving a focused laser beam melting material in a localized area. So, you can create an aperture by focusing the laser machine on a stencil foil. No doubt, it's a subtractive procedure, but the result is always precise and gives a high-quality cut. And that's the reason why it's one of the most preferred procedures.  

Electroforming

It involves manufacturing stencil parts by depositing the material in bits. Consequently, you'll have an accurate replica. That said, this process stands out for complexity and high repeatability. So, you can produce electroformed stencils with about 2 to 7 mil thickness and 0.01 mil increments.

You don't need polishing or buffing with this method because it has no burr. Also, it has a low coefficient that offers decreased squeegee wear. Further, this process has the best paste release compared to the chemical-etched and laser-cut.

In addition, you can electroform large apertures for stencils without any metal distortion or heat transfer.

It has ultrafine pitch apertures and pastes transfer efficiencies of 95% and above. Hence, you can use this controlled and precise process to achieve custom thickness and smooth walls.  

Based on the Solder Paste Application

We have the following types of stencils based on solder paste application:  

Frameless Stencils

This SMT stencil is a solder paste variant that works perfectly with stencil tensioning systems. So, you can use this tool for hand printing, paste printing, and prototyping. But, it's vital to note that you can't mount this stencil permanently to a frame.

Also, they feature pretty smooth aperture walls. Hence, you can use it for small bottom terminated components, ultrafine pitch, and BGA solder balls. And the tool's versatile format permits printing with a machine or squeegee.

Furthermore, the frameless stencils have small grain structures that increase the transfer efficacy of solder paste from the aperture to the printed circuit board.

And this tool is more affordable than the framed stencil.  

Prototype Stencils

Manual soldering

Manual soldering


You should consider the prototype stencils if you're into manual solder paste applications. And this type of stencil works based on the style you specify with a Gerber file or CAD. Then, you can put it over a PCB and use it to print your design by hand.

Also, it provides the following benefits:

  1. The stencil has its alignment tools that permit an easy-to-understand printing process.
  2. It has precise hand-printing. So it reduces the potential for errors.
  3. The device is affordable, and it provides efficient design results.
  4. It has a reduced prototype assembly time.
  5. The squeegee blade gives you precise application.
  6. It allows accurate heating because of its temperature marker.

This stencil comes in handy if you need to print an immediate test product before making a permanent design.  

Framed Stencils

This SMT stencil is also a glue-in stencil that has a permanent frame. And the frame or mesh border offers optimum precision by stretching the foil.


  1. The screen-printing process offers a long-lasting fiducial layout.
  2. It comes with a pre-assembled product that you can use immediately in a screen-printer. This framed stencil has the following benefits:
  3. It has double-bonding and durable engineering. Hence, you can use the tool for high-wear and high-volume printing applications.
  4. The tool provides accurate prints due to its taut and smooth aperture.
  5. Framed stencils have a high level of integrity. So, it can withstand multiple uses.

The framed stencils are ideal for long-term production. And it can assemble a large number of PCBs over a long period.  

Based on Material of Construction

We have the following types of stencils under this category:  

Mylar and Kapton SMT Stencils

This type of stencils comes from laser etching Mylar and Kapton materials. And you can use this stencil for prototyping.

Also, it offers optimum performance during hand soldering. Further, the stencils are more affordable than stainless steel stencils.  


Stainless Steel SMT Stencils

This PCB stencil comprises stainless steel, which you can use for prototyping. Further, the tool permits users to meet soldering requirements and reduces errors. Also, it has better quality than the Mylar and Kapton stencils.  

Effective Stencil Design Considerations

Before you create a stencil design, here are things you should consider:  

Stencil Thickness

This factor helps you get an excellent solder joint. And it's because the stencil thickness determines the quality release of solder paste from apertures.

You can use the formula below to get a suitable stencil thickness:

Area ratio = pad area/ aperture walls area = L x W/ 2 x (L + W) x T

Where:

T – stencil foil's thickness

W – the pad's width

L – pad's length

Also, you can calculate the theoretical solder paste volume by multiplying the aperture area by the stencil's thickness.  

Aperture Design

The general rule here is to ensure that your stencil opening is smaller than your PCB pad size. Also, your PCB pad area should be more than two-thirds of your internal aperture wall.  

Stencil Material and Mounting

The stencil material you use determines how the solder paste will leave the apertures.  

Typically, you can use the most common material—stainless steel. But if your project involves delicate pitch devices, you can use Nickel—a more expensive option.

Further, if you want a smooth print, design your apertures to be far from the step edge.  

Stencil Alignment

Add registration marks to your stencil and PCB if you want your PCB pads to have a perfect solder paste print. Consequently, the fiducial patterns will guide your alignment process.  

PCB Design Specific

You can adjust your PCB design based on issues that may arise. For instance, create a window effect if your board design has a large copper pad underneath and you can't apply solder paste. Also, generate stencil apertures if you have vias within your residence that may affect your solder paste. That way, solder paste won't act your vias.  

Making Your Solder Paste Stencils

Here are the steps and components for making solder paste stencil:  

Materials Needed

  • Skillet
Skillet
  • Eagle 6.2.0 (PCB design)
Eagle 6.2.0 (PCB design)
  • HP Matte Polypropylene
HP Matte Polypropylene
  • Cutting Pro
  • Bullzip PDF printer
  • Graphtec CE5000-40 Craft Robo Pro Vinyl Cutter
  • Adobe Illustrator CS5 (optional) /Inkscape (alternative)


Step 1

You can start by designing and making your PCB. Also, you can achieve this by submitting your files to OurPCB. Consequently, it will give you a plain Arduino Pro board.  

Step 2

At this stage, it's time to prepare your file to be cut. You can start by opening your .brd file. Then, go to the display button and switch off all the layers apart from the cream. With this, your cutter will shape along the lines. But you can remove the clutter by choosing the cream layer and clicking the change button.

Also, you can click your fill style option and change it to solid. Consequently, your cream layer should have no fill-in boxes. Then, go to your pdf printer and install it. Afterward, open the board file backup and confirm that the scale factor is one.

Click OK, and the following window will appear. Further, confirm that the format is PDF and you know where you're saving the file.  

Step 3

Use your Vinyl cutter to cut some stencil material to fit the machine. While you're at it, put a stick behind the vinyl before cutting.  

Step 4

Match the size of the vinyl you'll cut on with the Inkscape or illustrator. While you're at it, add borders around cream pads. Then, arrange the file at the corner of the page.  

Step 5

Make necessary adjustments on your machine to correspond with the size of the vinyl on the sticker back. When the material loads, the device will cut.  

Step 6

With your stencil in place, put some solder paste on your board.  

Step 7

Fix the components carefully with a tweezer. While at it, focus on the polarity as well.  

Step 8

Heat the board and solder the components down.  

Step 9

If you have jumpers on your board, use some solder wick to give your PCB a finished look. Also, you can check for other issues with a magnifying glass.  

Closing Words

In closing, we've seen the efficacy of the SMT stencil—how it is essential if you want to save time and be more consistent during manufacturing.

And most importantly, you have learned to create your DIY solder paste stencils—especially if you're trying to save cost.

If you're still facing any challenges or have questions to ask after reading this article, feel free to reach us. We'll be glad to help you!    

Special Offer: Get $100 off your order!

Enjoy $100 off your order! No hidden fees and no minimum order quantity required.
Email [email protected] to get started!
Table of Contents

Related Post