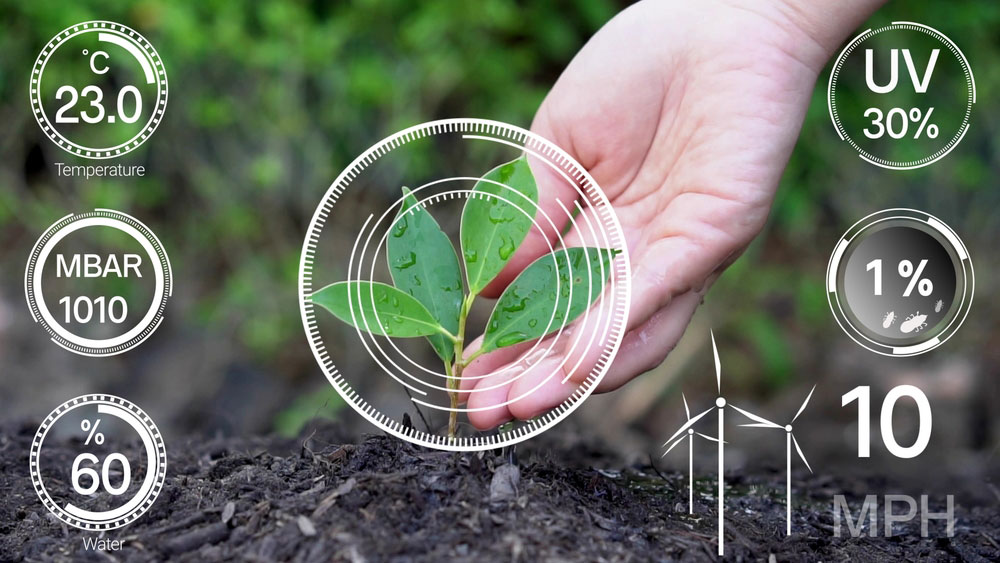
Also known as a soil hygrometer sensor or a moisture meter, a soil moisture sensor is a device used to measure the water content in different soil types. The testing could be for agricultural purposes, gardening, disaster forecasting & prevention, etc.
Regardless, the sensor helps show if the soil has the required quantity of water for your specific requirements. If you want to build this sensor for your project, below is a detailed description of the sensor's workings and how to make one using an Arduino circuit board.
Contents
- Types Of Soil Sensors
- Soil pH Meter
- Soil Moisture Sensor
- Soil Temperature Sensor
- Soil Moisture and Temperature Sensor
- Soil NPK Meter
- How Do Soil Moisture Sensors Work?
- Resistive Soil Moisture Sensor
- Capacitive Soil Moisture Sensor
- Soil Moisture Sensor Types
- Volumetric Water Content Soil Moisture Sensors (VWC)
- Soil Water Tension or Matric Potential Sensors
- Soil Moisture Sensor Use Cases/Applications
- Agriculture
- Household Gardening
- Research and Forecasting
- Irrigation for Sporting Fields
- Soil Moisture Sensor Installation and Placement
- Soil Moisture Sensor: Getting Started with Arduino
- Hardware Setup
- Software Configuration
- Output
- Improvements
- Summary
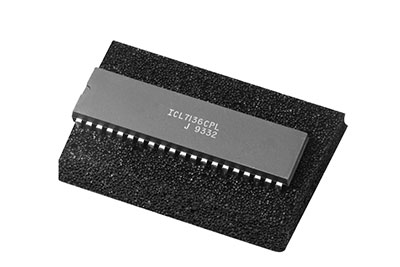
Types Of Soil Sensors
To maintain healthy soil, you need to monitor various factors using these sensors.
Soil pH Meter
A soil pH meter has a metal sensor as the system's core, and these metal probes contact the soil directly to detect the pH.
A pH meter tester
The device measures hydrogen ion activity via the oxidation reaction, generating a current that drives the pH value unit data and corresponding with the ammeter. It then displays the pH value through the host conversion.
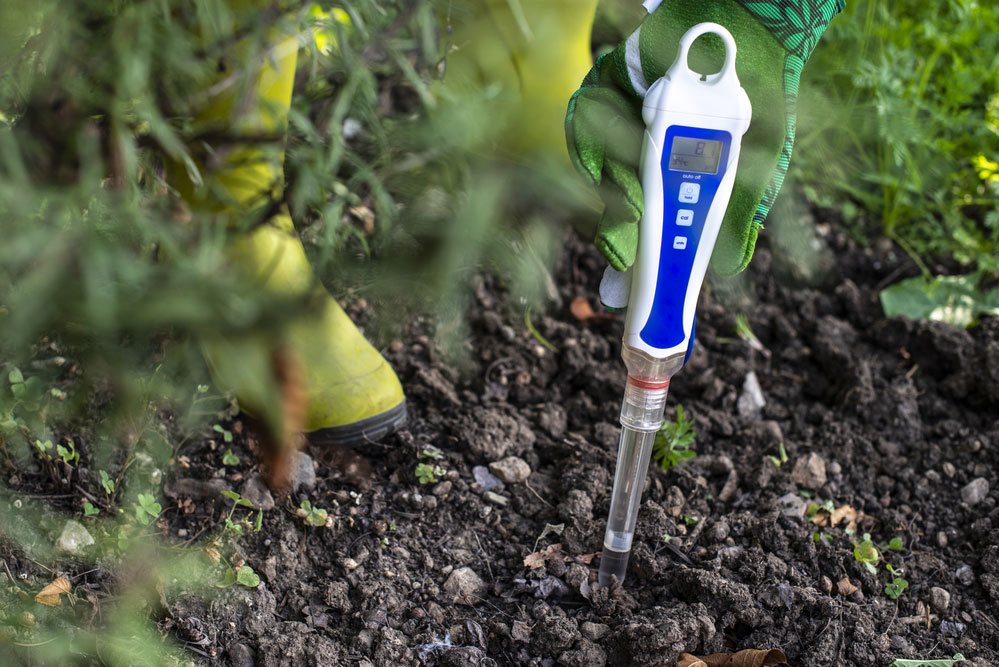
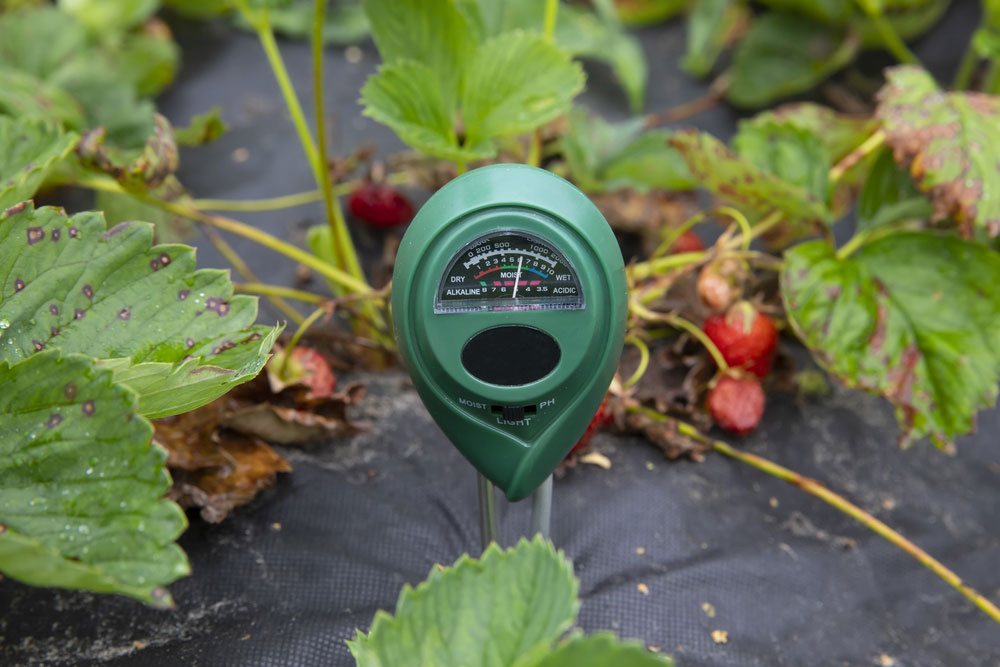
Soil Moisture Sensor
Like a pH meter, a soil moisture meter has two probes that contact the soil directly. It utilizes the relationship between water content and electrical resistance (or capacitance) to determine the moisture level in the soil sample.
A soil moisture sensor in action
In some cases, the soil moisture sensor can measure conductivity and temperature.
Soil Temperature Sensor
Soil temperature sensors are available in a wide variety of designs. Some use thermocouples, while others run on thermocouple wires, thermistors, or averaging thermocouples. These transmit electrical signals to the data loggers, then undergo conversion to various measurement units (°F, °C, or °K).
Soil Moisture and Temperature Sensor
This sensor combines the soil moisture and temperature level measuring functions in one. But there is a different type that uses TDR (Time Domain Reflectometry) measurement to monitor the two parameters in each soil layer in real-time.
Soil NPK Meter
NPK stands for Nitrogen, Phosphorus, and Potassium. An NPK meter can remain buried for a long time, so it should have a high-quality corrosion-resistant probe that can withstand salt, alkali, rust, and electrolytes to maximize durability.
How Do Soil Moisture Sensors Work?
Based on the working principle, there are two soil moisture sensor types.
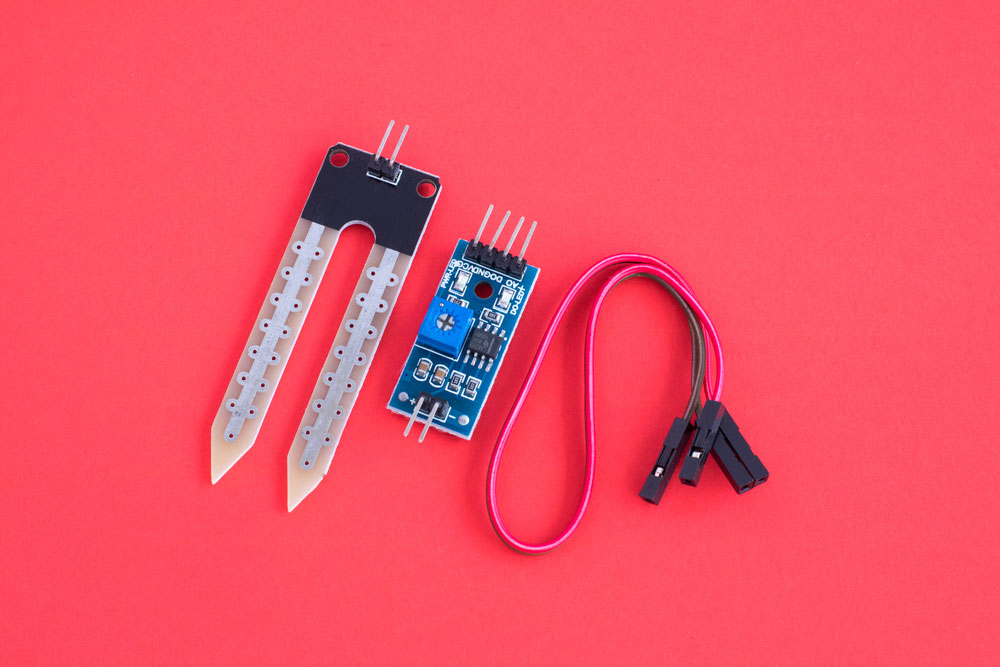
Resistive Soil Moisture Sensor
A resistive soil moisture sensor uses the resistance changes (relationship between water content and electrical resistance) to measure the soil moisture content. They have two probes that dip into the soil sample, one for discharging an electrical current and the other for receiving it.
The sensor measures the drop in current between the two, which is the resistance. Water conducts electricity, so if the soil is moist, it will have high electrical conductivity (low resistance). If dry, the sample will have high electrical resistance and low conductivity.
It is worth noting that the electrical current can corrode each soil moisture probe due to electrolysis. Therefore, this sensor is ideal for infrequent readings because it is not durable.
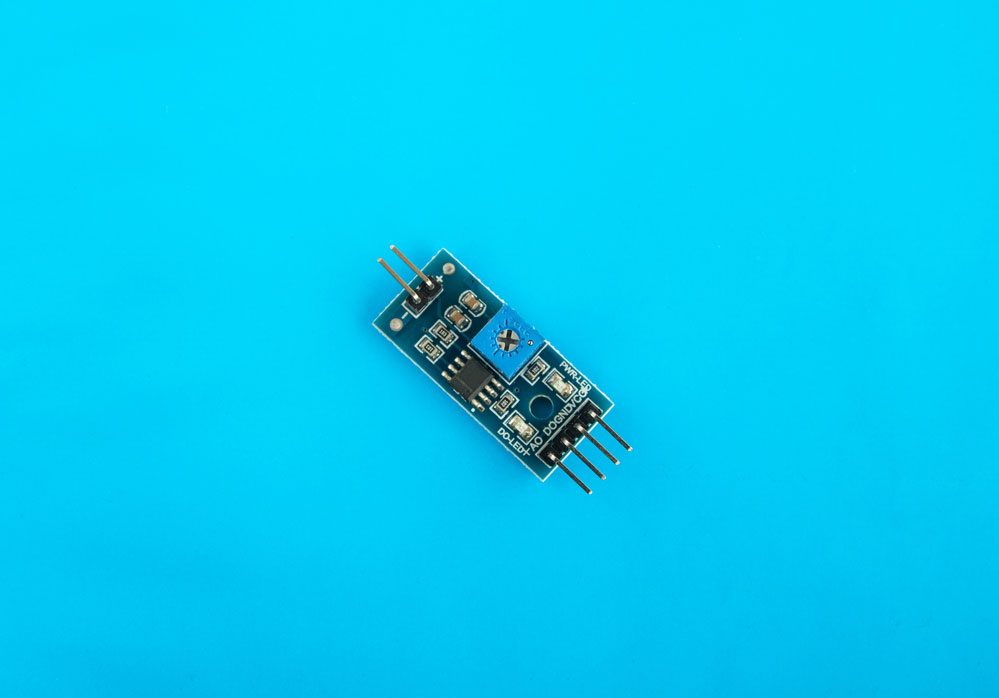
Capacitive Soil Moisture Sensor
Unlike the resistive soil moisture meter, this one has no soil moisture probe. Instead, it features a positive and negative plate separated by a dielectric medium. This dielectric medium is the soil, whose capacitance changes according to the moisture content.
A capacitive soil moisture sensor is corrosion free because it does not have any exposed soil probe. Therefore, it is ideal for frequent use, but it is expensive to buy.
Special Offer: Get $100 off your order!
Please email [email protected] for details.
Soil Moisture Sensor Types
There are two categories of these sensors based on the used technology.
Volumetric Water Content Soil Moisture Sensors (VWC)
Volumetric water content sensors measure the volume of liquid water found in a volume of soil. For instance, 15% VWC implies one cubic inch of the soil sample has 0.15 cubic inches of water.
Each soil type has a specific water holding capacity (field capacity). The volumetric soil moisture content measurement can help calculate the soil water depletion level, which you can use for irrigation scheduling. Use the following formula to calculate the deficit.
soil water deficit value = soil moisture content (field capacity) - soil water content (current)
Soil Water Tension or Matric Potential Sensors
The energy required by plant roots to pull water from the soil is the soil water tension. When full of water, the soil water tension is very low (close to zero), but as the soil dries, it increases.
This value also depends on the soil type. Matric potential sensors give the soil water tension readings in centibars.
Soil Moisture Sensor Use Cases/Applications
You can apply these devices in the following areas.
Agriculture
Soil is vital in agriculture, and farmers need accurate data about the moisture content of the land for two reasons:
- To know when is the right time for planting
- To determine the right amount of water for irrigation or if the water is enough after an irrigation event
Data required for smart, digital agriculture
A soil moisture hygrometer helps to avail the required data for better crop management at different growth stages. They are the ideal sensors for irrigation scheduling.
Household Gardening
Like agriculture, household gardening can also benefit from understanding the moisture level in the soil. These devices are not very expensive, and hobbyists can afford them for gardening.
Research and Forecasting
Collecting soil moisture data over the long term can help geologists, meteorologists, and other experts to predict disasters like landslides, drought, erosions, etc. This analysis can help these experts and the authorities to develop effective preventive measures to avoid those disasters.
Irrigation for Sporting Fields
Some sporting fields and stadiums have real-grass pitches, which need adequate watering to keep the surface looking green and beautiful. A soil moisture hygrometer can help to avoid over or under irrigation.
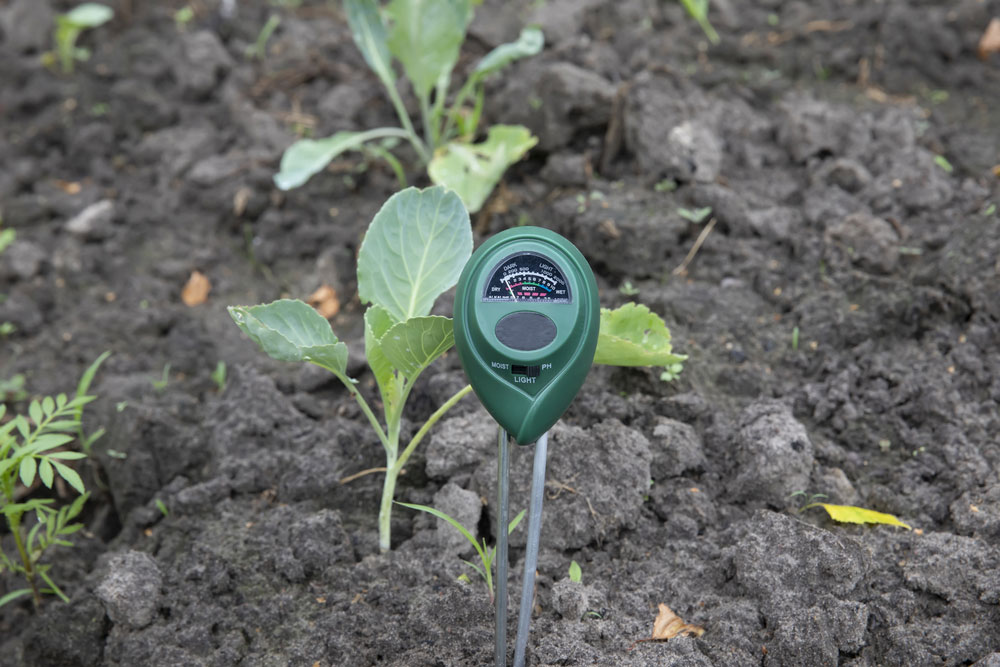
Soil Moisture Sensor Installation and Placement
Installation depends on the sensor design, and each manufacturer usually provides a complete guide with all the instructions. But the most common methods include the following:
- Digging a trench or hole, then placing each soil moisture meter at a different installation depth horizontally
- Using a soil sampling probe or auger to bore a hole and install the sensors vertically
Soil moisture sensor placed in the field
As for placement, put the sensors at different locations and depths in your field. Place them between plants in each crop row and at an installation depth of about one-third or two-thirds of the crop's root zone.
Also, mark the spots with the sensors using flags so that other people on the farm, especially equipment operators, can spot them and avoid damage.
It is vital to note that you should not install the soil moisture meter near the pivot wheel track. Ensure it contacts the soil directly with minimal soil disturbance during installation.
Soil Moisture Sensor: Getting Started with Arduino
If you want to build a soil moisture sensor, it is easier to use Arduino. Since the capacitive type is better than the resistive sensor, we will look at how to make a functional capacitive soil moisture meter.
A soil humidity sensor for Arduino
You need the following components.
- Seeeduino V4.2. You can also use the Arduino UNO, Leonardo, Mega, Due, or 101
- Grove Base Shield V2.0 for Arduino. Any grove-compatible system with I2C interface capabilities is also good
- Grove - capacitive moisture sensor
- Arduino IDE
It is important to note that when using an Arduino UNO, power it using a DC power supply. If not, the VCC maximum ripple can exceed 100mV.
An Arduino module for soil humidity detection
Hardware Setup
Connect the Grove - capacitive moisture sensor to the Grove Base Shield's port A0. If using the Seeeduino, plug the sensor into the Grove port. Connect the sensor to the analog grove port if using any of the other Grove compatible platforms.
Next, connect the Grove Base Shield to Grove port in Seeeduino. After setting up, insert the sensor into the soil sample and take care not to dip past the white line, which indicates the max installation depth.
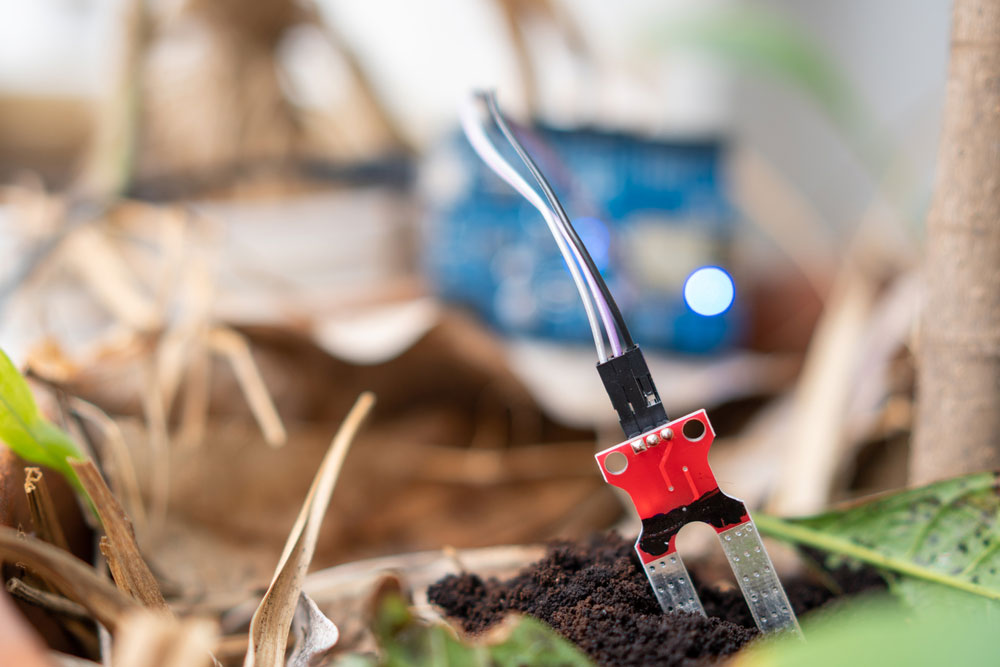
A soil hygrometer sensor inserted at the right depth
Complete the process by plugging the Seeeduino into your computer using a USB cable.
Software Configuration
Open the Arduino IDE, write the following code, and upload it to the Arduino controller.
A snippet of the Arduino code for reading the analog output from the sensor and displaying it on the screen
Next, open the IDE's serial monitor (Tools>Serial Monitor), then set 9600 as the baud rate.
If set up correctly, you should get sets of three numbers as the output, which indicates the moisture level.
Output
The numbers might not make sense at first. All you need to know is a low value implies the soil has high humidity levels, and the vice-versa is true.
However, to get a more accurate interpretation of these numbers, you should do soil-specific calibration first. This process will give you benchmark values for wet and dry soil, making it easier to understand the values in-between.
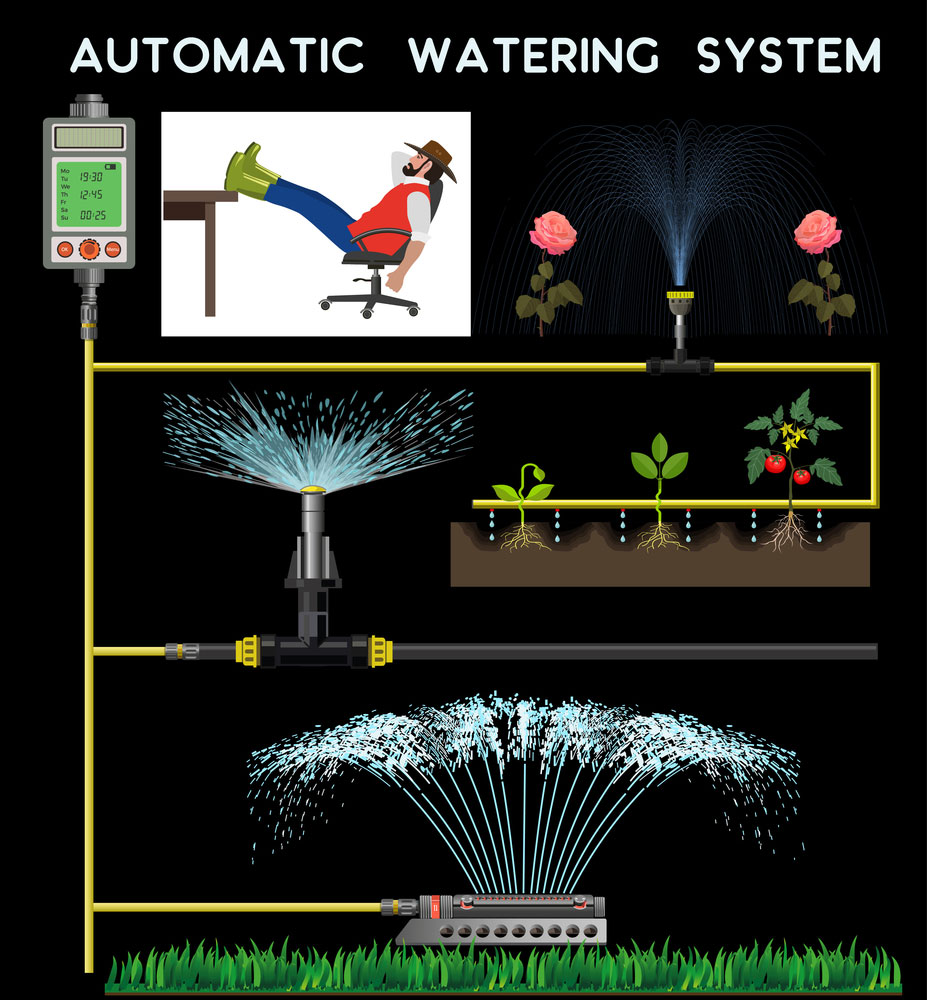
Improvements
Try to build an Arduino garden automatic watering system or irrigation controller with this setup. Modern farming requires automation, and such improvements will add value to your project.
Garden automatic watering system
Summary
To wrap up, monitoring the moisture content in soil is critical for various reasons, and you need an effective sensor to give accurate readings. The steps above will help you build a precise measurement system, and you should contact us if you need further clarification.
Special Offer: Get $100 off your order!
Please email [email protected] for details.