Contents
Special Offer: Get $100 off your order!
Claim your $100 discount by sending an inquiry today. Act now to save on your next project!
Please email [email protected] for details.
Please email [email protected] for details.
What is Flick HAT?
Flick HAT is a gesticulation HAT and 3D tracking that allows you to control Raspberry. Once integrated into the Raspberry Pi project, it provides numerous ways of control. It provides play and plug functionality for various things such as controlling music systems, TV, computer, etc. besides, no soldering is needed when assembling since it’s supplied with Raspberry Pi's necessary fixings. Additionally, you can conceal your project within non-conductive material using near-field gesture technology while still using Flick. Its plug-and-play functionality lets you set up and run within seconds.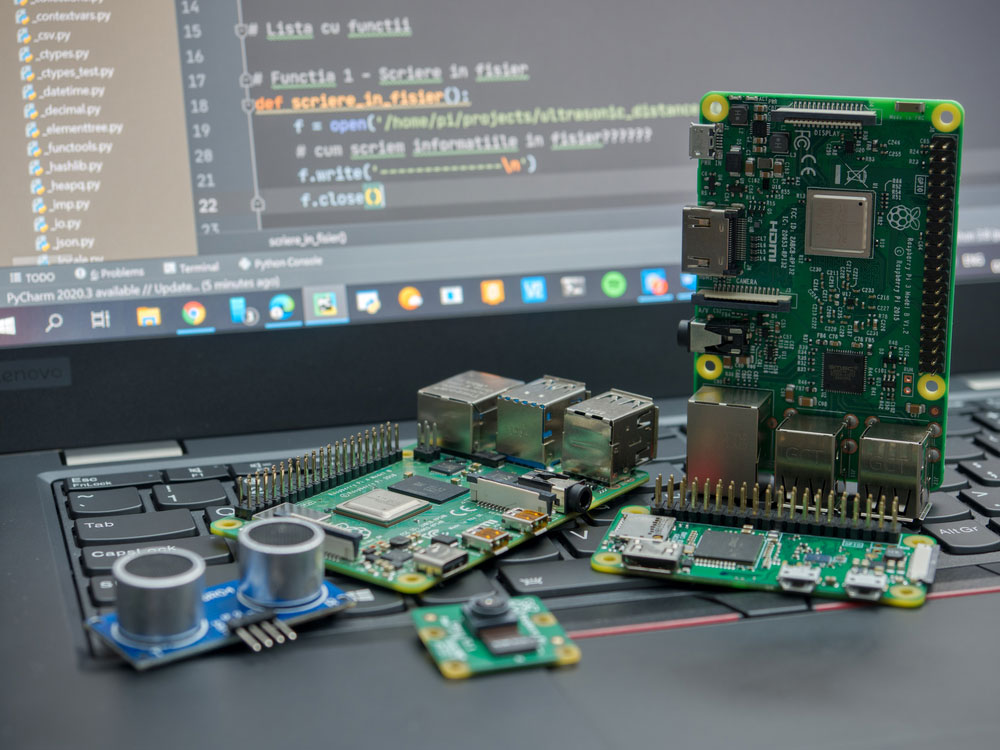
Close-up of Raspberry Pi 4 Model-B, Raspberry Pi 3 Model-B, and Raspberry Pi Zero W on a laptop keyboard
Flick Hat Features
Special Offer: Get $100 off your order!
Claim your $100 discount by sending an inquiry today. Act now to save on your next project!
Please email [email protected] for details.
Please email [email protected] for details.
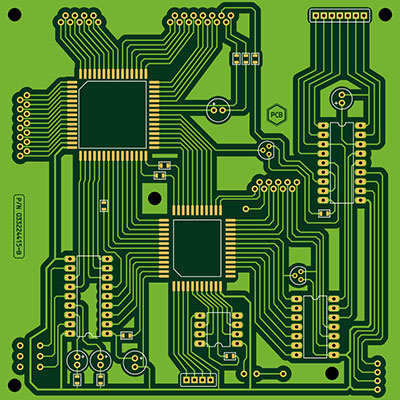
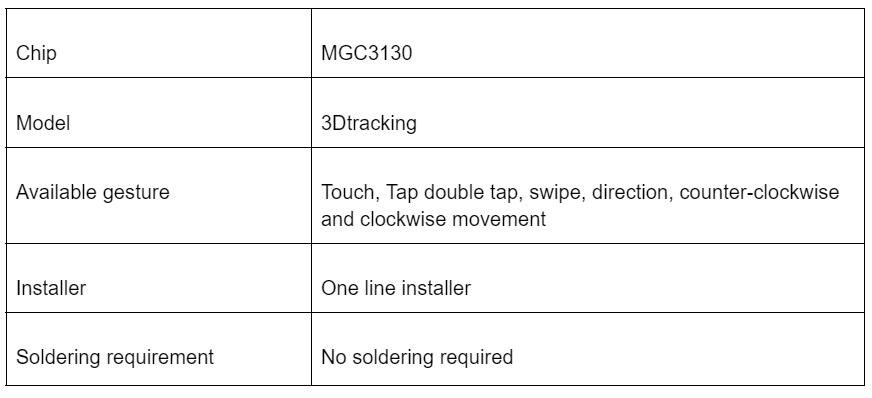
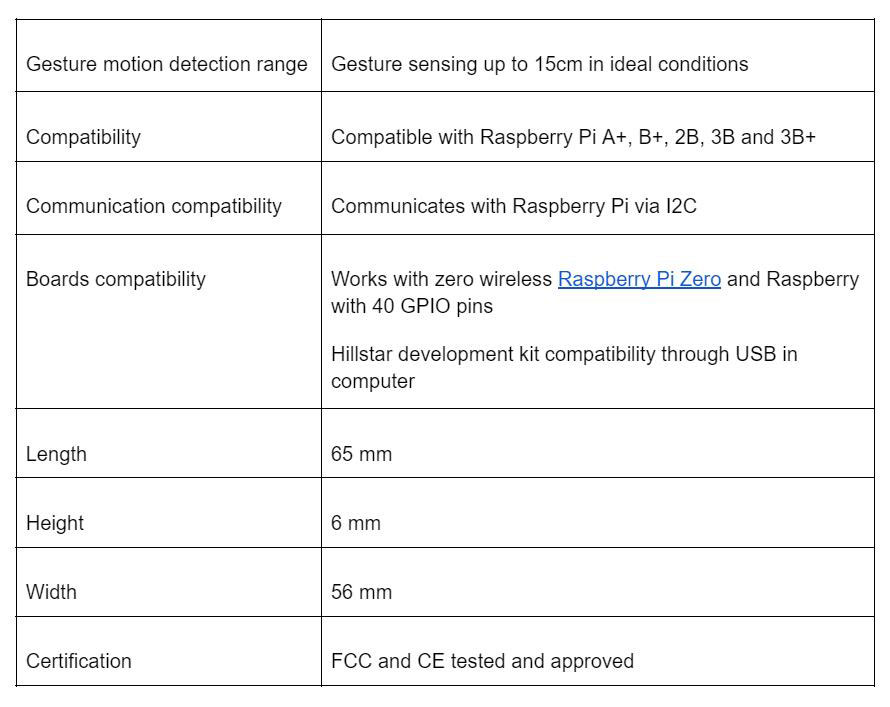
Flick Hat Technical Details
- Temperature range: - 20 °C to +85 °C
- Chip - MGC3130 3D Tracking
- Position Rate – 200 positions per second
- Detention range – up to 15cm in a normal setting
- Touch sensing and gesture sensing
- No detention blind spots
- Works through the Flick Hat case
- Low-power design
- Numerous available gestures, for example, swipe, tap, double-tap, touch, and air wheel
- Well-matched with Hillster Development Kit through USB on the computer
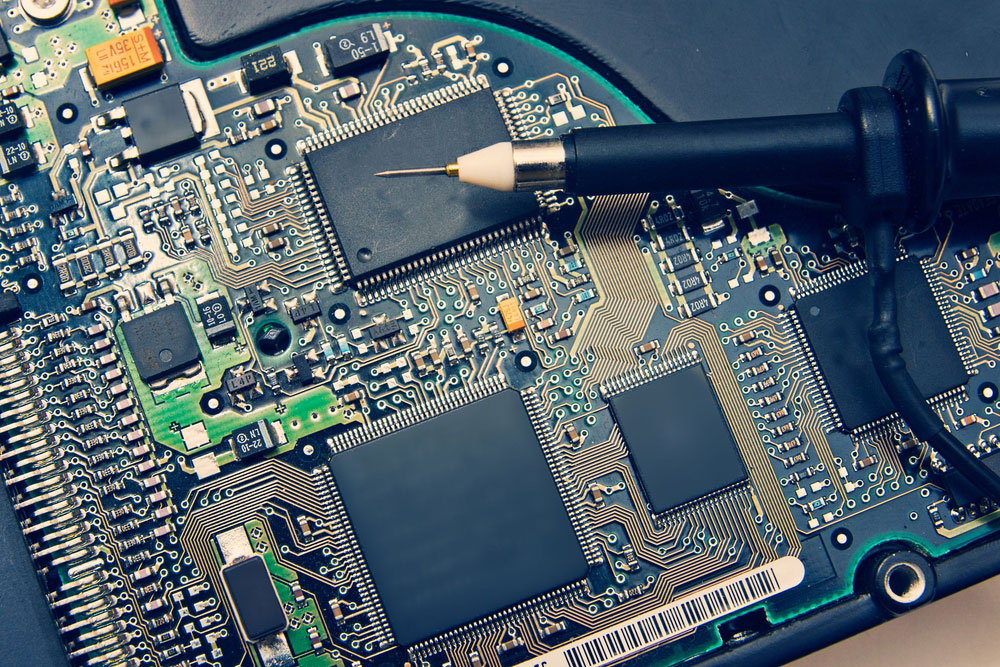
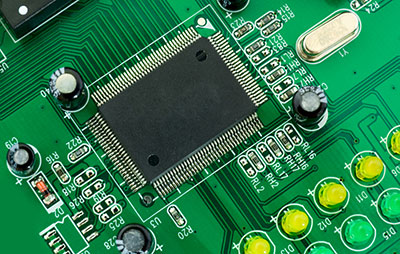
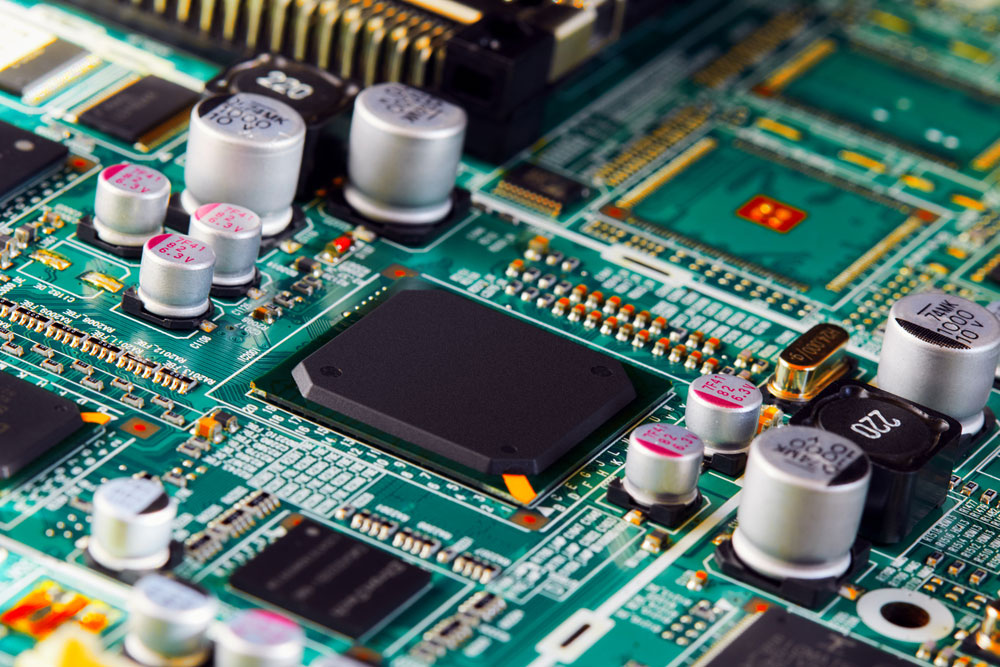
Oscilloscope probe on electronic circuit
How to Get the Flick HAT Board up and Running
Flick boards complement Raspberry Pi boards providing 3D tracking allowing you to regulate I2C-supported gadgets with your hands. Therefore, in this guide, we will demonstrate how to assemble flick boards by setting them with their cases and pointing out possible issues.
Electronic circuit board with electronic components
Flick HAT Kit Contents
Inside the box, you will find the following kit contents;- 2 Info cards
- 1 Flick HAT
- 3 Sticker Spacers
- 4 Plastic Spaces
- 8 Plastic bolts
Step 1: unpacking the Raspberry Pi
Green electronic board with wires and connection
Step 2: Preparing the Pi Secondly, screw in the spacers with a PHO screwdriver. Accordingly, use the four plastic bolts underneath the Pi, ensuring you hold them together. Step 3: Prepare the Flick HAT Consequently, the next step involves removing the Flick HAT from the anti-static bag.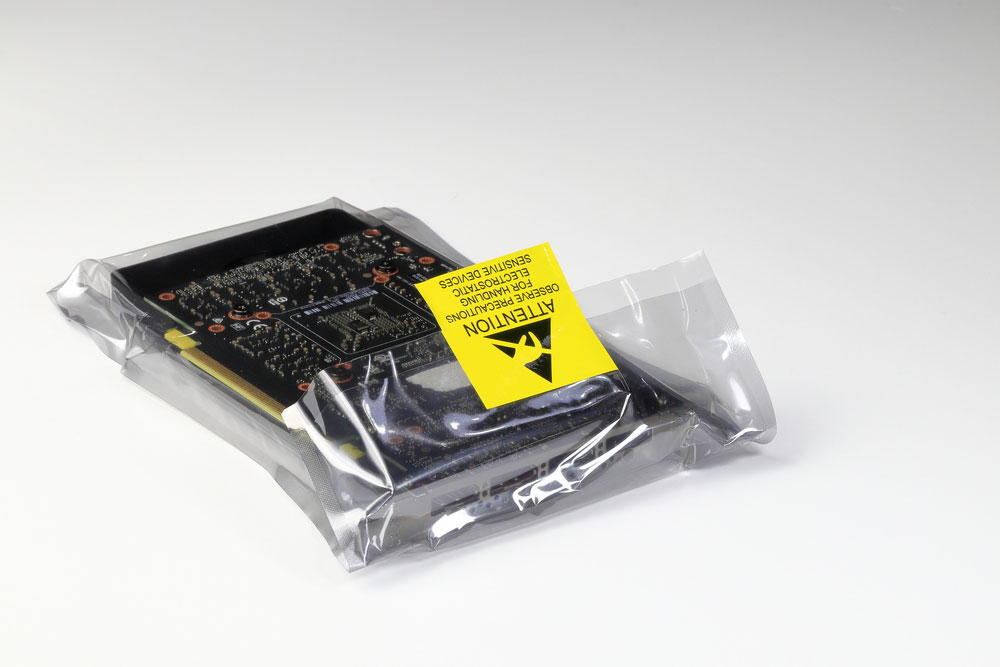
Unwrapped anti-static package
Step 4: Attach the Flick HAT Afterward, you need to fix the Flick HAT on the upper part of the Raspberry. You need to push the header until it clicks into place. Hence, push the female header gradually to the male header of the Raspberry Pi, ensuring it fits properly. Step 5: Screwing the Plastic Bolt Finally, you need to ensure that the Flick HAT is in place. Therefore, hold it by screwing in the remaining four plastic bolts. Meanwhile, your Flick HAT is ready for use.Assembling the Flick HAT Case
Step 1: Unhooking the Top The Flick HAT Case is an impeccable Flick HAT housing. Therefore, you need to remove the protective plastic bits to unhook the top. Gently pull out both sides of the bottom part and disconnect the top cover. Next, you will find four cups and four rubber feet on the inside. Step 2: Installing the Rubber Feet Subsequently, we need to install each rubber foot through the four holes at the case bottom. Besides, there are two ways of installing the rubber. First, you can twist and push them through or tuck in the top part of the feet within the hole. Again, with the second option, be cautious, ensuring you don’t cut through the feet. Step 3: Adding your Pi Towards the bottom part of the case, insert the Flick board and the Raspberry Pi by inserting the USB connectors. Also, ensure you align the PCBs of the two boards within the panel’s groves.
Demonstration of slots for HDMI, headphones, and USB of a new camera
Hence, after fitting them in, the Flick board and the Raspberry should sit at the bottom nicely. In addition, ensure they fully rotate into position. Nevertheless, if you wish to close the case, take away the knocks from panel 1. Or else take away knockouts from panel 2 if you wish to keep the case open. Note that you can only take away the knockout branded either “Power, “HDMI,” or “Headphones.” Step 4: Finishing Up We need to ensure the white panel's slot is back in. Hence, gently push out the sides of the bottom part. Meanwhile, you can use Flick HAT at this point.Flick HAT Projects
Raspberry Pi As Robotic Arm Controller with Flick HAT
Preparing the Pi
The most important thing is to prepare an SD card. You can either flash an image straightaway using equipment such as Etcher or use NOOBS. In addition, other parts of the projects are:- Flick Board compatible with Pi
- Maplin Robotic Arm
- An SD card with an OS of your preference (we recommend Raspbian Jesse Full)
- Raspberry Pi A+, B+ or higher

SSH, secure shell protocol, and software
Alternatively, you have to discover its IP address by running; ifconfig using the terminal window. Execute the following commands;


Control your Raspberry Pi Sense HAT using gestures with Flick
Specifically, the project will demonstrate how to structure a Raspberry Pi Sense HAT with Flick Large.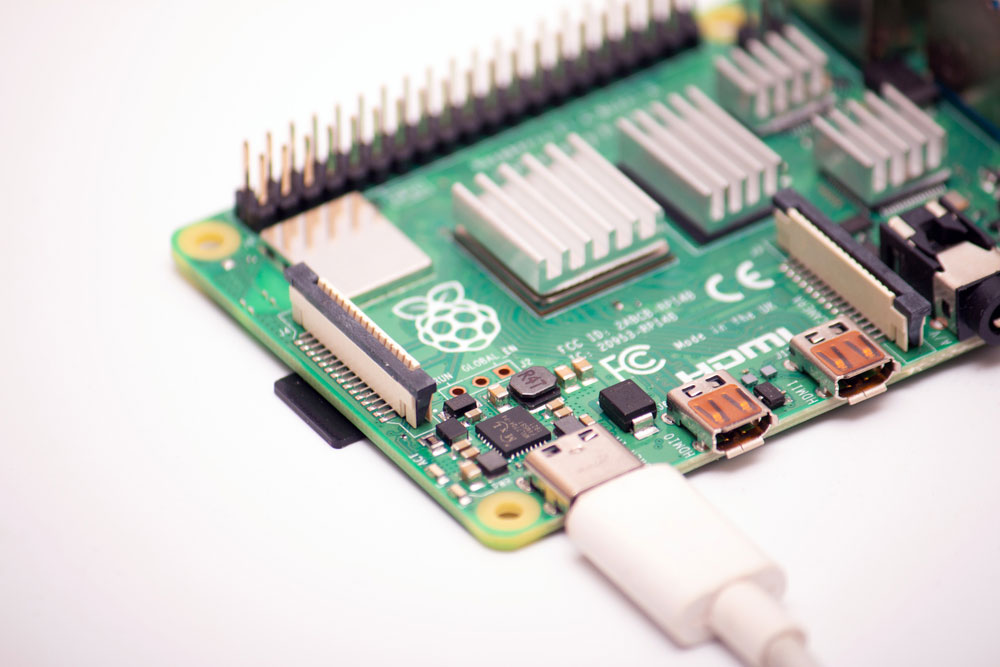 Connected to a power supply by USB 3.0 type C cord SBC budget microcomputer Raspberry Pi 4B.
Project requirement
- Stacking header P/N 15455
- Flick Large
- Raspberry Pi Sense HAT
- Raspberry Pi 3B
Putting everything together
Of course, putting different boards together will require placing a more extended stacking header on the Raspberry Pi Sense HAT. Afterward, hook up the Flick Large, too, once it connects. Besides, the header connects with the Raspberry Pi Sense Hat. Once the header is in place, connect the Flick Large cable. Additionally, configure the OS, and after setting it up, install the Flick board’s code. Similarly, download and configure the code to get the needed script and library to run the demo. Also, run the script through the keyboard through an SSH session or your Raspberry Pi and monitor the plugged. The Sense HAT will now provide a clear display and also let you scroll the text. Finally, you will be able to test various gestures.Summary
To sum up, one significant benefit of Flick HAT is its Accessibility to optional cases for all three models. Besides, it has no soldering requirements as it has simple assembly, and it’s supplied with the necessary Raspberry Pi fixings. Moreover, the cases are non-conductive surfaces, as they don’t interfere with Flick's capability to track gestures. As a result, they let you control I2C-supported devices like magic.Special Offer: Get $100 off your order!
Claim your $100 discount by sending an inquiry today. Act now to save on your next project!
Please email [email protected] for details.
Please email [email protected] for details.