Contents
- Why is there no Microphone Directly Integrated?
- How to Add a Microphone To the Raspberry Pi
- Bluetooth Microphone
- USB Microphone
- Jack Microphone
- Using a Microphone with a Raspberry Pi
- Components Required
- Configuring Alsa on your Raspberry Pi for your Microphone
- Recording with your Microphone on your Raspberry Pi
- Controlling your Microphone Gain on the Raspberry Pi
- Raspberry Pi projects with a Microphone
- Baby Monitor
- Home Assistant
- Summary
Special Offer: Get $100 off your order!
Claim your $100 discount by sending an inquiry today. Act now to save on your next project!
Please email [email protected] for details.
Please email [email protected] for details.
Why is there no Microphone Directly Integrated?
The Raspberry Pi's central idea is to make a “terminal” with the following three principles.- Essential potentials of upgrades
- Reasonable price
- Small size
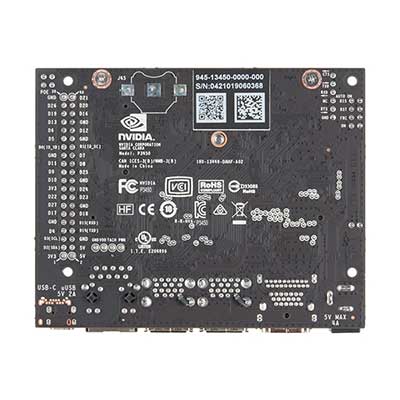
The PureAudio Speech Development Kit for the Raspberry Pi
Source: Wikimedia Commons.Special Offer: Get $100 off your order!
Claim your $100 discount by sending an inquiry today. Act now to save on your next project!
Please email [email protected] for details.
Please email [email protected] for details.
How to Add a Microphone To the Raspberry Pi
Before setting up your microphone port, you need to understand the reason for the installation first. Begin with choosing a sound transmitter that meets your requirements without considering whether it matches perfectly. Just presume that all will go well. As soon as you have your options ready, the following is how you need to install them. We will cover the three common methods used.Bluetooth Microphone
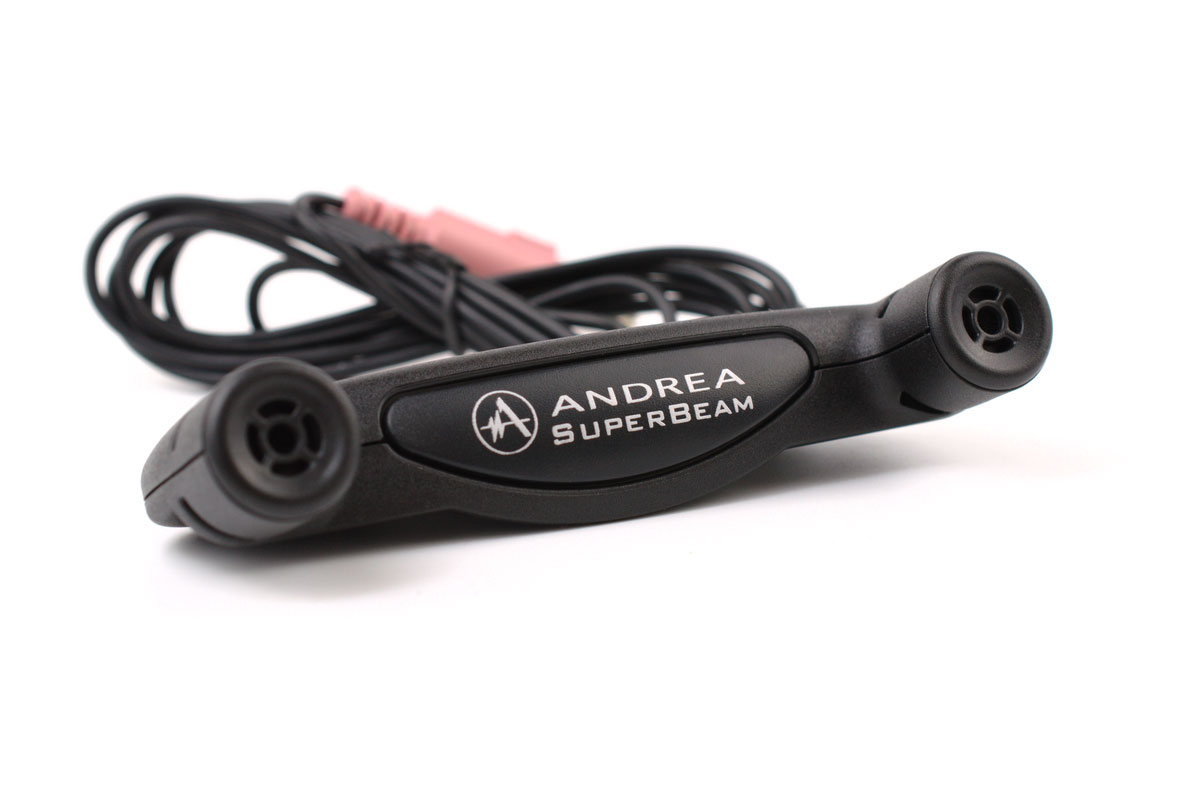
With either headphone or Bluetooth microphone, two instances can take place; You already have Raspberry Pi having Bluetooth installed to detect the microphone automatically. The other instance is that it isn’t sensed.
Wireless Headset Professional
To test if the Raspberry Pi can detect the Bluetooth instinctively, you can use a Bluetooth receiver with a sound transmitter. If it’s working, you will automatically hear the sound switch to the headphones. Besides, you can still test it by recording your tone through a receiver microphone. Note that you can’t modify the output limits over the GUI, specifically the sound. Nevertheless, you can regulate through the alsamixer.Bluetooth Not Detected
Usually, the microphone manufacturers always issue a USB converter if your Bluetooth can't detect the microphone.USB Microphone
Connecting the USB microphone is a modest method. Besides, it’s the cheapest solution with no discrete setup or driver problems. Furthermore, another advantage is that the Raspbian senses the microphone right away. By just plugging it into the USB ports, the sound transmitter will directly display the sound regulator peripherals. After plugging, it will be ready for use; you only need to modify the amplification.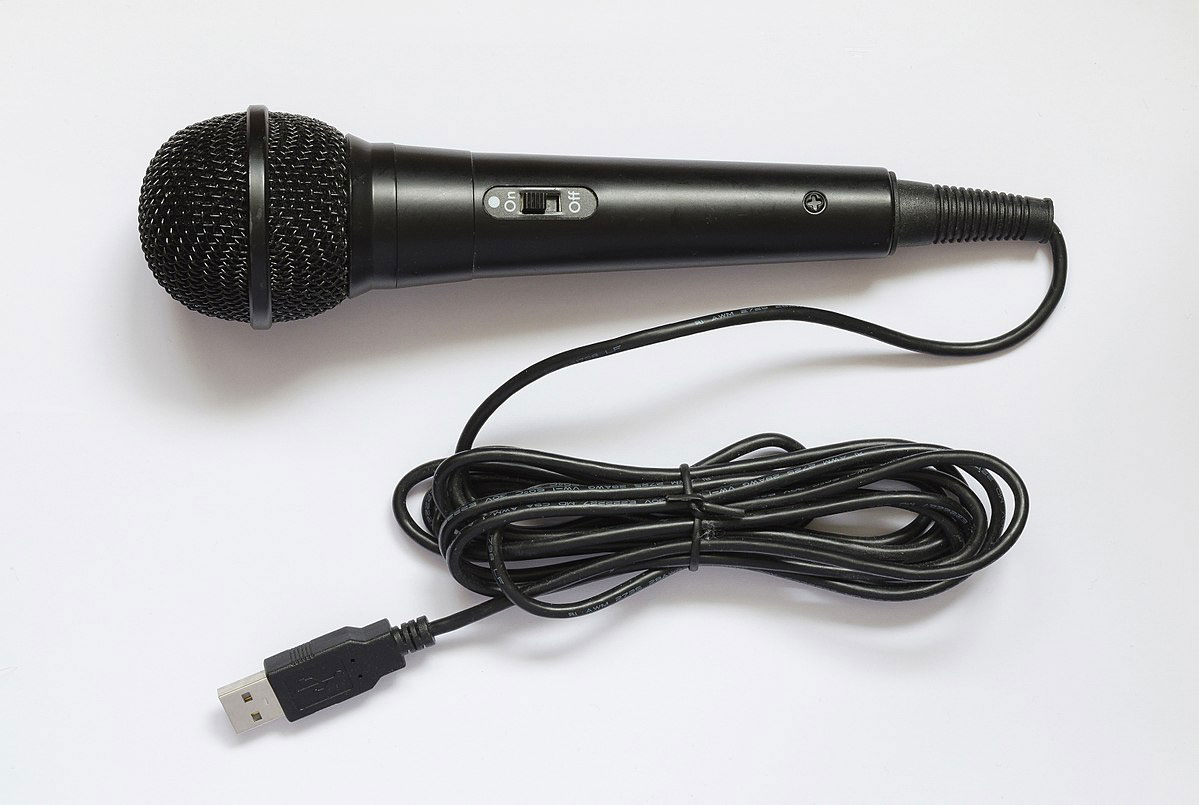
USB microphone
Source: Wikimedia Commons.Jack Microphone
Installing a jack microphone is one of the complex options. Therefore, you need an excellent purpose to want to go for this solution. You will have to prepend an add-on to your Raspberry Pi because there is no integrated adapter. You will have to install a sound card to connect the microphone jack to help with other implementations. Sound cards are in two types; Hat and USB sound cards.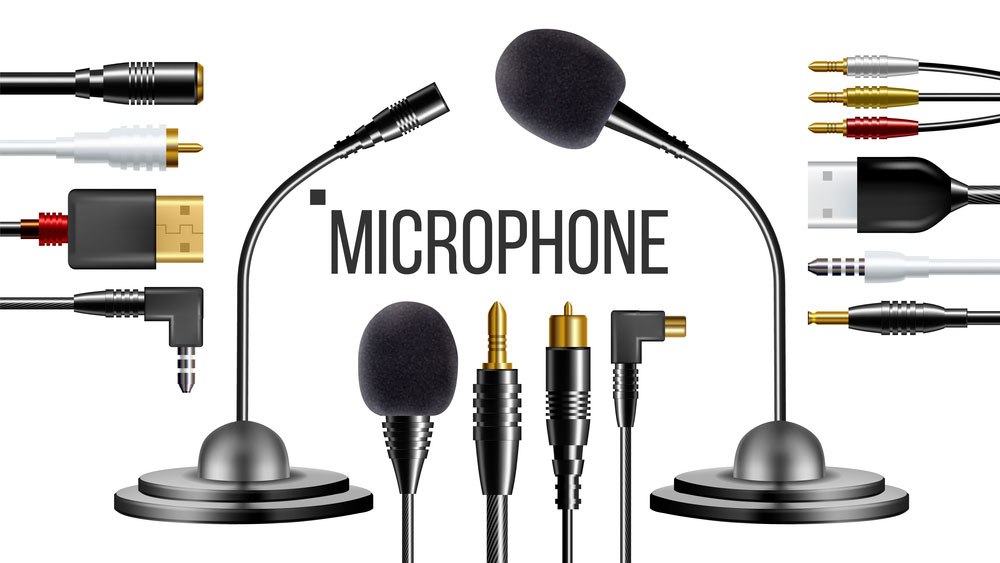
Microphones and connectors
Hat Sound Card
The advantage of installing a soundcard is you can find classic ones with actual enhanced sound quality. When you have an advanced project, you can install one through the Raspberry Pi GPIO ports and enjoy the quality professional sound.USB Sound Card
Adding a jack microphone is another straightforward and direct option. The USB jack adapter lets you link the microphone and USB device to your Raspberry Pi. Besides, using the jack ports once you have the exemplary sound transmitter or earpiece is the best solution. All you will need to do is configure your microphone since the Raspbian can sense the adaptor.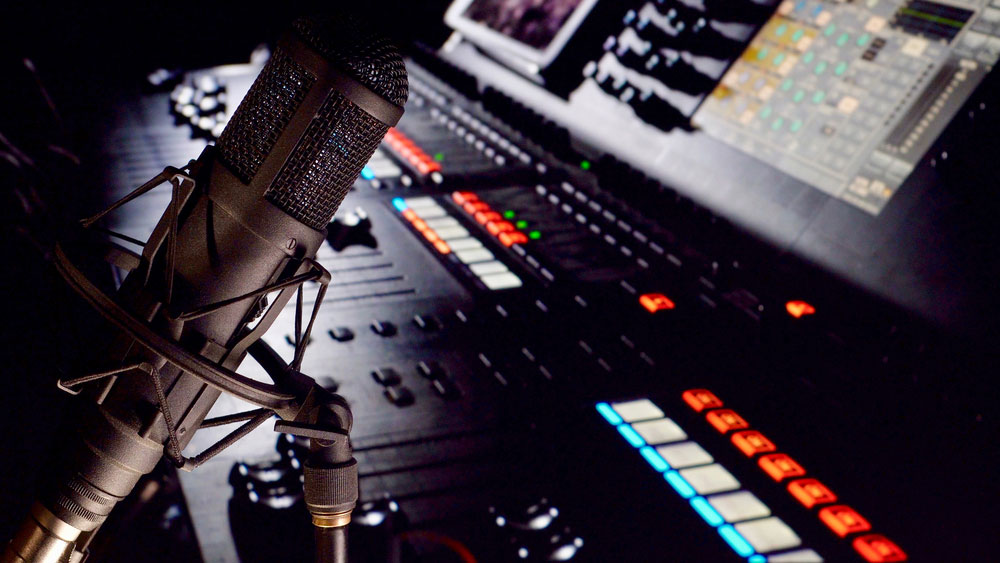
studio sound equipment
Using a Microphone with a Raspberry Pi
In this tutorial, we will guide you through the procedure where you can use a sound transmitter with the Raspberry Pi. The Raspberry Pi lacks analog inputs; therefore, purchase either a USB audio card or a USB microphone device. Alternatively, you can buy a HAT that contains extra analog inputs and enhances Raspberry Pi audio device proficiencies.
A rack of audio compressors
Components Required
- USB Sound Card or USB Microphone device
- WiFi or Ethernet Cable
- Raspberry Pi
- Power Supply
- Micro SD Card
Configuring Alsa on your Raspberry Pi for your Microphone
First, start by plugging your sound transmitter into your Raspberry Pi. It could be through a USB microphone, USB sound card, or HAT. Step 1 To ensure that everything is up to date, you need to run the following commands. It will help update our system.


Recording with your Microphone on your Raspberry Pi
As mentioned earlier, you can use the microphone mic on your Raspberry Pi to record. Therefore, in this section of our guide, we will learn how. Step 1 Begin by running this order to make footage. It will make a record through the microphone unit and save the new sound file this way

Controlling your Microphone Gain on the Raspberry Pi
The good news is that if the recordings aren’t clear, you can modify the gain through the microphone. Follow the following procedure. Step 1 Using the Alsamixer tool, run this command;
Raspberry Pi projects with a Microphone
Note that you can perform many developments with Raspberry Pi; the most crucial component is a quality microphone. We will cover two-example projects to get some ideas.Baby Monitor
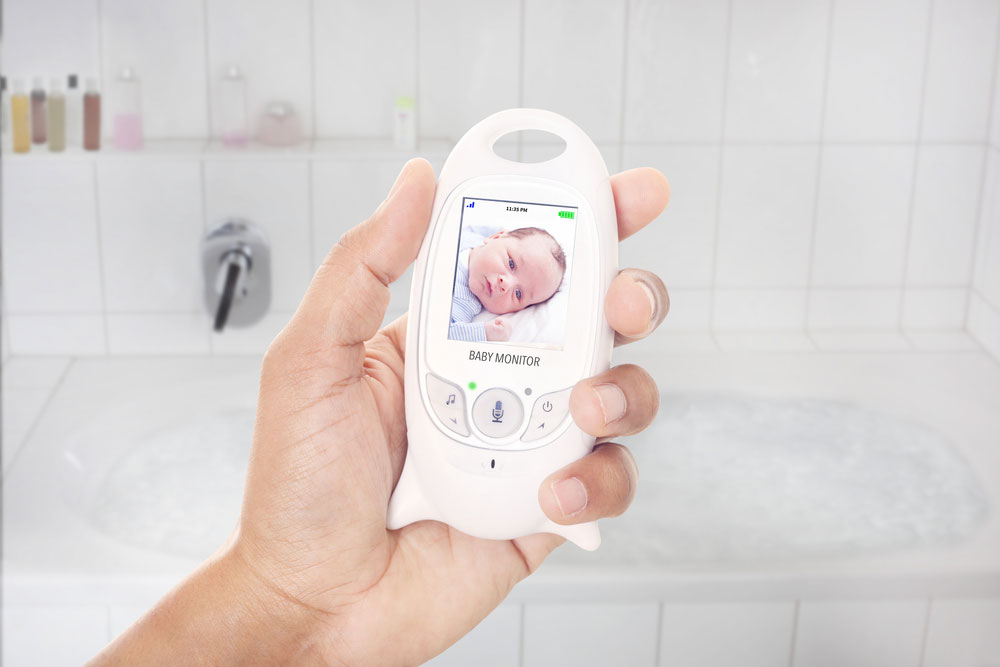
Parent checking newborn through the baby monitor
The baby monitor is one of the remarkable projects. Nevertheless, it can still be complicated. Definitely, with your Raspberry, you can add the following components;- Humidity and temperature monitors to ensure the space is comfortable
- Camera for monitoring
- Speaker for playing a lullaby
- Microphone for listening to the baby
Home Assistant
In our contemporary world, personal assistants are becoming part of our lives by helping in different stuff. For instance, Google Assistant, Alexa, Siri, etc. You can also alter a Raspberry Pi in Amazon Echo. Besides, you only need to know that various web projects let you run your choice of home assistant on Raspberry Pi pico. Similarly, they allow you to customize them as per your partialities. With your Raspberry Pi, codding, and a speaker, you can create your preferred home assistant. The microphone is the most essential equipment; you already have 50% basic ingredients once you have it.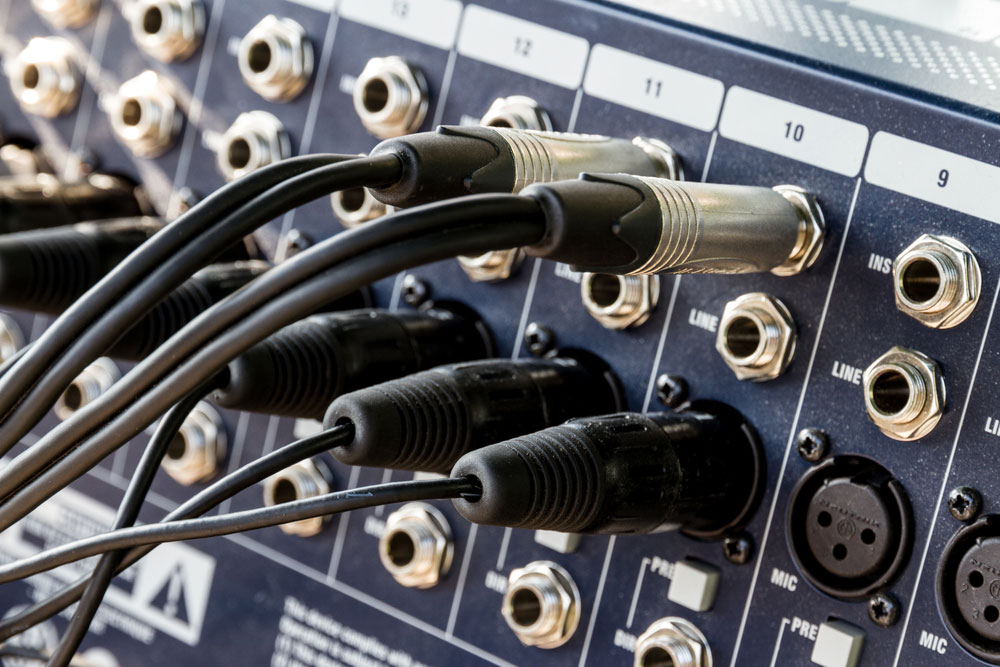
Audio cables
Summary
There are several reasons why you will find a microphone that is not integrated directly into your Raspberry Pi. However, there is no need to render such Raspberry Pi useless. You can use different methods to add the microphone to your Raspberry Pi pico. Besides, apart from being functional with a microphone, you can use the port in several other ways.Special Offer: Get $100 off your order!
Claim your $100 discount by sending an inquiry today. Act now to save on your next project!
Please email [email protected] for details.
Please email [email protected] for details.