Even though single-board computers might not be as powerful as average PCs, they can tackle the basic tasks. However, their most significant advantage is their compact size. This compactness makes them ideal for emerging electronics projects like IoT applications. The Odyssey X86J4105 is one such computer, and besides being compact, the SBC is very versatile. Let's take a closer look at the device to see what makes it stand out.
Contents
- What is Odyssey X86J4105?
- Key Features
- Specifications and Capabilities
- Getting Started with Odyssey X86J4105
- Hardware Required
- Attaching External Storage
- Installing the Operating System
- Attaching Antennas
- Adding LTE Cellular Connectivity
- Powering Up
- Using ATSAMD21G18 Arduino Core in Windows
- Using ATSAMD21G18 Arduino Core in Linux
- Applications
- Odyssey-X86J4125 SBC
- Summary
What is Odyssey X86J4105?
The Odyssey X86J4105 is a powerful single-board computer with a fast CPU and diverse communication interfaces. These features enable you to develop edge computing applications with ease. Additionally, it has an onboard ATSAMD21 Arduino core microchip for Arduino programming on the X86 platform. There is also a 28-pin header for Arduino connectivity and a 40-pin GPIO header for Raspberry Pi compatibility.

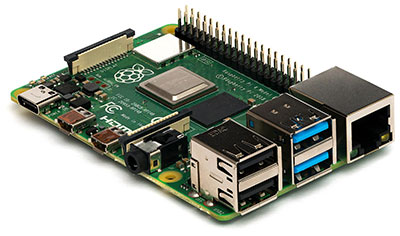
A Raspberry Pi 3 40-pin GPIO diagram
Source: Free SVG
Key Features
This mini PC has several features, but the primary ones include the following.
- Quad-core Intel Celeron CPU (J4105 1.5-2.5GHz)
- 2.4GHz/5GHz dual-band Wi-Fi
- Intel 600 UHD graphics
- Dual gigabit ethernet
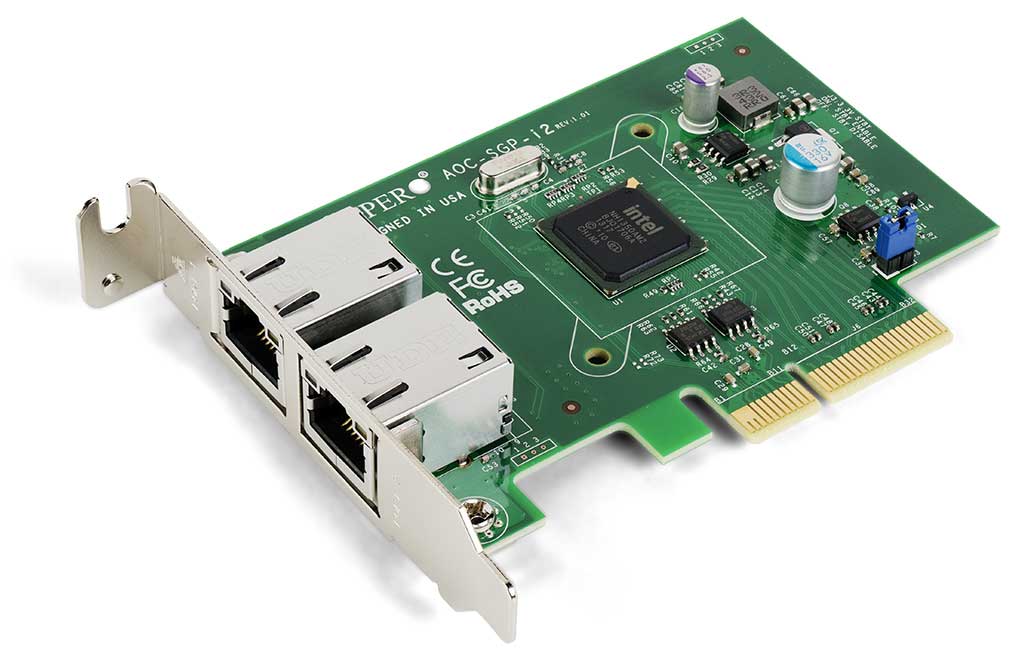
Dual gigabit ethernet ports
Source: Wikimedia Commons
- ATSAMD21 Arduino co-processor (ARM Cortex-M0+)
- Raspberry Pi compatible (40-pin)
- B and M key (M.2 PCIe x2)
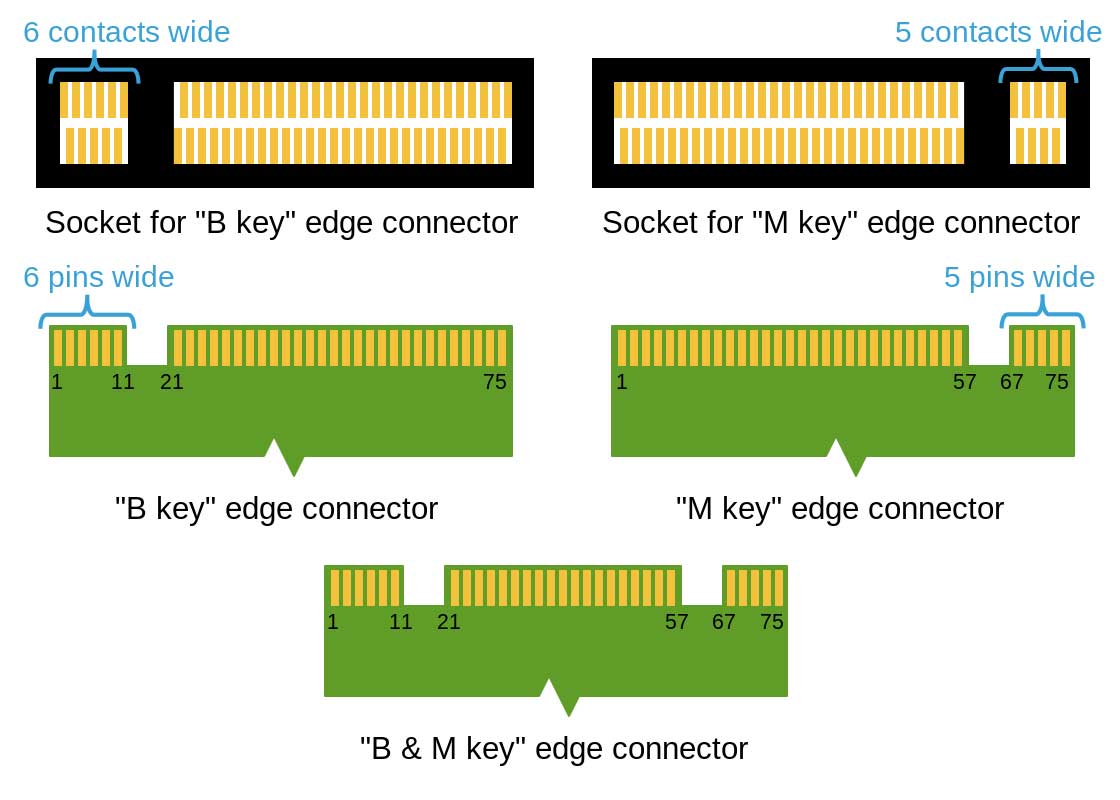
B-key and M-key PCIe connectors
Source: Wikimedia Commons
- Linux and Windows 10 support
- Grove ecosystem compatible
Special Offer: Get $100 off your order!
Please email [email protected] for details.
Specifications and Capabilities
Getting Started with Odyssey X86J4105
You need the following items to set up the Odyssey X86J4105.
Hardware Required
- Odyssey - X86J4105
- The included power adapter
- Mouse, keyboard, and monitor
- HDMI cable
Attaching External Storage
The Odyssey single-board computer with 64GB eMMC storage does not need external storage. Therefore, you can skip this step if you have this version. But you can increase the storage space inside if that capacity is inadequate for your needs.
However, you must attach external storage if your computer comes without the eMMC. There are four storage options and methods to attach this memory. They include using the following:
- M.2 PCIe connector
- M.2 SATA connector
- SATA connector
- Micro SD card socket
But you can only use the first three methods to install the operating system (Windows 10 Enterprise or Linux). The Micro SD card slot is only applicable as an external storage drive.
Installing the Operating System
Remember, you can only run Win10 Enterprise activated or a Linux OS in the Odyssey - X86J4105. Therefore, you should set up either of these operating systems in a bootable USB drive.
After that, connect this drive to any of the Odyssey X86 mini computer's USB ports. Next, plug in the mouse and keyboard via USB ports, then the display (via HDMI or USB-C port).
Press the power button and tap F7 continuously on the keyboard, which should take you to the boot manager. Select the connected USB drive in the current boot settings and hit enter. Follow the installation instructions to complete OS installation. Hit the DEL key continuously when booting to get to the BIOS settings again.
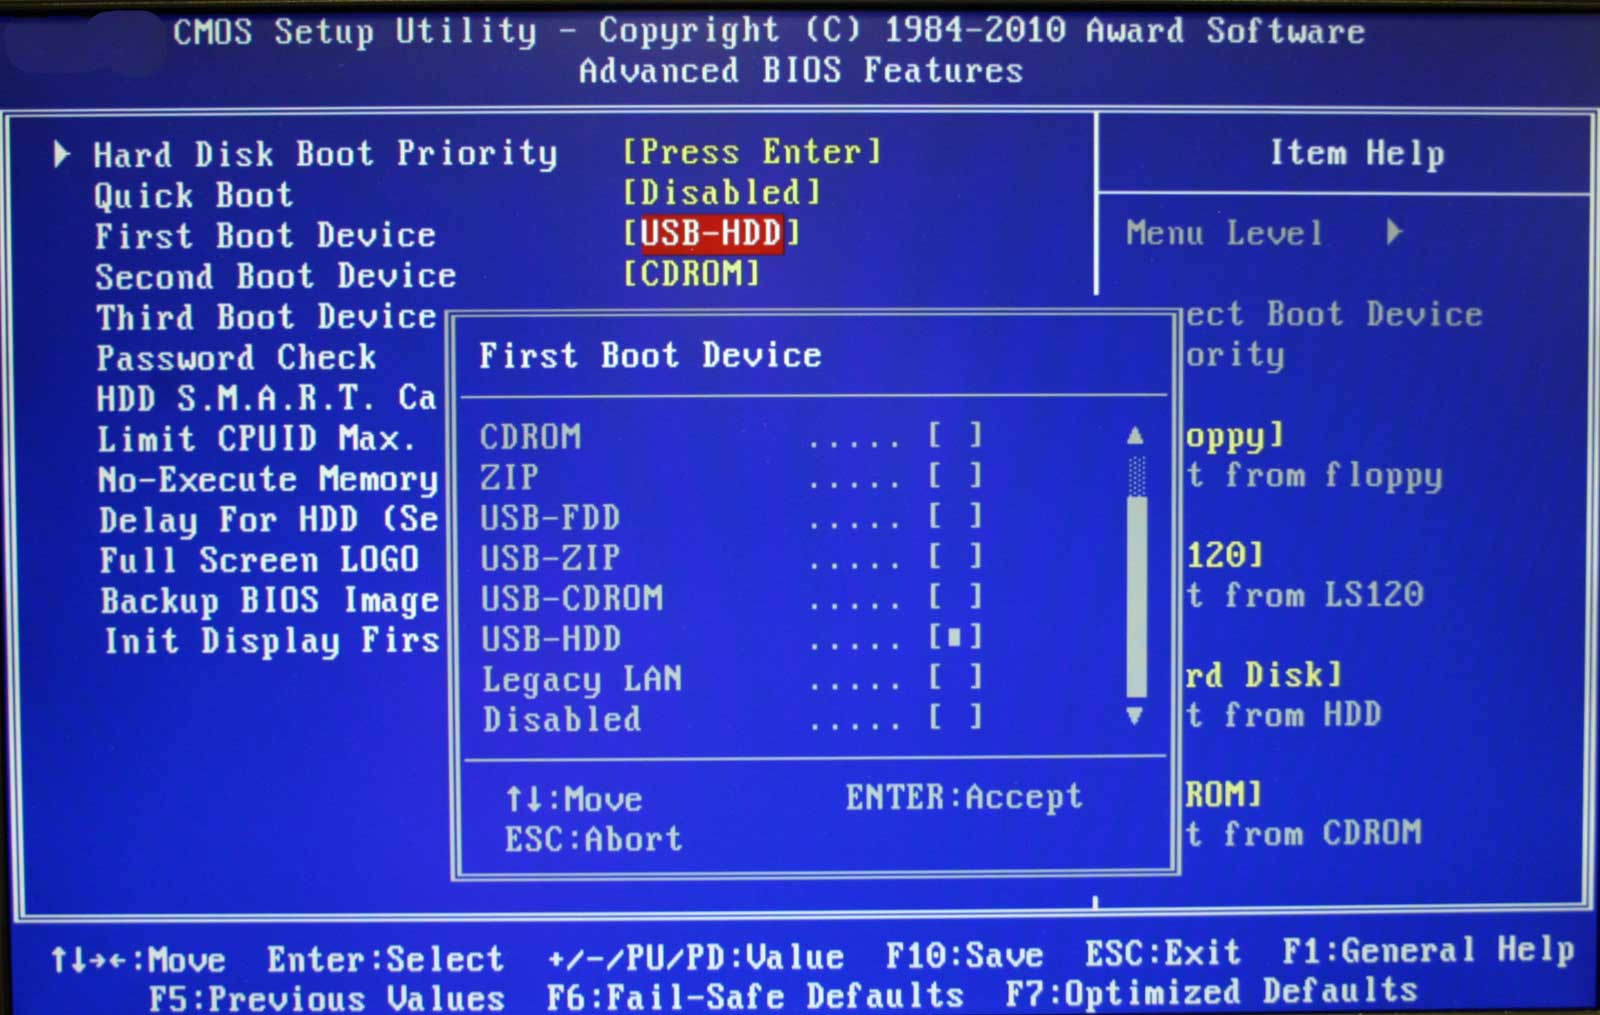
A BIOS configuration page
Source: Wikimedia Commons
However, the eMMC version comes with Win10 Enterprise activated, so skip this installation step.
Attaching Antennas
After completing the installation process, connect antennas to the onboard sockets. One should be for Bluetooth and Wi-Fi, and the other for powerful 5G connectivity.
Adding LTE Cellular Connectivity
Next, insert a SIM card into the board's SIM card slot. After that, install a 4G PCIe module. This component is necessary if you want to use the SIM card.
Powering Up
There are two ways to power the Odyssey - X86J4105.
- Using a power adapter: The computer comes with a 12V/2A power adapter that you plug into the DC jack.
- The second option is using the USB-C port with a 12V input. If your monitor supports USB-PD, you can power the computer and display using a single cable.
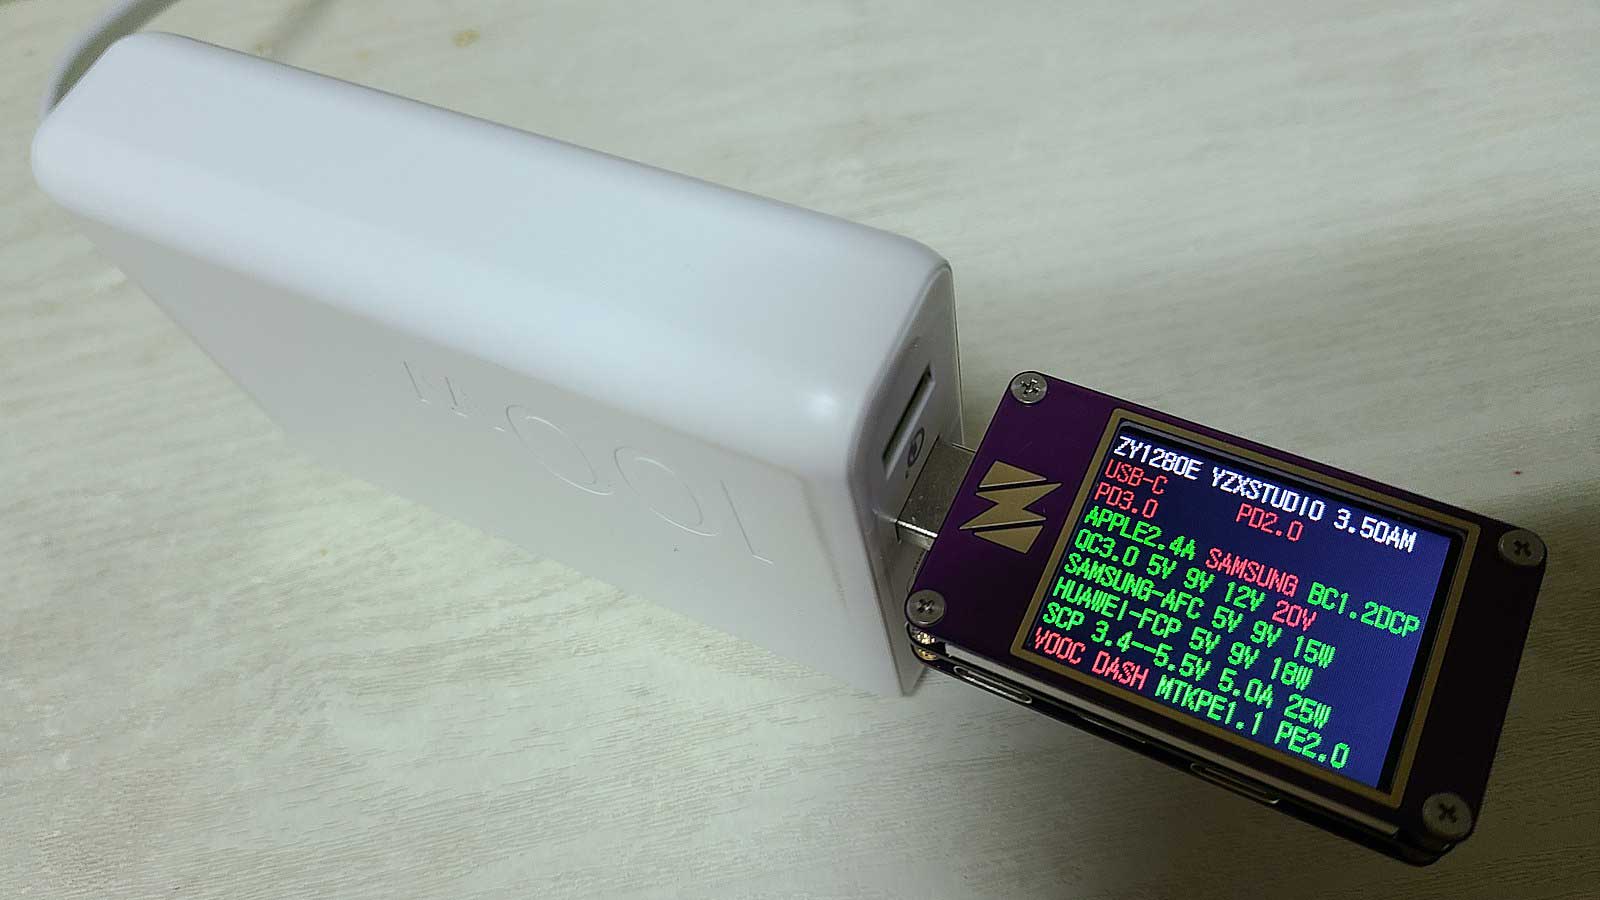
USB-Power Delivery ports
Source: Wikimedia Commons
Once powered up, you can view the various performance stats (memory/storage performance, network performance, etc.).
Using ATSAMD21G18 Arduino Core in Windows
Although not as powerful as a regular desktop, this SBC gives a relatively good desktop experience and performance. Additionally, it features a built-in Arduino core ATSAMD21G18 to provide extra functionality. To use this feature, download and install the Windows version of the Arduino IDE.
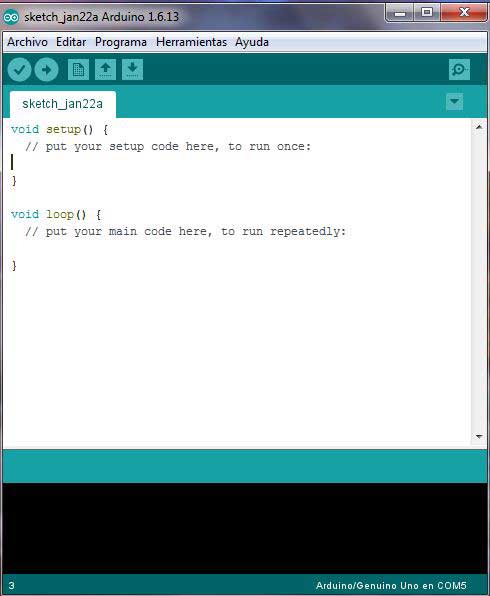
Arduino IDE for Windows
Source: Wikimedia Commons.
After that, install the board libraries. Go to "File > Preferences > Additional Boards Manager URL" and paste the following link:
Next, go to "Tools > Board > Boards Manager," then search "Seeeduino Zero" and install the board library. Before uploading and executing code, select the correct port and board using the following steps.
- Tools > Port > COMxx(Seeeduno Zero)
- Tools > Board > Seeeduino Zero
After setting up, try out different code samples and explore your creativity using the board.
Using ATSAMD21G18 Arduino Core in Linux
If your Odyssey - X86J4105 runs on Linux, download the respective Arduino IDE version. After that, install the software using the following steps.
- Open the terminal and change the directory to the downloads folder.

- Unzip the downloaded using the tar command.

- Move the unzipped file to opt.

- Install the IDE and create a desktop shortcut.

- Give the IDE upload permissions.

Lastly, install the board libraries using similar steps to the Windows version above. However, pick "ttyACM0(Seeeduno Zero)" when selecting the port.
Applications
- Network-Attached Storage (NAS)
- Mini PC
- Router
- Edge computing applications
- Media center
- Robotics
- IoT gateway
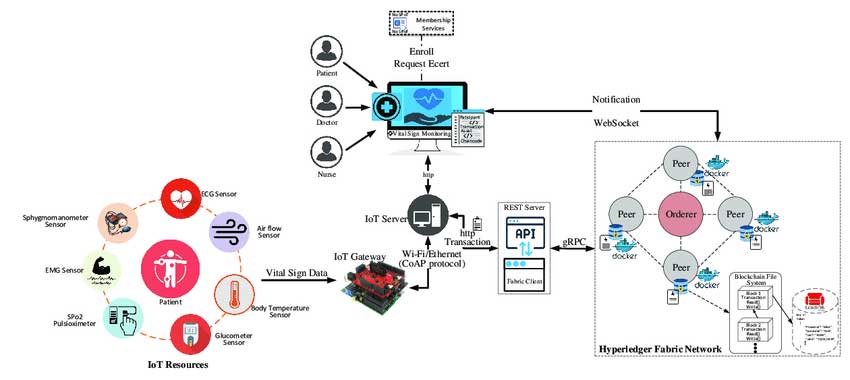
Healthcare IoT architecture. Note the IoT gateway in the setup.
Source: Wikimedia Commons
- Thin client
- Server cluster
- IT industry, educational fields, and industrial applications
Odyssey-X86J4125 SBC
The Odyssey-X86J4105 has powerful features but might not be the best Odyssey SBC because of one issue. It runs on a discontinued Intel Celeron J4105 processor. Therefore, it needed a replacement, and the Intel Celeron J4125 was the ideal candidate. The resulting SBC is Odyssey - X86J4125.
All the features are the same as in the X86J4105, and the manufacturers still use the PCB and its markings. However, the processor is faster because it clocks at 2.0 GHz and 2.5GHz when turbo-boosted. But the GPU clock speed is the same. Therefore, it gives a slight performance improvement.
A single-board computer
Source: Wikimedia Commons
Summary
As you can see, the Odyssey - X86J4105 is a powerful and versatile X86 SBC with numerous applications. If you want the computer or have any questions about it, leave us a message in the chat box, and we'll get back to you asap.
Special Offer: Get $100 off your order!
Please email [email protected] for details.