While there are various Raspberry Pi 4 cases, not all have the same features. Besides its high build quality, the DeskPi Pro case contains remarkable convenience features to support the single board computer inside. These include active and passive cooling systems, ports for USB devices, micro HDMI ports conversion to full-size HDMI ports, etc. We have looked at the DeskPi Pro in detail below, so read on to see if it matches your needs.
Contents
Special Offer: Get $100 off your order!
Please email [email protected] for details.
What is DeskPi Pro?
The DeskPi Pro is a NUC-style aluminum alloy case for the Raspberry Pi. Perhaps the unit's most outstanding feature is the 2.5-inch SATA SSD port with a 7+15 pin connector inside. This component enables you to increase the storage capacity by adding a 2.5-inch SSD or HDD to your Raspberry Pi 4. The drive runs via a USB 3.0 connection and does not require an additional power cable. Below is the complete list of features of this case.
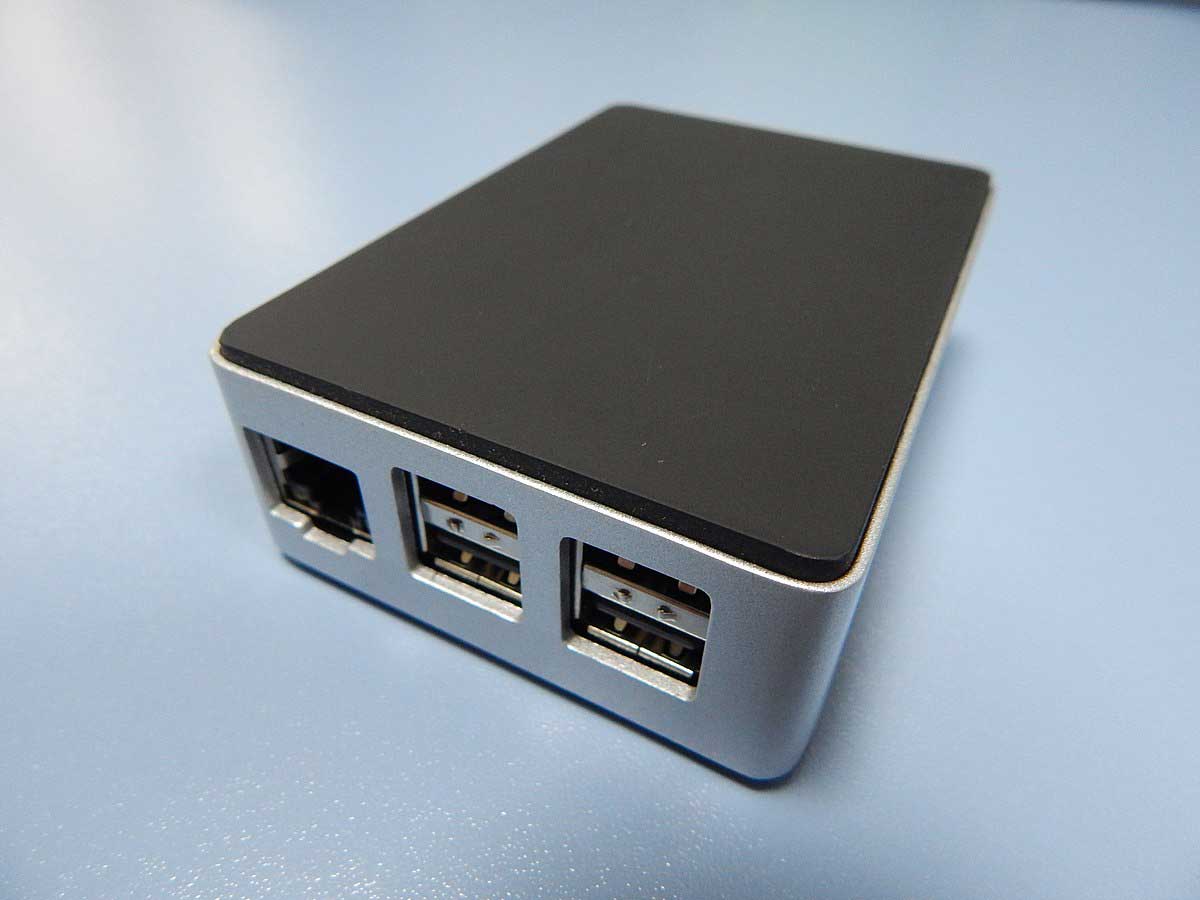
Raspberry Pi aluminum case
Source: Wikimedia Commons.
Special Offer: Get $100 off your order!
Please email [email protected] for details.
Key Features of the DeskPi Pro Raspberry Pi Case
- Aluminum alloy NUC-style case
- 2 x full-size HDMI ports (2.0 with 4K support)
- All ports on the rear side to eliminate messy cables
- Built-in ICE tower cooler with air vents and a PWM fan for passive and active cooling
- Front and rear acrylic panels to give powerful Wi-Fi strength
- 2.5-inch HDD or SSD drive interface via USB 3.0 with independent power supply
- Two front USB ports (2.0)
- PD 2.0 and QC 3.0 power input (QC3.0 power supply inclusive)
- Power button with safe shutdown and reset
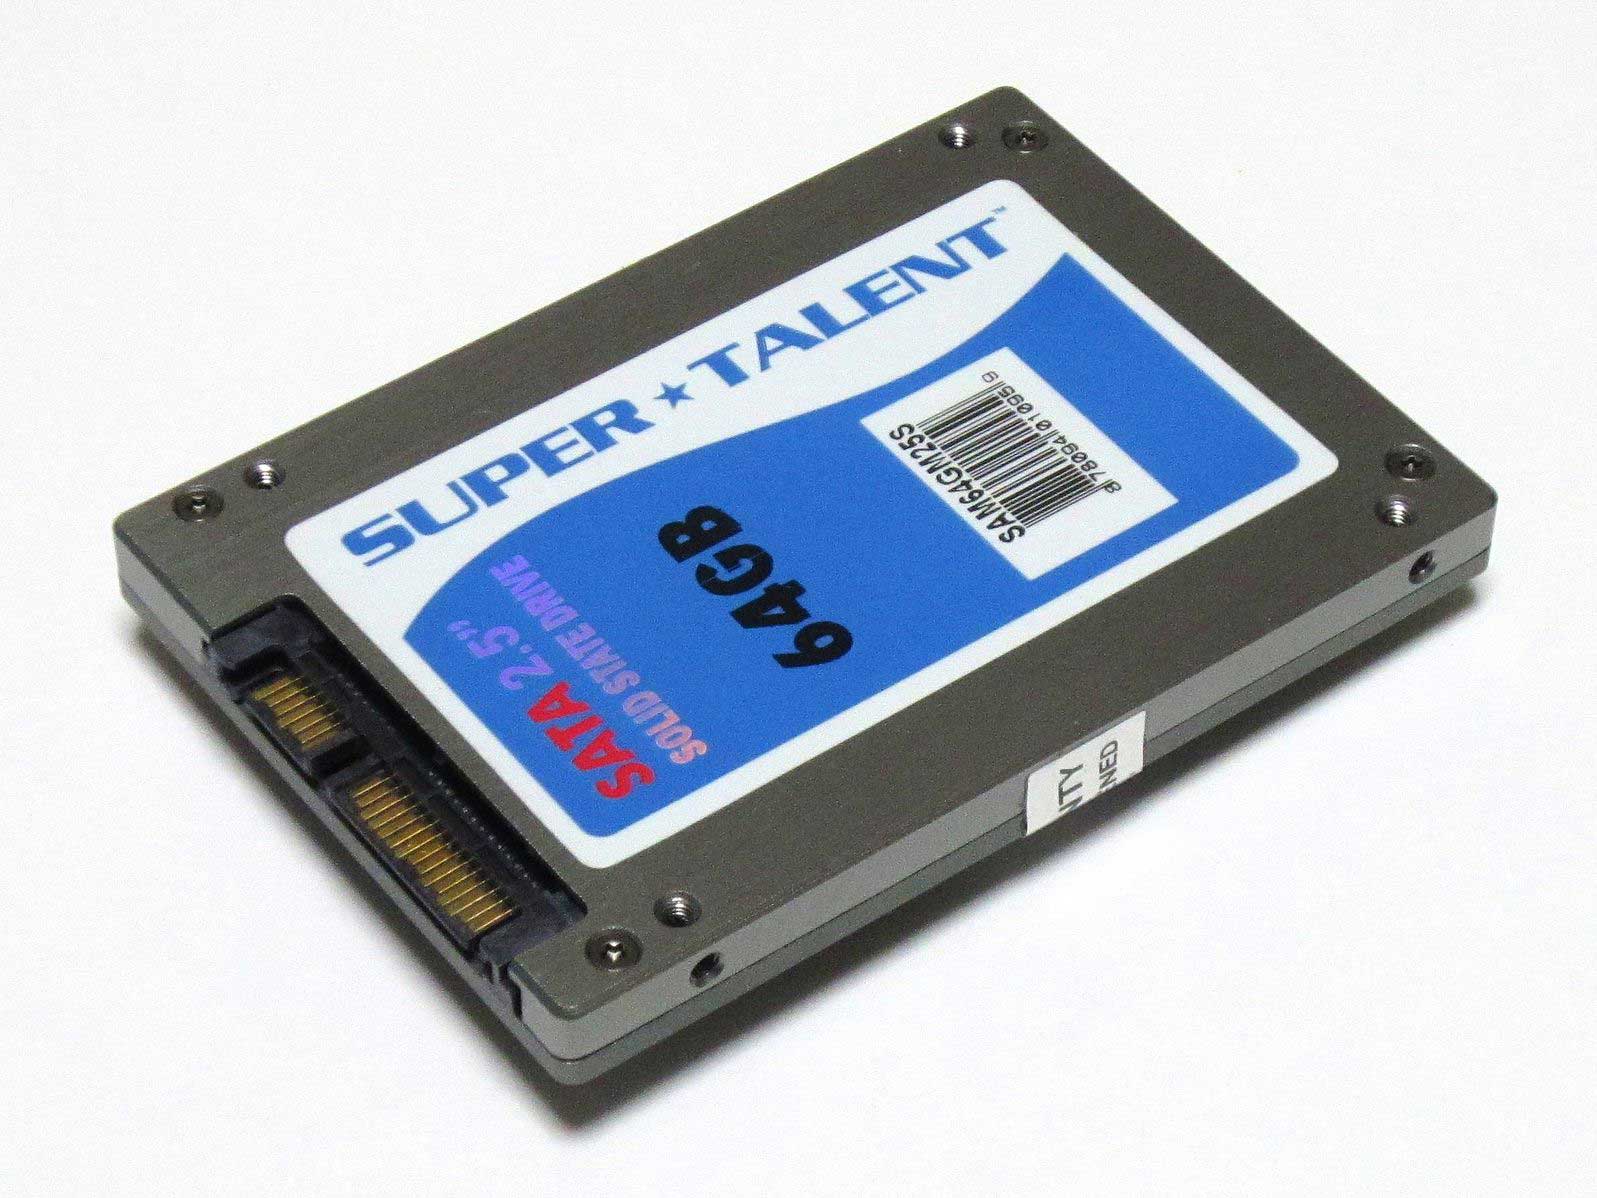
A 2.5-inch SSD
Source: Wikimedia Commons
Getting Start the DeskPi Pro
How to Install DeskPi Driver?
Installing DeskPi drivers requires the following five steps.
- First, flash the newest supported OS version to a microSD card using an etcher flash imaging tool.
- Second, insert the microSD card into your DeskPi Pro's card slot, then hook up the power supply.
- Third, connect DeskPi to the internet and remember to configure the WLAN country to enable the Wi-Fi adapter.
- Next, open the terminal using CTRL+ALT+T or press the taskbar icon.
- Finally, type the following commands to install the driver.
For Ubuntu-mate OS

For RetroPie OS and Raspbian

DeskPi Pro: For Kali-Linux-arm OS

For Manjaro OS

The Raspberry Pi 4 board will reboot automatically after installation.
How to Uninstall a Driver?
Uninstalling the case's driver from your Raspberry Pi is as simple as one line of code. Just type.

Then pick the number against your OS type.
How to Control Fan Speed Manually?
First, open the terminal, then type the following command.

After that, set the fan speed by typing any number between 1-4, four being the fastest (1-25%, 2-50%, 3-75%, 4-100%).
Number five turns off the fan, while six deals with the adjustable fan temperature. It guides you when creating the "deskpi. conf" configuration file in the "/etc." directory, which you use to specify the threshold temperature and fan speed level.
Once set up, the program will handle the speed control and regulate the CPU temperature at a certain level.
Lastly, number seven cancels manual control and enables automatic fan control using the default arguments. These have the following parameters.
| Temperature | Fan Speed |
| <40°C | 0% (Not spinning) |
| 40-50°C | 25% |
| 50-65°C | 50% |
| 65-75°C | 75% |
| >75°C | 100% |
However, you can make some manual changes. Type

On the terminal, select six, input 45, and press the enter button. Lastly, key in 50 and press enter. This configuration means the fan speed will go to 50% when the CPU temperature rises above 45°C.
However, it is vital to note that 50% fan speed implies you have already sent PWM50 to the "/dev/ttyUSB0" port. This port will only be available if you add this

to the "/boot/config.txt" configuration file and reboot the DeskPi case.
How to Boot from USB SSD/HDD?
After configuring the Raspberry Pi and connecting it to the internet, install the DeskPi Pro utilities from this link. Next, open the terminal and run the following commands.

After that, reboot using this command.

Once it powers back on, type the following command in the terminal.

Navigate to the advanced options, place USB boot at number one in the boot order, then go back to the advanced options. Next, choose the newest boot loader version, then save and exit.
Reboot again to apply the settings, then type the following command after powering up.

Save and overwrite the file using CTRL+X and Y, respectively (don't change anything). Reboot again. After that, it will be possible to install any Raspberry Pi OS with USB booting.
How to Use IR Function Onboard?
First, enable the gpio-or function by uncommenting the following line in the "/boot/config.txt" configuration file.

If the code does not exist, include it in the file. Next, install the lirc package using this command.

After that, edit the "/etc/lirc/lirc_options.conf" configuration file by including these parameters if not present.

Lastly, reboot the Raspberry Pi and test it using the following command.

Summary
There you have it! The DeskPi Pro is a unique Raspberry Pi case primarily due to its SSD support. But it has much more to offer. We hope this article has been insightful and can get you started configuring the device immediately. However, if some parts are unclear or you have any questions/comments, don't hesitate to contact us.
Special Offer: Get $100 off your order!
Please email [email protected] for details.