If you are an assembly programming expert or enthusiast, you have probably worked with the Arduino Mega development board. It features an automatic voltage control (AVR) microcontroller that will be the focus of our discussion. Check out this comprehensive guide on ATmega2560 and how to program it using Arduino Uno.
Contents
- What is Atmega2560?
- ATMega2560 Pinout Configuration
- Features & Parametrics of Atmega2560
- Key Features
- Key Parametrics
- Atmega2560 Chip Advantages
- AVR Atmega2560 Disadvantages
- Microcontroller Comparisons: ATmega640/1280/1281/2560/2561
- Microcontroller Boards that Use the ATmega2560
- Arduino Mega 2560
- Seeeduino Mega
- How do I Program My ATmega2560 Using Arduino UNO?
- Bootloading the ATmega2560
- Programming Arduino
- Applications
- Summary
Special Offer: Get $100 off your order!
Please email [email protected] for details.
What is Atmega2560?
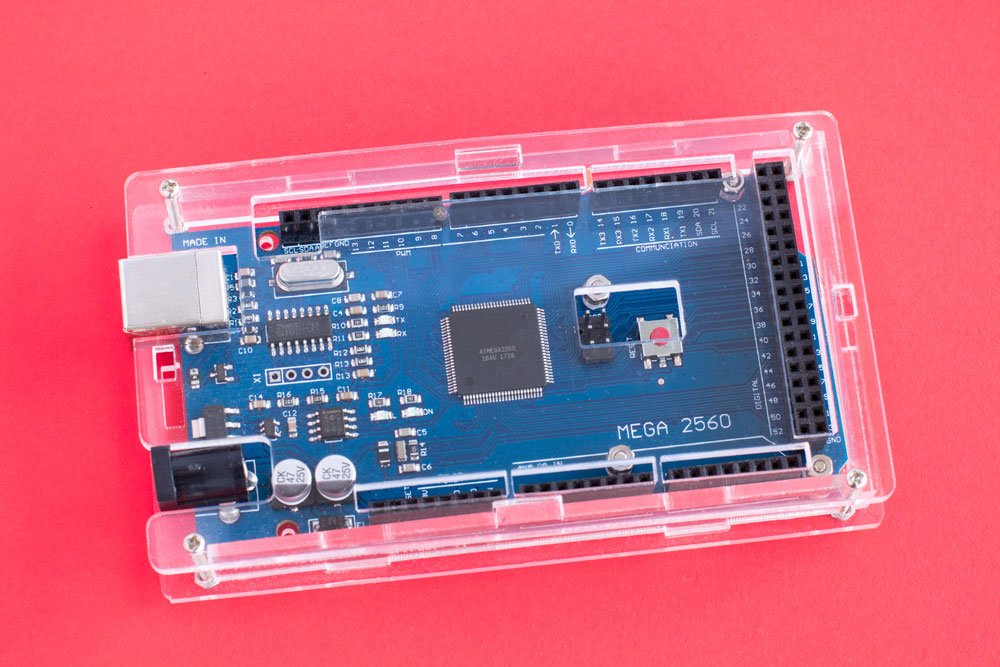
Arduino MEGA 2560 R3
It is an 8bit low-power microcontroller by Atmel, common in the Arduino Mega development board. Also, the component has an 8-bit AVR RISC architecture and 4KB EEPROM. Other key properties include having a range of peripherals such as PWM generators, counters, and timers.
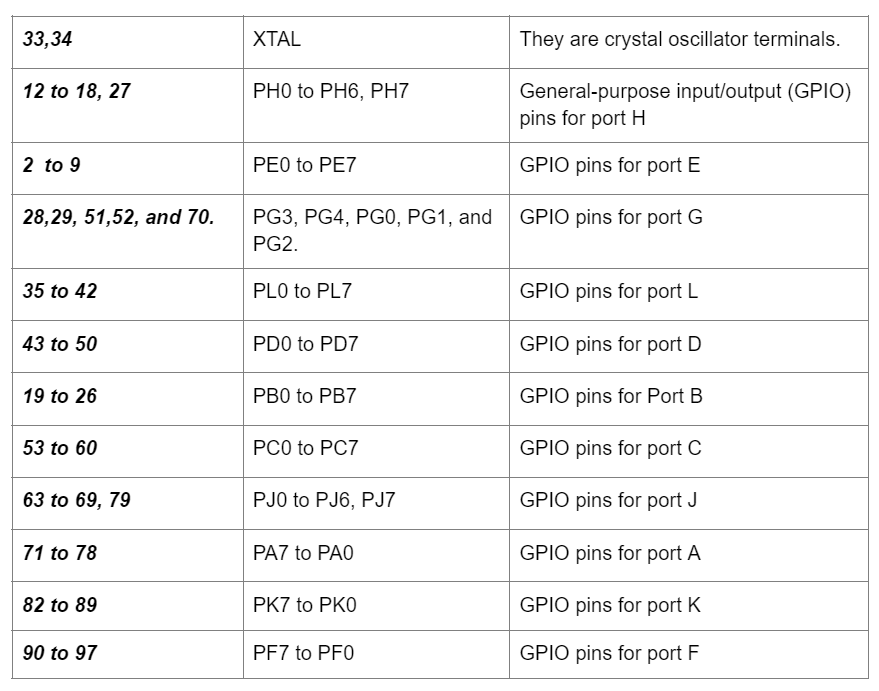
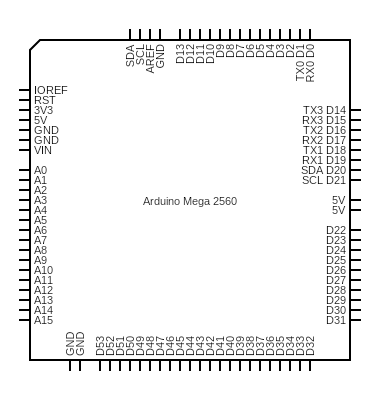
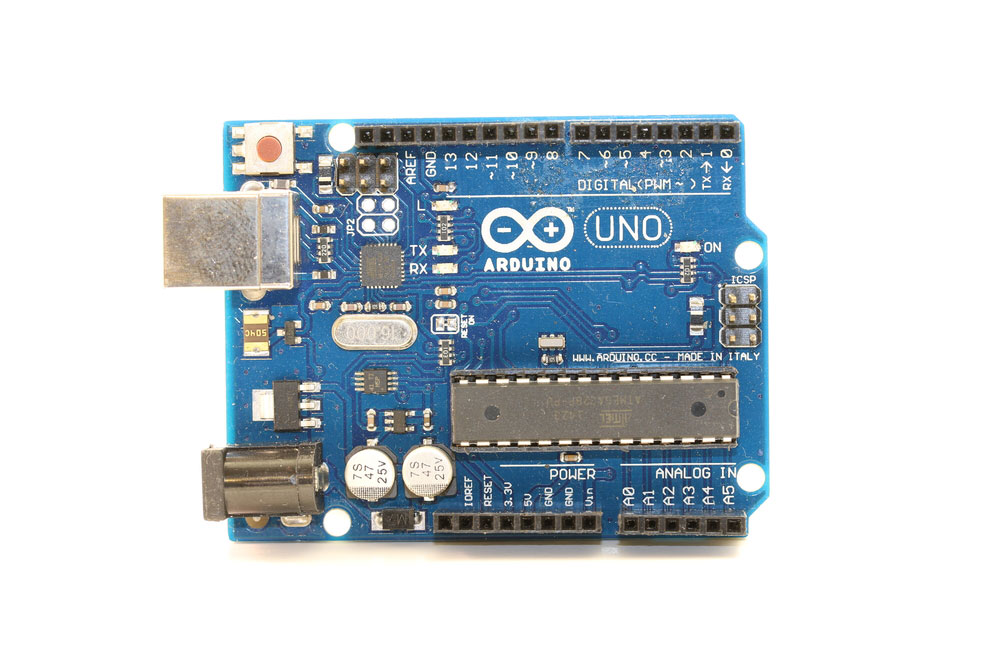
ATMega2560 Pinout Configuration
Arduino Uno Board PCB microcontroller
The Atmega 2560 has 100 pins whose functions are as follows: 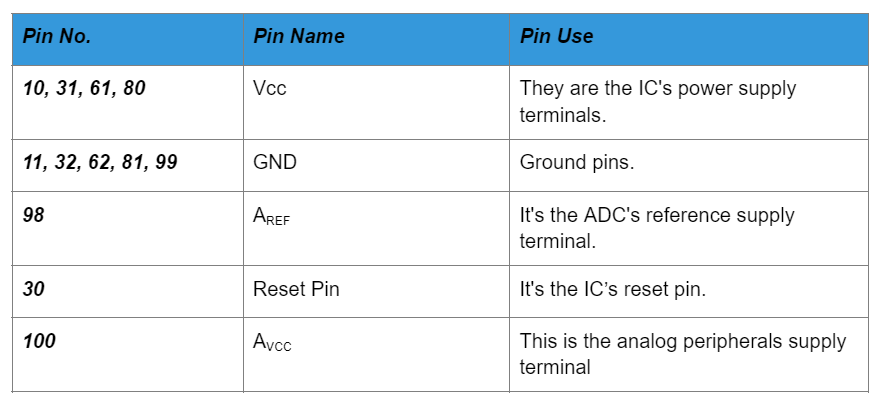
Features & Parametrics of Atmega2560
Key Features
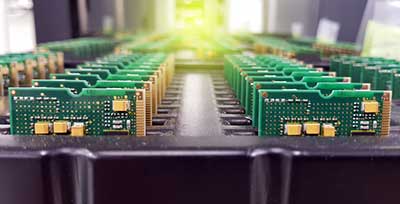
Set of Arduino microcontrollers
The following are the outstanding features of the ATMega2560:
- It has the Atmel Q-Touch library support and a JTAG interface that is IEEE std. 1149.1 compliant.
- Also, it features high tenacity memory segments that are also nonvolatile.
- Thirdly, the AVR Atmega has an on-chip analog comparator and a real-time counter that features a separate oscillator.
- Additionally, it has a watchdog timer which you can program, and a separate on-chip oscillator.
- Furthermore, the Arduino Atmega has six different sleep modes and an internal calibrated oscillator.
- Lastly, it has a programmable brown-out detection capability and a power reset feature.
Key Parametrics
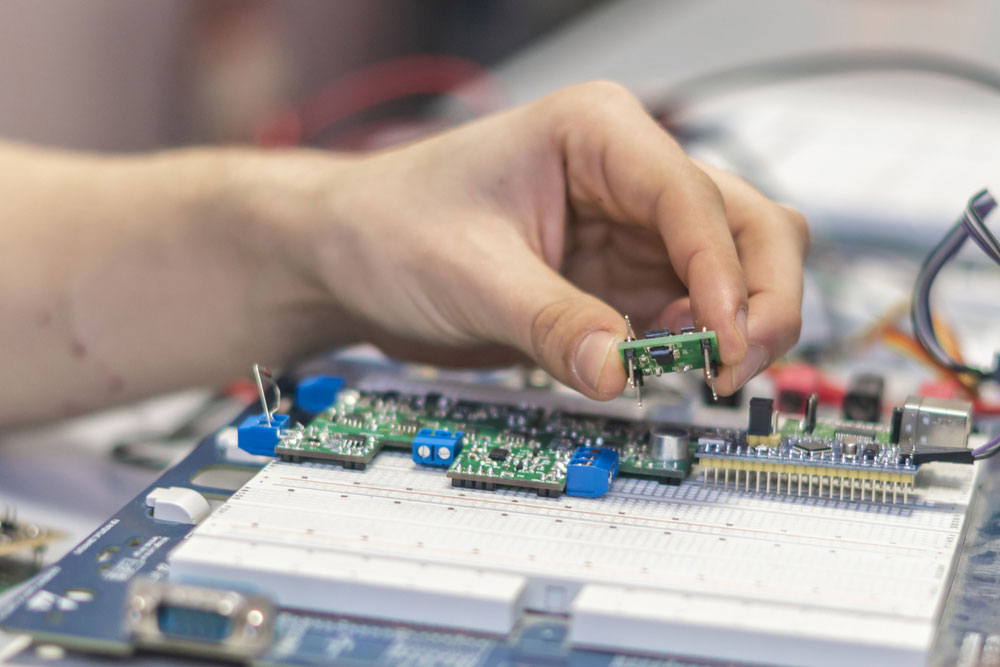
An engineer working on a circuit
Besides, Atmega microcontrollers feature the following parametric: 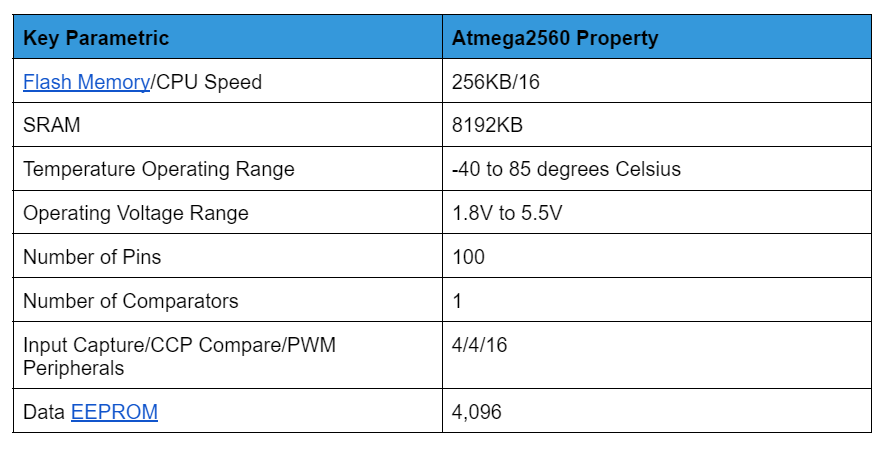
Atmega2560 Chip Advantages
- It's easy to start up, and it consumes low power.
- Also, it's easy to use since it's an 8-bit microcontroller, unlike 32/64 sophisticated bit versions.
- The QTouch Suite property facilitates easy development and exploration of touch applications.
- Lastly, it has a patented adjacent key suppression technology, useful in unambiguous events detection
Special Offer: Get $100 off your order!
Please email [email protected] for details.
AVR Atmega2560 Disadvantages
- It has limited flash memory write cycles which lowers image flashing time, especially after programming to PC.
- Besides, it's subpar compared to higher bit microcontrollers regarding its incremental performance.
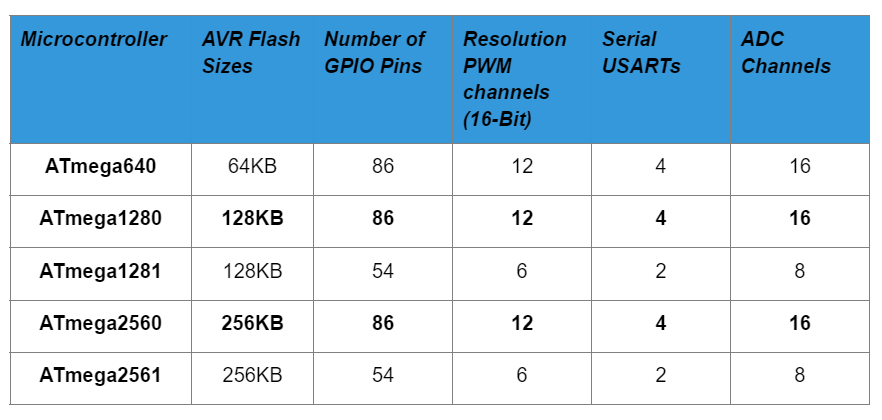
Microcontroller Comparisons: ATmega640/1280/1281/2560/2561
ATmega2560 is one of many other similar microcontrollers of the Atmega series. While they have several common features, such as the RAM and EEPROM, they still have some differences. The table below gives the distinctive features of these microcontrollers.
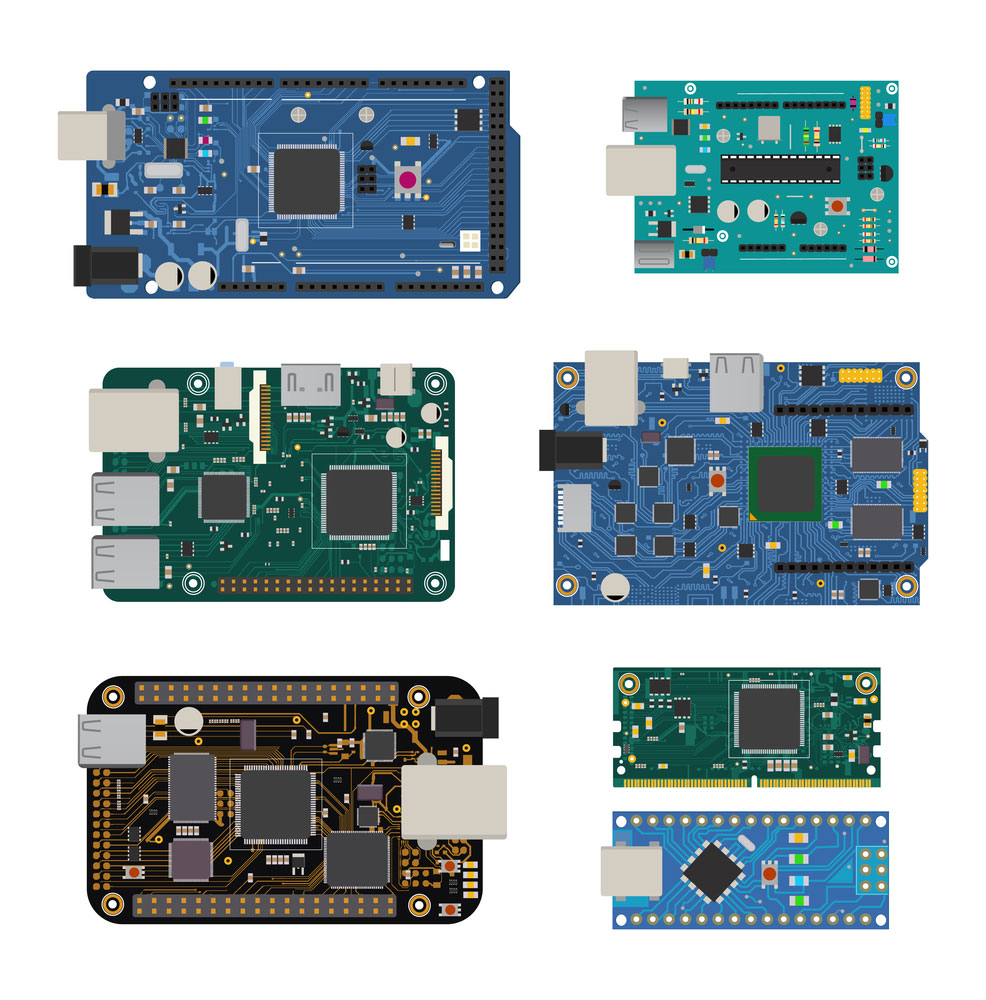
Microcontroller Boards that Use the ATmega2560
Arduino Mega 2560
Arduino mega microcontroller pinout
It's effective for complex projects, thus allowing you a wide range of options. Hence, it's the best microcontroller board for robotics projects and 3D printers. It offers a large space, 16 analog inputs, and 54 digital I/O pins.
Its other key features include the following:
- It requires an operating voltage of 5V and an input voltage of 7V to 12V. Also, the input voltage limits are between 6V and 20V.
- Secondly, it has an 8KB SRAM. Also, its DC current per I/O pin and for 3.3V pin is 40mA and 50mA, respectively.
- Lastly, it has a 4KB EEPROM, 256 bytes of flash memory, and a 16MHz clock speed.
Thus, the Arduino Mega 2560 is a significant upgrade to the conventional ATmega2560.
Seeeduino Mega
Seeeduino Mega offers more options than the erstwhile microcontroller board we've discussed. Instead of 54 digital I/O pins, the Seeeduino Mega has 70. Its other key features include:
- It has 14 analog inputs and an ICSP Header. Besides, its processing speed is relatively higher than Arduino Mega 2560.
- Also, it is easy to program and has a relatively smaller form factor than the Arduino Mega 2560.
- Furthermore, you can power it using an AC to DC adaptor on the conventional battery.
- Lastly, it is compatible with Diecimila Shields and almost all Arduino Duemilanove devices.
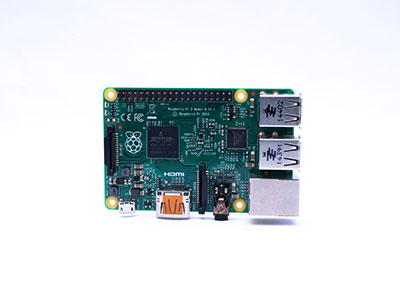
How do I Program My ATmega2560 Using Arduino UNO?
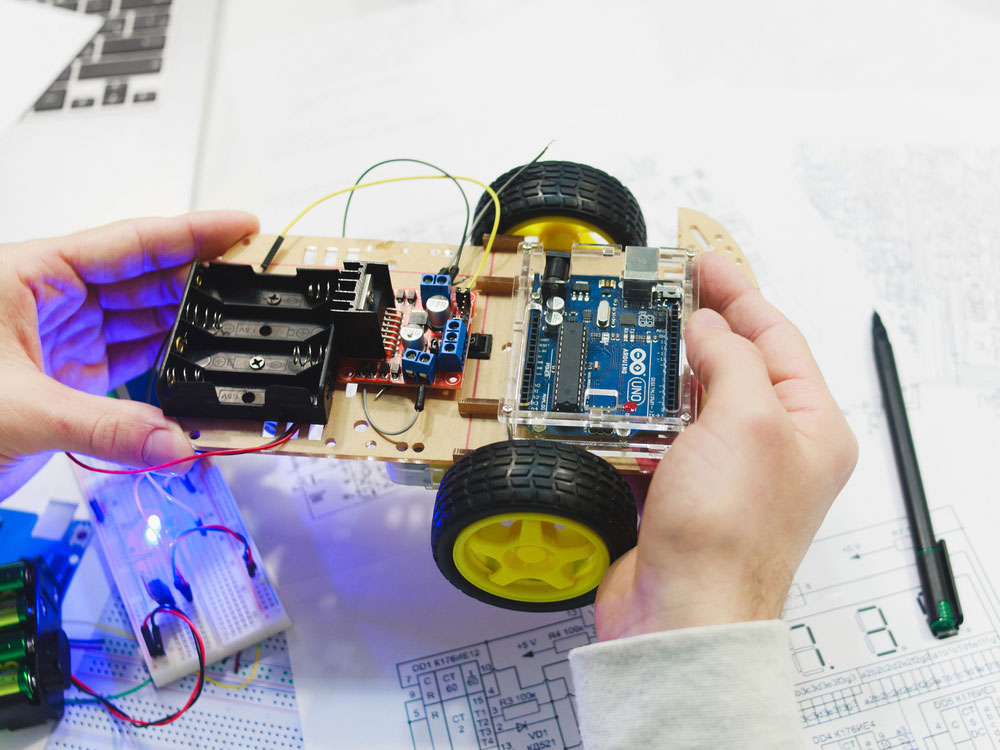
Using Arduino Uno in robotics
You need to program your ATmega 2560 using an Arduino Uno before using it. This process is straightforward. Nonetheless, you'll first require to bootload 2560.
Bootloading the ATmega2560
Arduino electronic platform for hobbyists
In this stage, the overarching assumption is that the ATMEGA2560 has no prior code. Here are the steps.
- First, start the Arduino IDE program and, at the same time, connect the Arduino UNO.
- Next, load the bootloader file, and once the process is over, disconnect the Arduino UNO. Also, make the following connections.
- crystal and two 22pf capacitors, as we have illustrated in the diagram below:
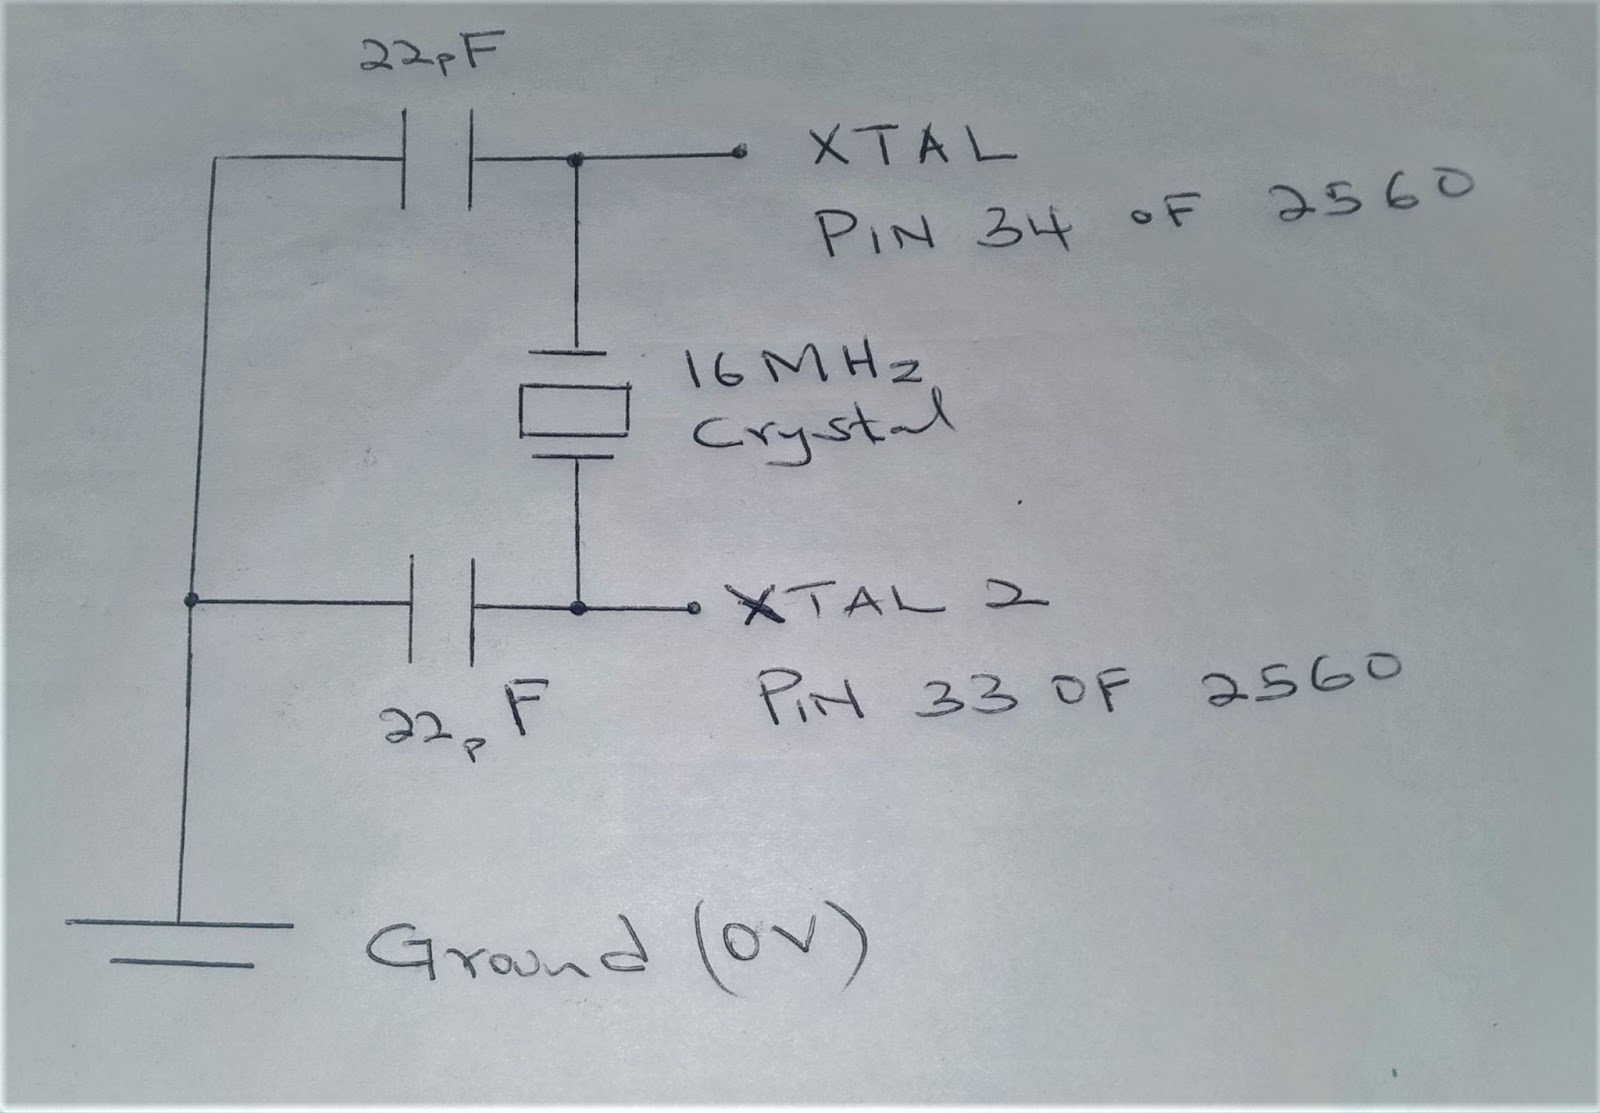
Circuit diagram
- Additionally, place a 10kΩ resistor between Atmega2560’s pin 30 and the Vcc.
- After making the connections, visit the Arduino installation directory and find the "boards.txt" file. Open it and select the "mega.menu.cpu.atmega2560.bootloader.high_fuses=0xD8" line.
- At this point, replace the "0xD8" part with a "0xD9". After the changes, your line should read "mega.menu.cpu.atmega2560.bootloader.high_fuses=0xD9".
- Next, you need to burn the bootloader. First, open the open Arduino IDE and select Arduino Mega 2560 as the board. You’ll need to select the ATMEGA2560 processor and Arduino as the ISP programmer.
- Lastly, select “Burn Bootloader” from the tools, and the burning process will be complete in a few seconds.
Programming Arduino
Arduino board
After bootloading, what is remaining is to upload the blink sketches to the ATMEGA 2560. Here are the steps:
- First, make sure you remove the Arduino from your computer.
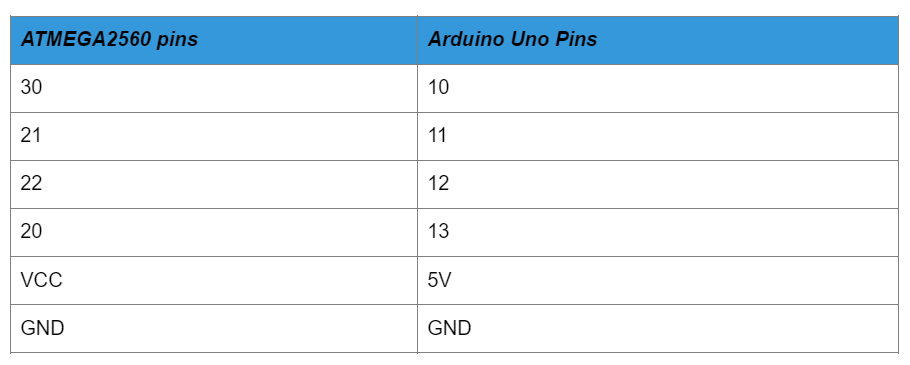
- Next, you’ll also need to disassemble the connections you have made. However, don't unhook the crystal from the ATMEGA 2560. Then, connect the ATMEGA 2560 to the Arduino Uno, as illustrated in the table below.
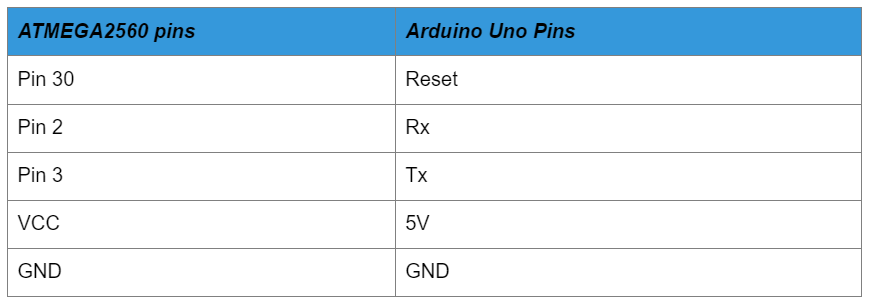
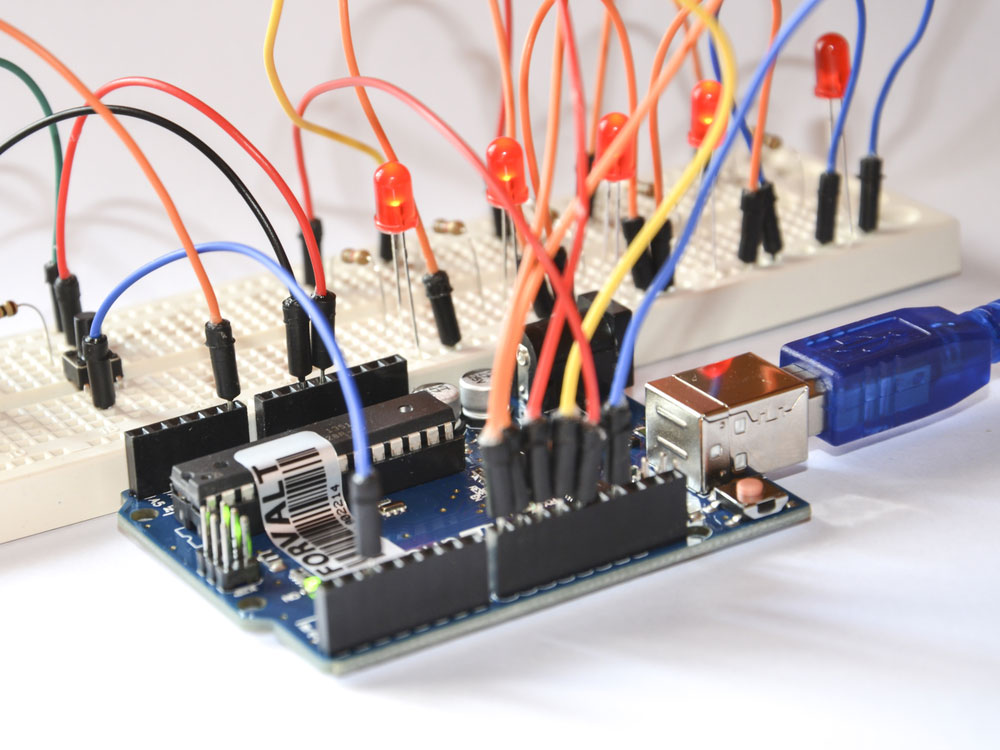
- Next, disconnect the ATMEGA 2560 from the Arduino Uno board. Connect a LED to the chip as shown below:

- Connect the Arduino Board and from the Arduino IDE, select the 'Blink' sketch.
- Also, you need to alter the output pin from pin13 to pin50 from the void setup & void loop.
- Next, upload the following Arduino code:
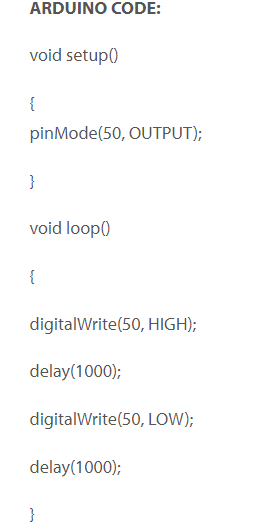
Arduino Code.
- If you’ve done everything correctly, the LED will light up. Next, you can upload the Arduino MEGA sketches. Nonetheless, ensure that the crystal connection remains, as we illustrated earlier.
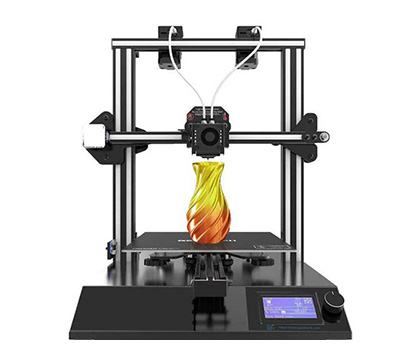
Applications
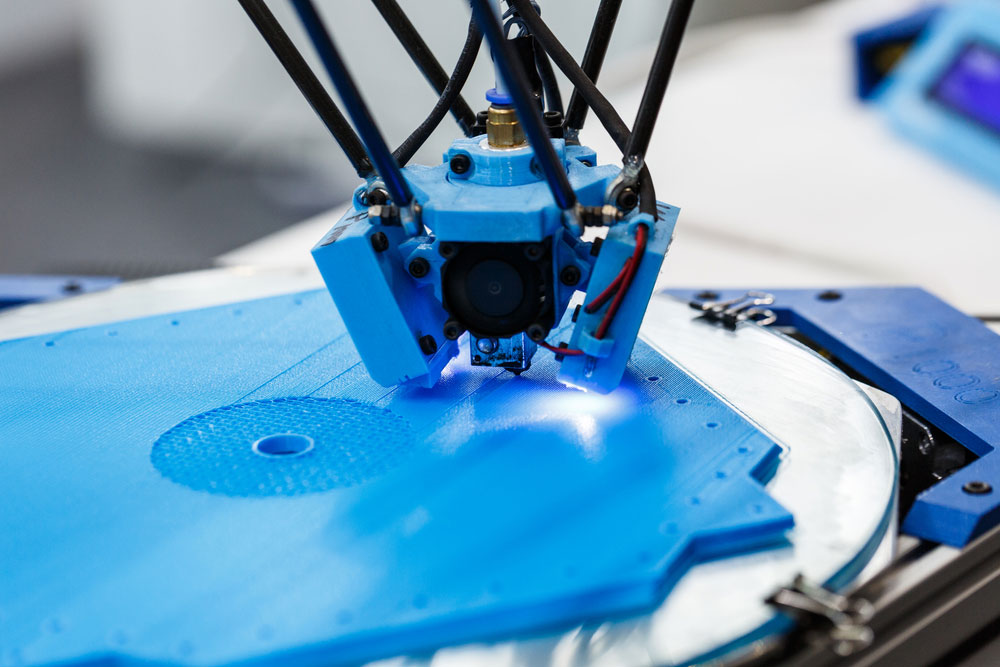
3D Printing detail High-tech manufacturing
- Useful in mixed-signal electronics, robots, and HD applications
- Also, they are essential in embedded electronics control
- Additionally, it is useful in smart house and analytical purposes
Summary
As you know, In assembly electronics, you cannot avoid using the Arduino Board. Our article has explained how ATMega2560 can assist you in your DIY project and other applications. Still, if there are clarifications on this component you'd like to make, talk to us. Our team will readily assist and guide you.
Special Offer: Get $100 off your order!
Please email [email protected] for details.