Contents
- What is Scratch?
- What Can I Do with Scratch 3 and Raspberry Pi?
- Sense HAT Extension
- Simple Electronic Extension
- GPIO Extension
- Micro: bit and LEGO Extensions
- Getting Started with Scratch on the Raspberry Pi
- Equipment Required
- Scratch Installation to the Raspberry Pi
- Opening Scratch
- Finish the Setup
- Updating the OS to Raspbian Buster
- Troubleshooting
- Using the Scratch to Connect to the World
- Raspberry Pi Scratch Projects
- Boat Race
- Rock Band
- Summary
Special Offer: Get $100 off your order!
Claim your $100 discount by sending an inquiry today. Act now to save on your next project!
Please email [email protected] for details.
Please email [email protected] for details.
What is Scratch?
Scratch is an elite visual programing language designed mainly for beginners, allowing them to produce their animations, art, games, and interactive stories. The site user (scratchers) uses a block-like interface to create impressive IoT projects on the website. Besides external tools, they can export the projects to EXE files, Android apps, JavaScript, and HTML. Furthermore, using block-based coding, once the user creates GPIO projects, they can share them with others. Therefore, Scratch is an ideal tool for teaching coding to the young ones, especially remotely.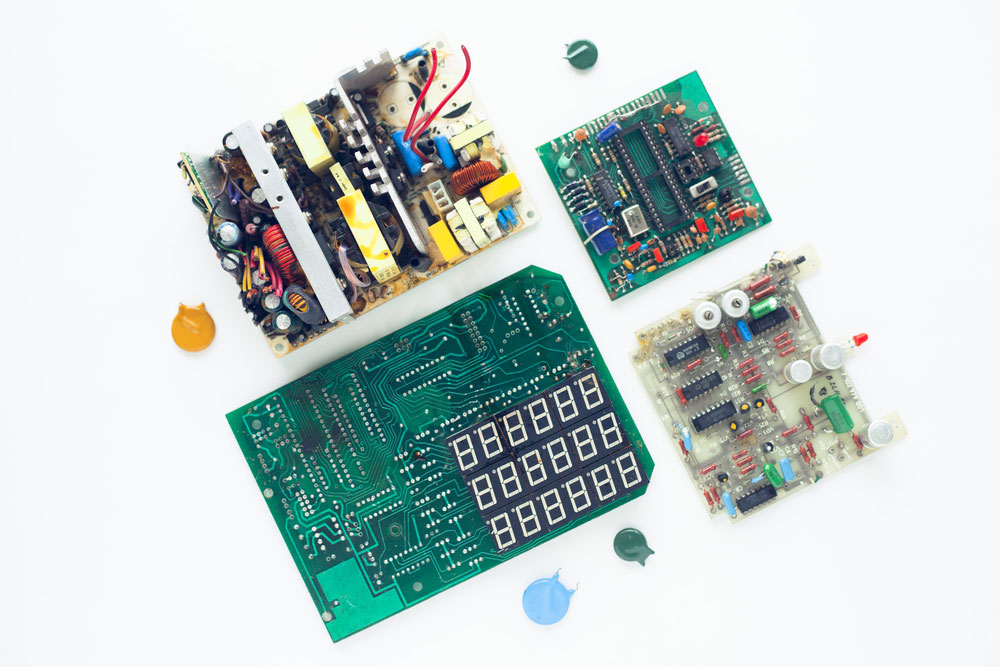
Set of drivers, diodes, capacitors, inductance, and other microelectronics
Special Offer: Get $100 off your order!
Claim your $100 discount by sending an inquiry today. Act now to save on your next project!
Please email [email protected] for details.
Please email [email protected] for details.
What Can I Do with Scratch 3 and Raspberry Pi?
Scratch 3 is the newest scratch model, with notably enhanced functionality and heightened interface. Besides, it features new extensions enabling you to regulate sense HAT and GPIO pins with scratch complete code. There is so much you can do with Scratch and Raspberry Pi, including:Sense HAT Extension
The updated Sense HAT extension features new elements allowing benefit from Scratch 3 new features. Hence, the new block gives you the ability to;- Provide Demonstration of designs, typescripts, and texts within the LED environment
- Estimate moistness, pressure, and hotness
- Apply the touchpad
- Recognize alignment, trembling, and slanting
Extension cable
Simple Electronic Extension
The friendliest extension for beginners is a simple electronic component when networking with Raspberry Pi’s GPIO pins. Furthermore, it's the best option, especially when searching for something modest to complement the game, like a switching regulator or LED.GPIO Extension
The functionality and outline of the GPIO extension resemble the current Scratch 2 extension. Therefore, users can apply it as a pop-in substitution. Besides, the Raspberry Pi GPIO extension offers users the mutability to direct control and unite numerous electrical modules.Micro: bit and LEGO Extensions
Unlike Raspbian, micro: bit isn’t offered for Linux-type operational networks at the moment. The reason is that the Scratch connection program lets Scratch interact with Bluetooth modules that aren’t installed. Nevertheless, it will be offered on the Scratch 3 Desktop version in the near future.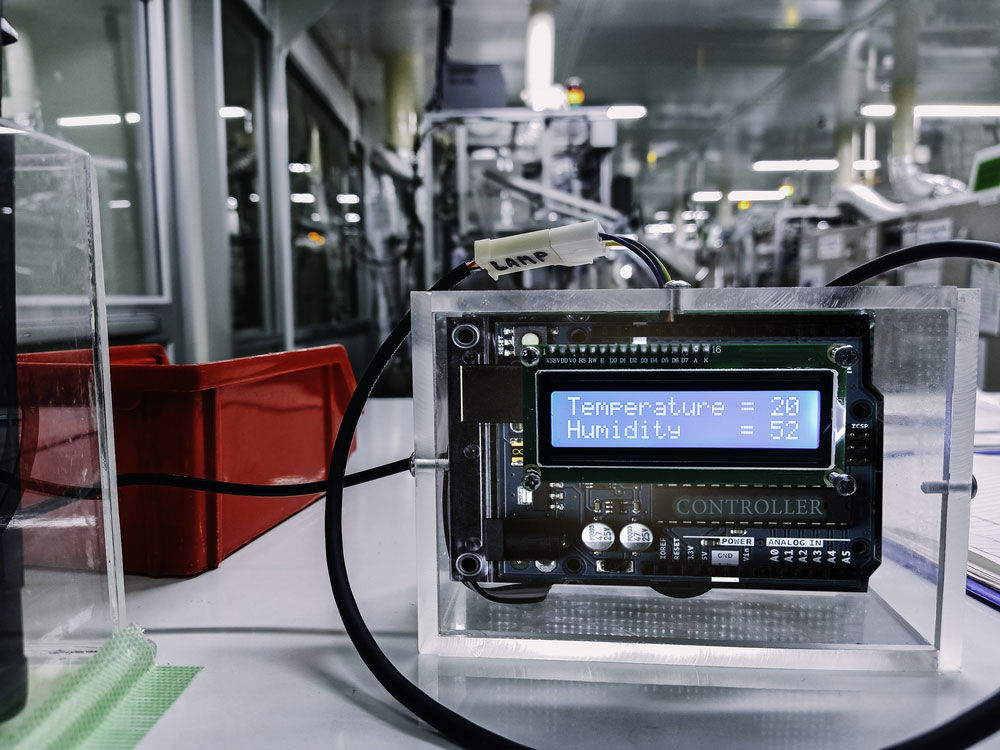
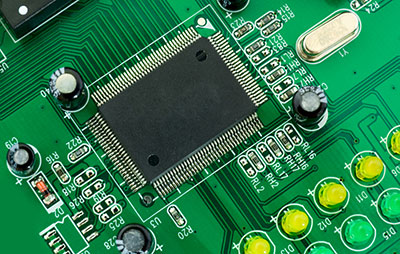
Arduino control broad element photo with infographic details
Getting Started with Scratch on the Raspberry Pi
In this tutorial, we will demonstrate how to get started with Scratch on the Raspberry Pi. In addition, we will show exactly how to set up this software on Raspberry. Note that we will run a new version of Raspbian containing a desktop interface.Equipment Required
- HDMI Cable
- Power Supply
- Raspberry Pi
- Monitor
- USB Mouse
- Micro SD Card
- USB Keyboard
- Ethernet Cable or Wi-Fi
Scratch Installation to the Raspberry Pi
If running Raspian Desktop, note that some Raspbian comes with pre-installed Scratch software. Therefore, if you have it, you can skip this section.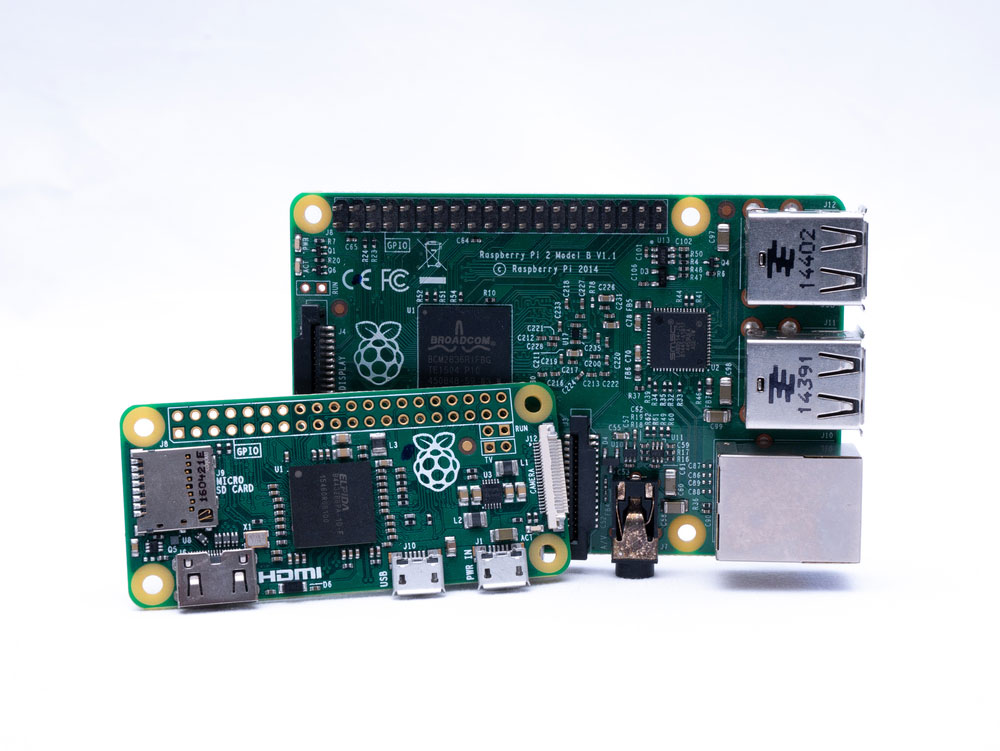
Raspberry Pi 2 Model B
Step 1 Begin by updating the operating system before Scratch installation to our Raspberry. Run these two commands to upgrade the existing packages.

Opening Scratch
Step 1 On the screen right corner, you will find the Raspberry icon. Hence, click on its symbol to open the start menu. Step 2 After opening the menu, go to the “Programming” menu. Click on the drop-down taskbar and choose the “Scratch” option. Step 3 Once you have chosen that option, Scratch will now open on the Pi, and you can now use the software.Finish the Setup
- Connect your Pi to a Wi-Fi network
- Configure the password for the Pi
- Set up time zone, language, and country
- Install all required updates

Updating the OS to Raspbian Buster
Begin by opening the terminal window. On the desktop's top left side, click on the black square symbol to open the terminal window. Type the following command on the terminal window.


Troubleshooting
In a few cases, you might find that your screen doesn’t show output from the Raspberry Pi. First, ensure all the connections are in place before restarting the Pi. Secondly, ensure the SD card has NOOBS properly connected. With everything set up, you only need to get Scratch up and running.Using the Scratch to Connect to the World
Even though it’s not a must to have a Raspberry Pi for using and running the Scratch, the Pi unlocks numerous other competencies. Furthermore, linking it to the Raspberry Pi allows us to make good use of “GPIO” pins, making the Scratch program interrelate with the outside world.Raspberry Pi Scratch Projects
Boat Race
In this tutorial, you will help you learn how to design a competing game. Requirements- Software
- Hardware
Getting Started
Begin by opening the starter project.- Offline: go to https://rpf.io/p/en/boat-race-go, download the offline starter project file, and then use the offline editor to open it.
- Online: Go to https://rpf.io/boat-race-starter-on and click the online starter development.
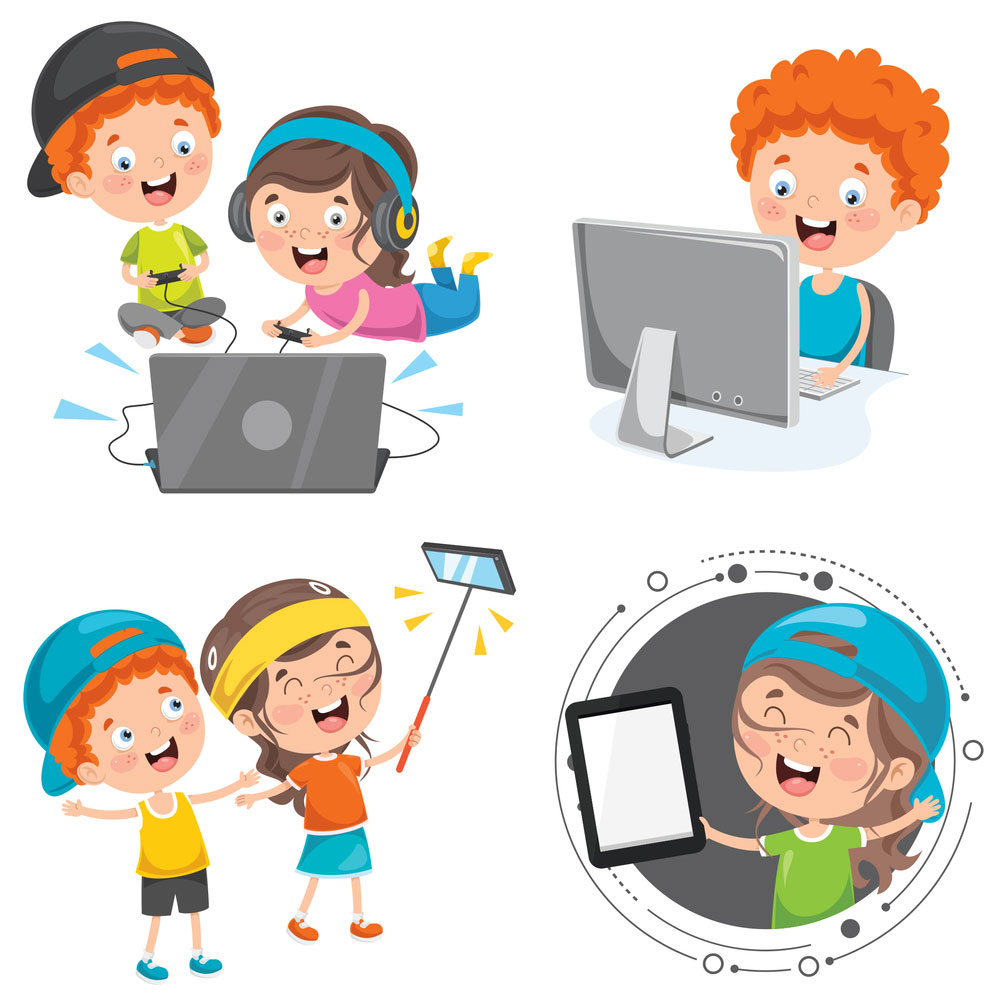
Children Using Technology Devices
How To Regulate the Boat
Using the computer’s cursor, the player can now regulate the boat sprite. In addition, to enable the vessel to begin moving from the bottommost left part, and follow the cursor, compute code to the boat sprite.Testing the Code
Once you test and see that the boat sprite is following the cursor directing up, your code is working.Rock Band
Learn to make your musical instruments by coding.Requirements
- Scratch 3 online or offline
- Hardware
Summary
There is pretty much you can do with Raspberry Pi scratch. You can interact with it more physically when using it with Scratch Raspberry Pi extensions. Besides, it enables you to design codes hence the ability to regulate different modules thanks to its integration to Pi’s GPIO pins.Special Offer: Get $100 off your order!
Claim your $100 discount by sending an inquiry today. Act now to save on your next project!
Please email [email protected] for details.
Please email [email protected] for details.