PAM 8403 is a class D power amplifier IC.
This electrical equipment composes some electrical components, such as resistors and capacitors.
Also, the device is a dual-channel amplifier that produces an output of 6W in its original condition.
PAM8403s maximum output performance results from the in-built features of the amplifier.
Also, comparing the class D amplifier efficiency with the class AB amplifier, the class D amplifier is a better choice.
This feature is true even when you use a similar number of electrical components.
Hence the perfect choice for a custom speaker with sound fidelity quality.
In this article, we talk about the PAM8403, its pin description, usage, and features.
Contents
- What is PAM 8403?
- Pin Description of PAM 8403 Amplifier Board
- Features of a PAM 8403 Amplifier Board
- PAM 8403 Amplifier Board Interface Diagram
- PAM 8403 Substitutes
- How do I use PAM8403?
- Step 1: The basic info.
- Step 2: Caution measures.
- Step 3: For TRS pins with three leads.
- Step 4: For TRS pins with four leads.
- Step 5: The USB cable.
- Step 6: Connect your speakers.
- Step 7: Volume control
- Step 8: Testing
- Applications of the PAM8403
- Summary
Special Offer: Get $100 off your order!
Please email [email protected] for details.
What is PAM 8403?
Pam 8403 is a class D stereo audio amplifier.
Since we have several audio amplifiers, the PAM8403 is a 3W class D audio amplifier.
This audio amplifier comes in an amplifier board with quality components.
A simple average of a 5v input voltage and a cloud drive of 2*3W stereo speakers are the power supply conditions of the device board.
Additionally, this digital power amplifier chip offers a low THD+N.
This property makes the amplifier achieve a high-definition sound quality with excellent noise control.
Moreover, the pam8403 has a filterless architecture.
The filterless architecture helps to drive a couple of speakers directly.
In addition, your system ceases to need low-pass output filters.
A plan without output filters saves the system's cost and reduces equipment congestion in the PCB area.
The pam8403 amplifier board is perfect for mobile applications because it can lengthen its battery life.
Also, the amplifier comes in an SOP-16 package and offers temperature protection.

(amplifier button icon.)
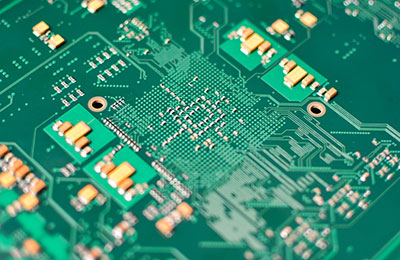
Pin Description of PAM 8403 Amplifier Board
The Pam 8403 is a 9-pin electrical device.
| Pin name | Description |
| L | This pin is an audio jack (TRS-TIP). You can find it on the left input channel. |
| GND | Similarly, this is an audio jack pin(TRS-SLEEVE). The GND pin is also called the Ground channel input. |
| R | The R pin (TRS-RING) is an audio jack on the correct channel input. |
| 5v(+) | This is the 5v dc power drain voltage. |
| 5v(-) | Serves as the 5v DC power GND. |
| L(+) | The L(+) is the left channel positive output. |
| L(-) | This pin is the left channel negative output. |
| R(+) | The R(+) is the right channel positive output. |
| R(-) | This pin is the right channel negative output. |
(connectors in the audio input.)
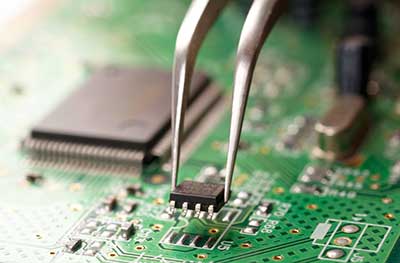
Features of a PAM 8403 Amplifier Board
- The audio amplifier comes in an SOP-16 package with dimensions of 2.1cmx1.8cmx0.3cm.
- Secondly, the PAM8403 class D audio amplifier has a dual-channel stereo with high stereo power and a class amplifier efficiency of 90%.
- Also, this digital amplifier chip can channel high power with a 3w+3w amplifier output at a 10% THD.
- Furthermore, the Pam8403 amplifier plate has an output filter, short-circuit current protection and a max gain of 24 dB.
- Additionally, the board has a thermal shutdown with an operating temperature between -40⁰ to 85⁰C.
- Finally, it has a low quiescent current and a low EMI with superior low-ground noise.

(soundwave icons.)
Special Offer: Get $100 off your order!
Please email [email protected] for details.
PAM 8403 Amplifier Board Interface Diagram
(Schematic diagram representing the PAM8403 Amplifier Board Interface)
PAM 8403 Substitutes
Notably, the substitutes are the PAM 8406 and the TDA 7265.
How do I use PAM8403?
Below are seven steps to follow when using this audio amplifier.
Step 1: The basic info.
You should know that this is a tiny amplifier. However, it operates on a 5v input signal and produces an output of 6w.
The digital device is essential for custom speaker projects because it is a chip without a heat sink.
Also, when you compare it to other audio amplifiers, the PAM8403 is a cheap but powerful stereo amplifier.
However, the device can be compelling only if it has proper wiring and a decent power supply.
Notably, a power supply of more than 6v will damage the equipment.
(an amplifier)
Step 2: Caution measures.
First, do not attempt to have your project working on a breadboard.
Breadboards result in high distortion rates.
Also, using coaxial cables for the DC and audio input causes unwanted RF interference and terrible audio output.
Additionally, you should know that the PAM8403 amplifier board comes in two types.
Namely, the one with volume control and one that lacks volume control.
Importantly, ensure you use shielded and unshielded cables for the outputs.

(a breadboard with an SOP-16 package-type electrical component.)
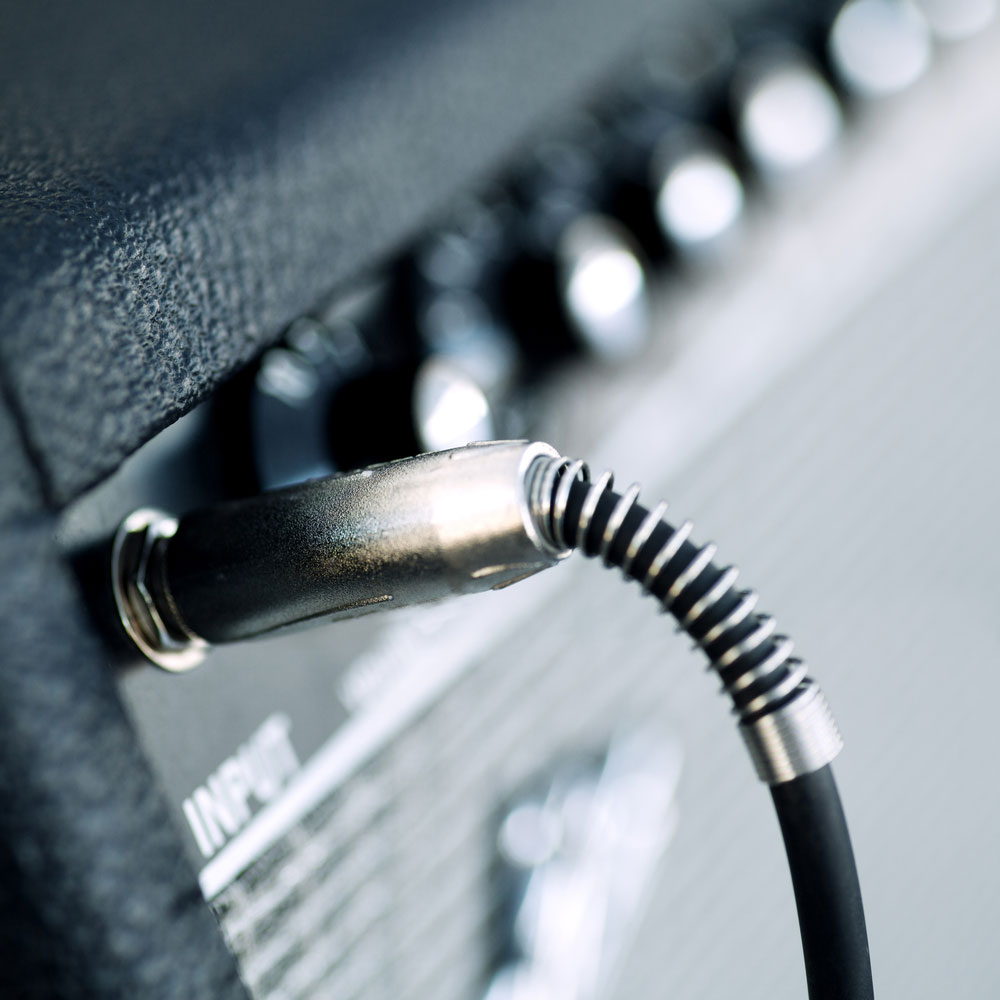
Step 3: For TRS pins with three leads.
A basic aux cable or audio cable has three wires.
Two are signal wires, whereas the third is the ground wire.
Usually, the ground wire is yellow or black hence easy to identify.
Often, people fail to know which wire is to join the lead.
Therefore, the following instructions should help.
- Firstly, find a multimeter. After, switch it to continuity mode.
- Secondly, connect one of the multimeter cables to the bottom lead of the pin. Then, click the other cable to any of the available wires.
- Thirdly, you will hear a beep which signifies the connection is successful.
- Lastly, follow this similar process to the signal wires. However, the signal inputs are not specific to one terminal since they allow interchanging.
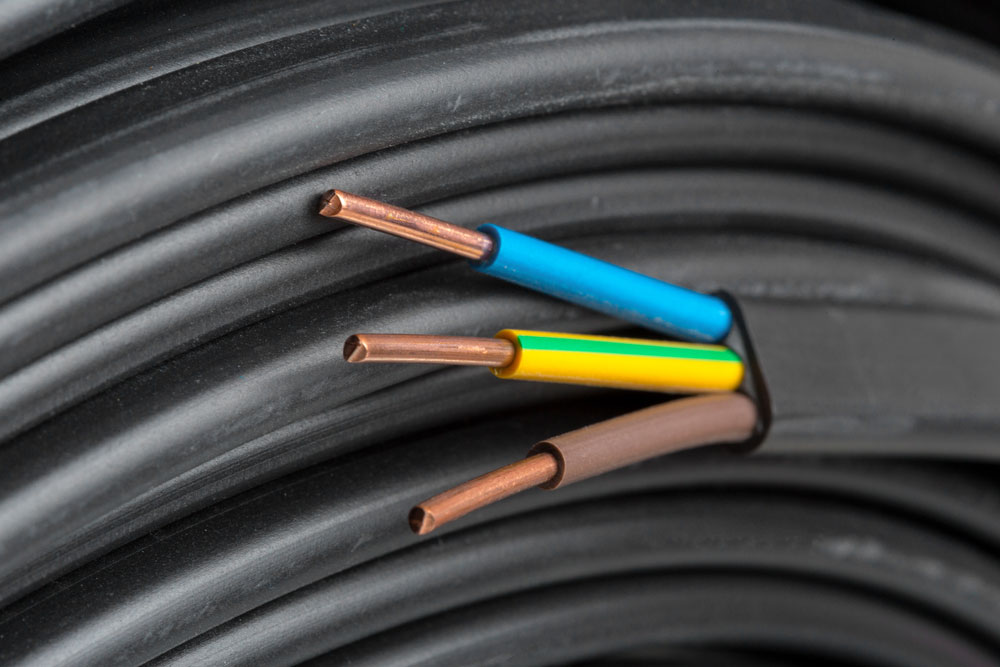
(wire cables.)
Step 4: For TRS pins with four leads.
Unlike the three leads, the four leads have four wires.
Two of the cables are signal wires, one is the ground wire, and the last wire carries the positive voltage.
These cable assemblies are meant for the inside of your headphone amplifier.
Step 5: The USB cable.
A standard USB cable has four colored wires. Red, black, white, and green wires.
The red wire is the USB VCC (+5V), and the white wire carries the positive data.
The green wire has harmful data, and the black wire is the ground wire.
For a PAM8403 amplifier project, you will only use the +ve and -ve V wires.
Solder these wires onto their respective PADS on the board.
Also, ensure to strip off aluminum shielding under the first plastic layer and the aluminum wires surrounding the colored wires.
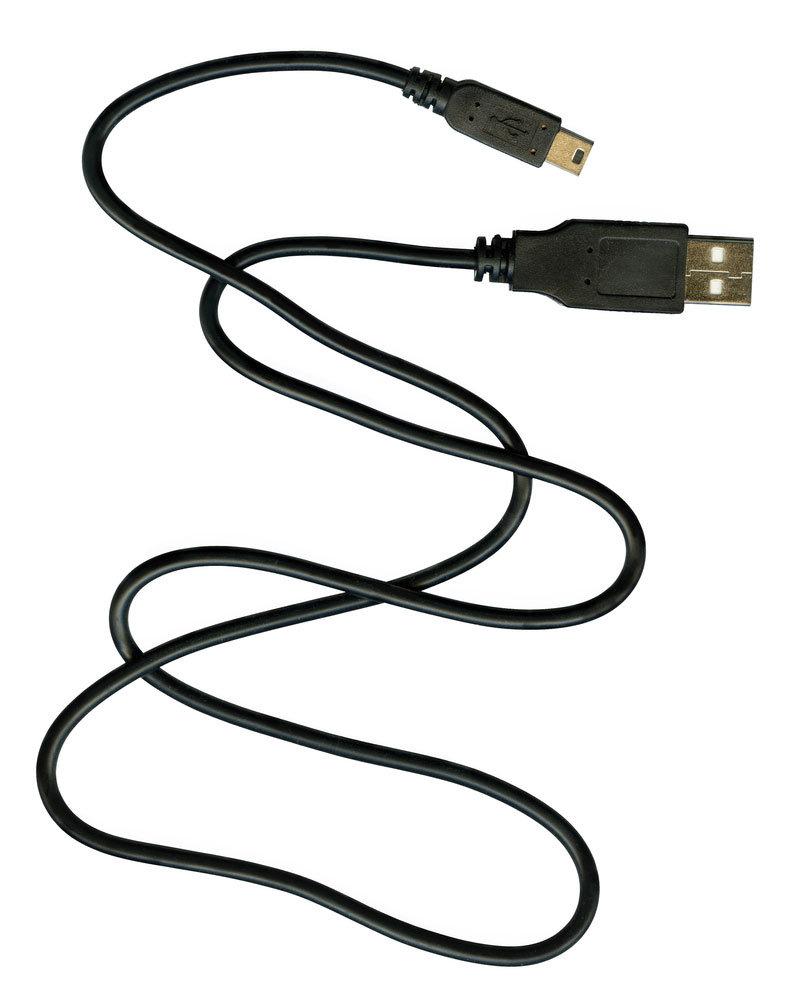
(USB cable)
Step 6: Connect your speakers.
The PAM8403 class D audio amplifier can drive any speaker.
However, if you use the amplifier in huge speakers, the output power will not be at its best.
You can achieve the best results using an FRS-rated 4-ohms, 3-watt speaker.
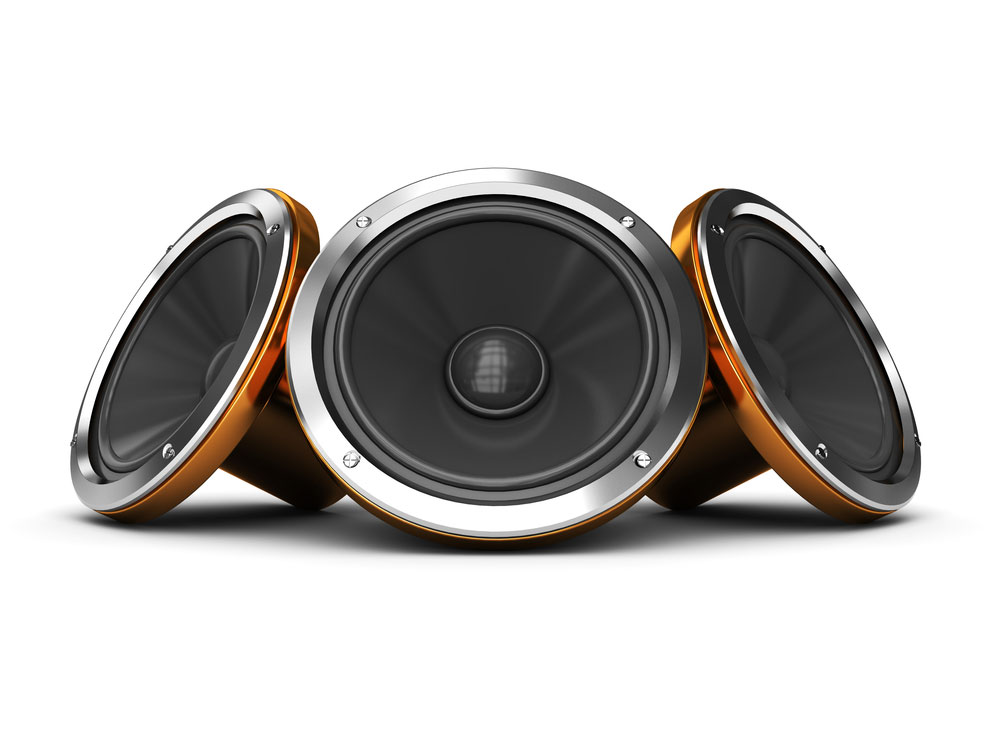
(audio speakers.)
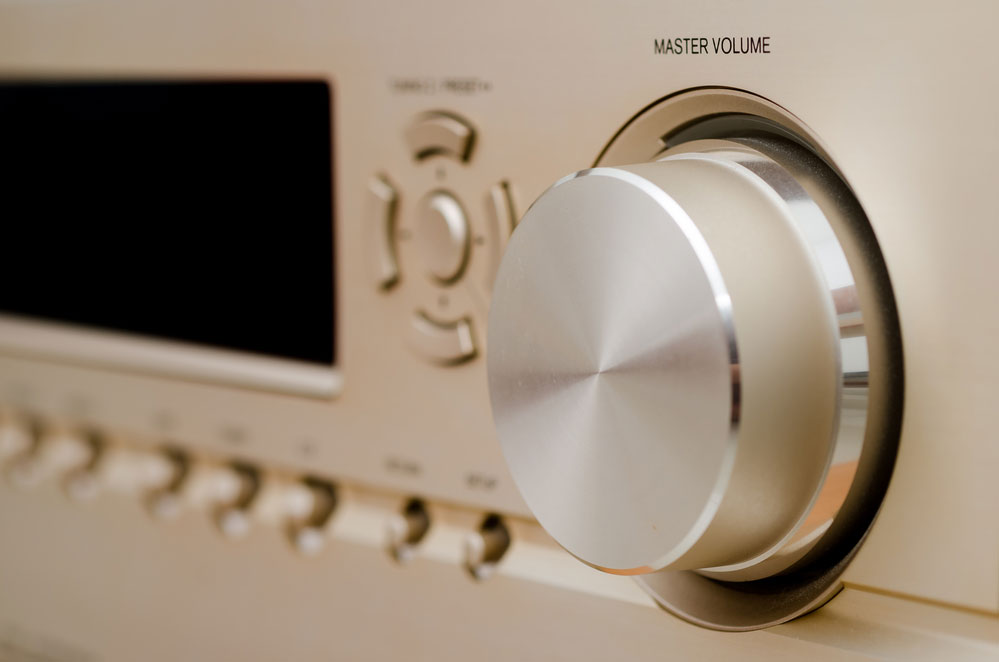
Step 7: Volume control
- First, We need a 10K ohm stereo potentiometer.
- Next, use a wire to join the left output to the pin on the top left corner of the pot.
- Using a 10uf capacitor, connect the opposing end of the capacitor to the pin on the top middle position. Then, the electrolytic capacitor's positive end is to the amplifier's left input.
- Further, join the pin on the top right corner to the ground pin of the amplifier.
- Also, connect the correct output to the pin on the lower-left corner of the pot.
- Additionally, using a 10uf capacitor, connect the negative terminal of the capacitor to the pin on the lower-middle position. Then, the positive terminal to the correct input of the amplifier.
- Lastly, the amplifier's ground joins the lower correct pin of the pot.
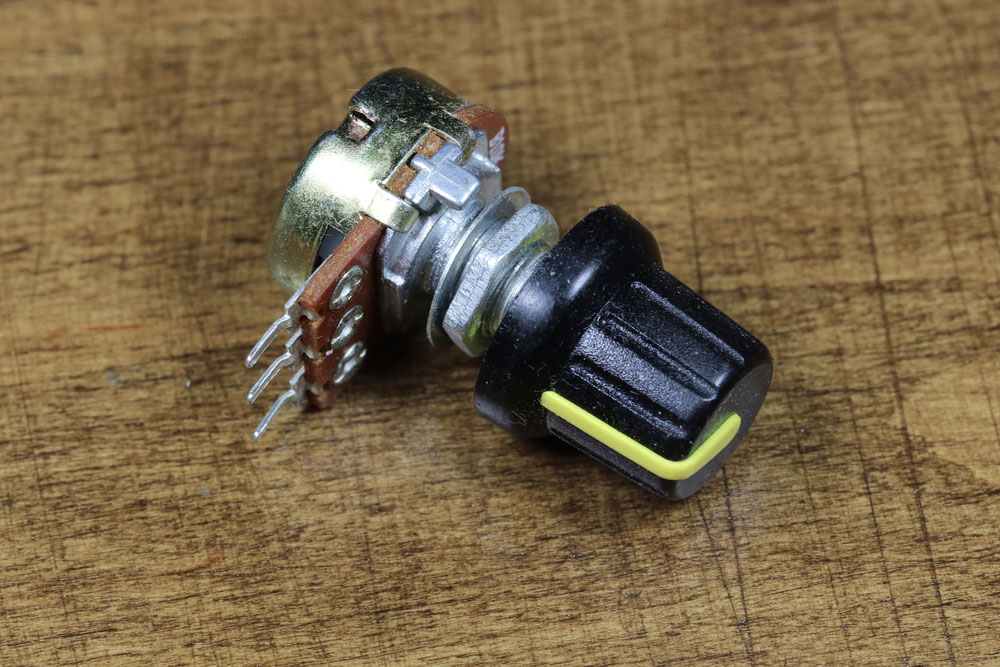
(a potentiometer with a knob.)
Step 8: Testing
This is the last step. To confirm whether the amplifier is working, connect the power supply.
You will hear a slight humming sound, but it will disappear once you click the audio cables.
Applications of the PAM8403
- First, you use the PAM8403 to make speaker outputs in computers and tv projectors.
- Secondly, you can use the mini digital power amplifier board to make portable speakers, game machines, and DVD players.
- Lastly, you can use this amplifier in any audio application project that requires an amplifier.
(an old guitar amplifier.)
Summary
PAM8403 is a powerful amplifier in the market.
You will often find it in equipment that requires the use of speakers.
We hope this article will be of help to you. For any questions, please do not hesitate to contact us.
Special Offer: Get $100 off your order!
Please email [email protected] for details.