Oscilloscopes are useful when we can't measure fast voltage changes with regular multimeters.
They have helped engineers in the aerospace-defense industry, research laboratories, and automotive industry.
Currently, there are several oscillator types.
How to Use an Oscilloscope, most of which we will tackle today.
In addition, we'll have a stepwise guide on operating an oscilloscope.
Contents
Special Offer: Get $100 off your order!
Please email [email protected] for details.
What is an Oscilloscope?
An oscilloscope is ideally a modified voltmeter that functions as an electronic test instrument.
It graphically shows a change in signal voltage while converting vibration or sound signals to voltages displayed on the oscilloscope's screen.
(tech test electronic equipment)
Besides measuring the voltage, it analyzes its shape, checks for faultiness in electronic circuits, and offer solutions for fixing them.
Special Offer: Get $100 off your order!
Please email [email protected] for details.
Types of Oscilloscope
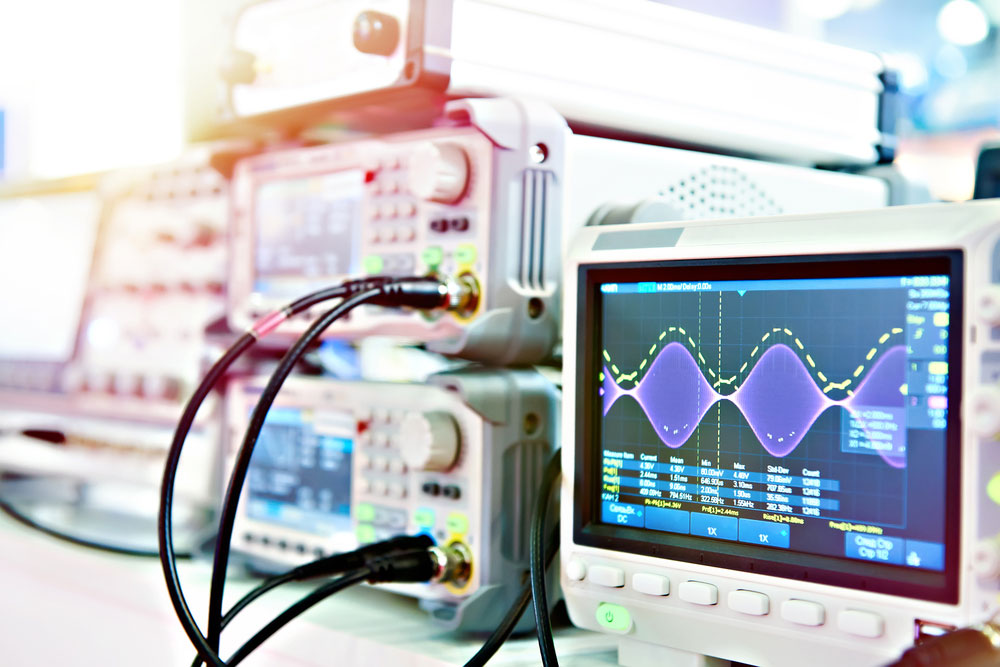
The two major classes of oscilloscopes are digital and analog O-scopes.
(digital and analog oscilloscope)
Analog Scopes
Analog oscilloscopes use an electron beam and continuous variable voltages to show the input voltage reading.
Unfortunately, being analog instruments, they are rarely in use because of fewer features and lower bandwidth.
Nevertheless, we've elaborated on a few examples below.
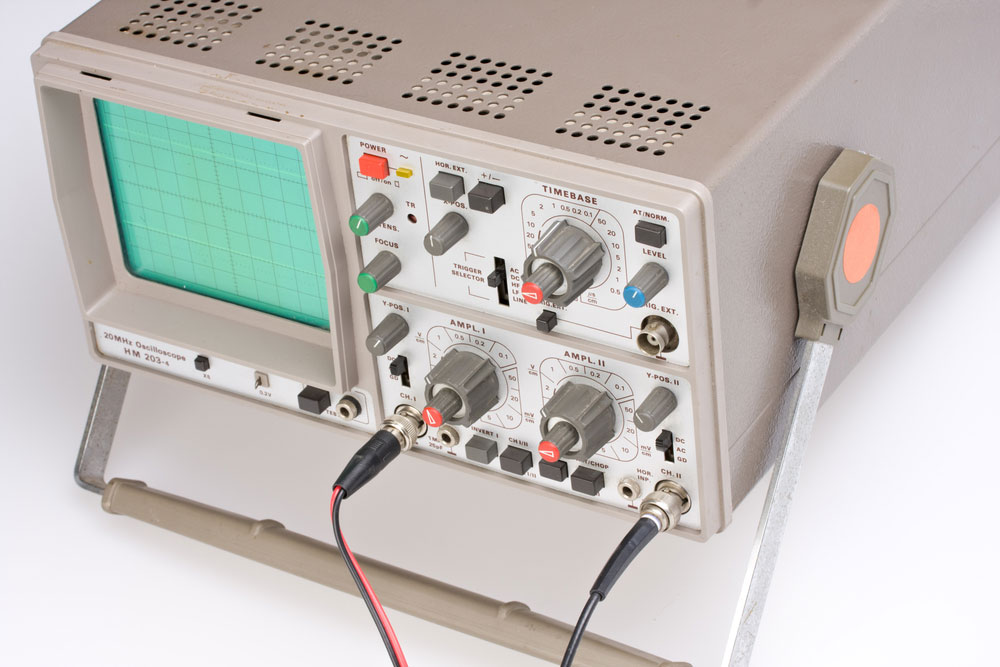
(analog oscilloscope)
-
Analog storage scope
They use a cathode ray tube (CRT), having an extensive persistence facility.
Digital Scopes
They use an ADC (Analog-to-Digital Converter) to sample an input signal before displaying the reading.
-
Digital Storage Oscilloscope (DSO)
(Digital Storage Oscilloscope)
A DSO has a memory that stores waveforms and then displays them for some period.
They have replaced the cathode ray tube oscilloscopes.
-
Digital Phosphor oscilloscopes (DPO)
A DPO utilizes a parallel processing architecture that helps it map and display signals.
-
Digital sampling oscilloscopes
The last O-scopes here analyze high-frequency signals like one that approximates 50GHz.
Choosing an Oscilloscope
-
Digital VS Analog
Digital oscilloscopes are compact, lightweight, and have LCD screens.
They also have expounded set-up systems and can save data obtained from measurement while only displaying a failure.
Conversely, an electron beam or O-scope is large and bulky, making it difficult to carry anywhere.
On the bright side, they have high accuracy compared to digital O-scopes.
-
Number of oscilloscope channels
Most o-scopes have 1-to-6 channels, whereas the advanced types may have more digital channels.
Simple measurements may only require a 2-channel device, but more channels befit complex equipment.
- Thirdly, you can settle for a single-case combination of O-scope with other electrical measuring equipment.
- Often, the combination ensures you obtain more signal data of highly accurate measurements quickly and efficiently.
-
Maximum input voltage
Your project should have a maximum input voltage correlating with the oscilloscope's limiting voltage.
Higher voltages beyond the requirement can damage the scope.
- Finally, you can use computer programming as an o-scope to make uncomplicated and infrequent measurements.
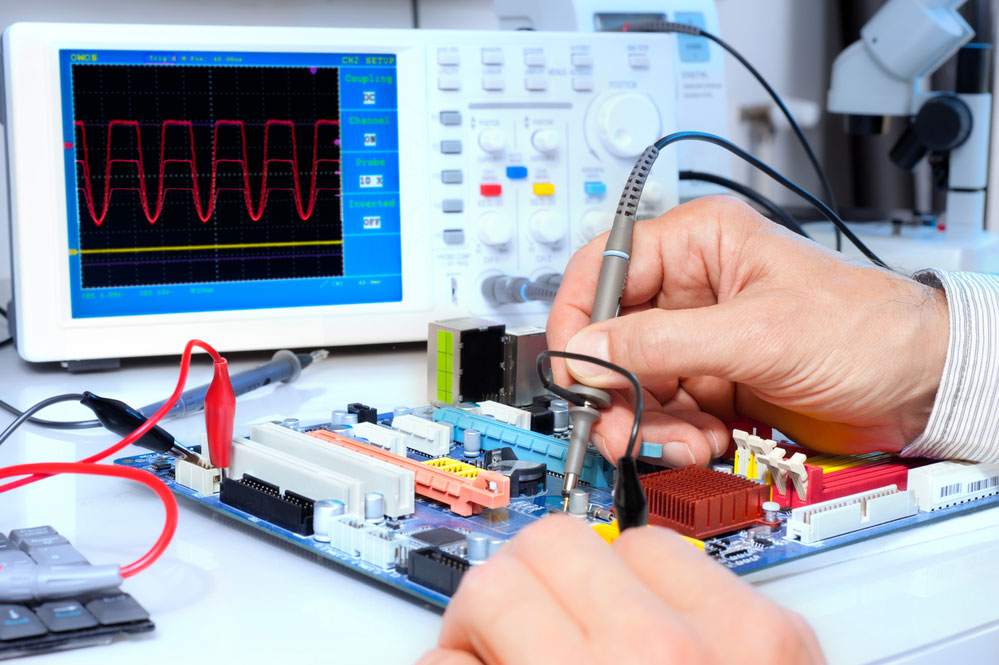
How to Use an Oscilloscope
And now, let's get through the basic controls of a scope.
-
Begin by turning on the O-scope.
You will achieve this by pressing a switch labeled 'line' or 'power.'
When it's on, you'll see a flat line on the oscilloscope display if you haven't plugged in any equipment.
The flat line symbolizes a constant input voltage. You'll also see the scale and divisions.
Also, ensure you connect the current probes before turning on the scope.
A passive or active probe for a higher bandwidth signal should work fine.
Then, set a 10X attenuation factor for your probe or a 1X factor when there's a low-voltage signal.
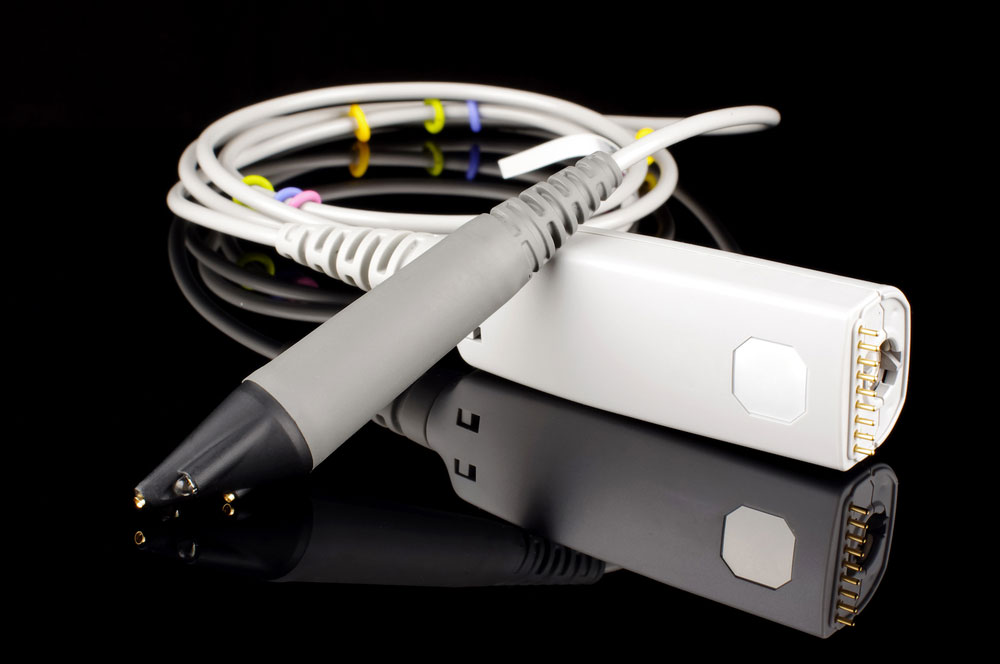
(oscilloscope probe)
-
Then, connect the o-scope to an oscillatory signal.
Here, your signal must be steady and at a constant frequency.
O-scopes often have an in-built frequency generator, so getting a reliable set-frequency wave will be easy.
In our case, set it at a square wave or pulse at 500Hz amplitude and 2.5V.
Moreover, the frequency generator has an output with two conductors, i.e., a ground and signal conductor.
Connect the probe tip of your oscilloscope probe to the signal output and the probe's ground clip to the ground.
However, when your O-scope lacks the waveform generator, produce your signal by uploading a code to an Arduino.
-
Trigger the O-scope
A swaying signal will appear on the screen after using the probes to connect your oscillatory signals.
You can maneuver the waveform on the o-scope screen while moving the vertical and horizontal position knobs.
Note;
Rotating the scale knobs in an anti-clockwise manner zooms out the waveform, whereas a clockwise rotation zooms in the waveform.
You can also locate your waveform using the position knob.
Then, if you're experiencing an unstable waveform display, rotate the scope's trigger level dial or knob.
In doing so, the trigger level indicator will start moving down and up on the display screen.
Remember, your waveform's tallest peak should always be higher than the trigger to maintain stability.
After triggering the O-scope, you can adjust the scale by playing with the vertical position, time/div, and volts/div knob.
You can also use an adjustment knob for the horizontal position control.
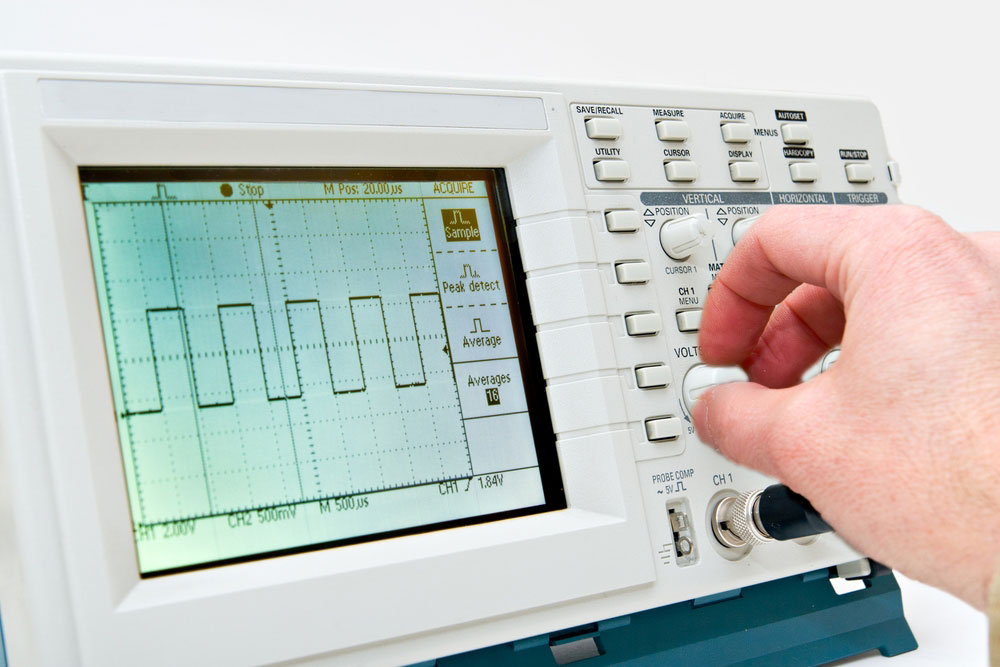
(scale on an oscilloscope)
-
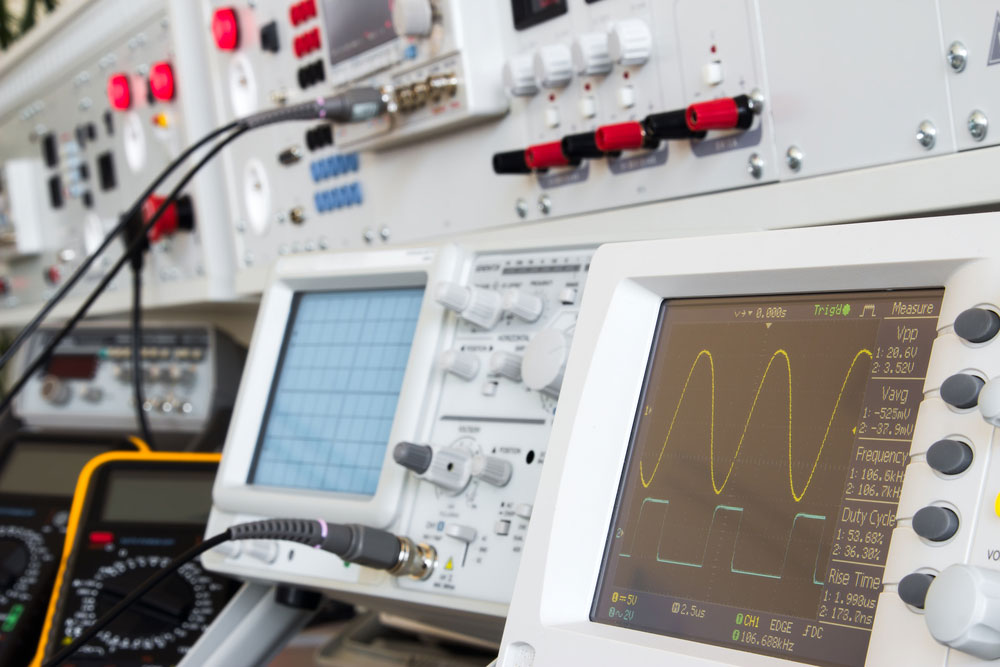
Finally, conduct your measurement.
Your scopes should now be ready to measure a real electrical signal automatically.
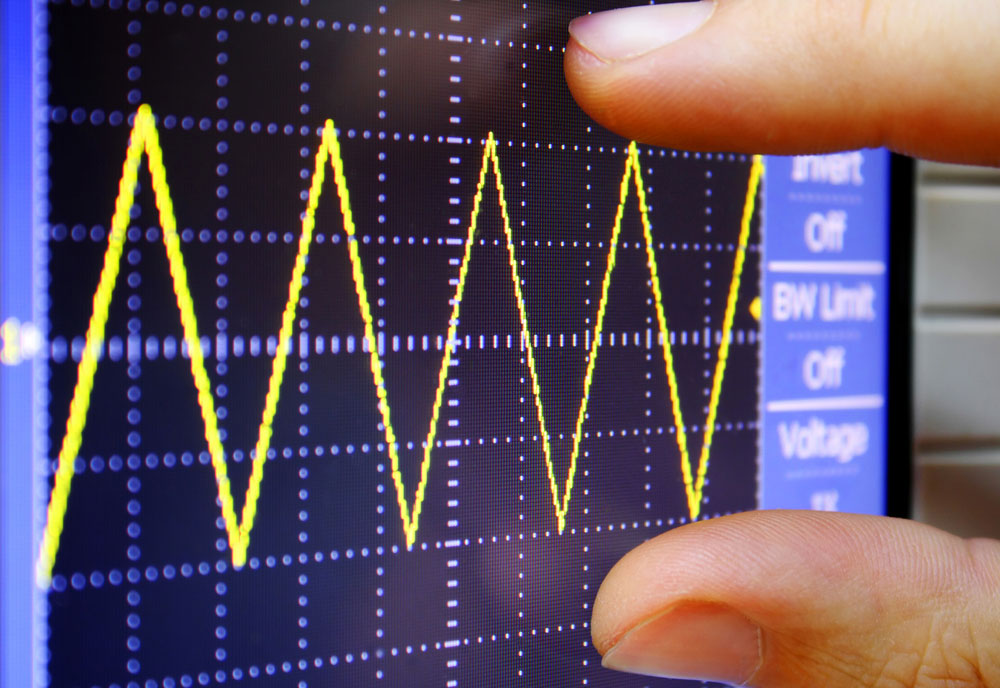
(oscilloscope screen showing the amplitude of the measured signal)
For today, we'll use the example of measuring amplitude.
Amplitude is the difference between a wave's equilibrium and its peak voltage's height.
First, have the distance between the wave's peak and equilibrium line be 3.5 vertical grid divisions.
The div/volts can be 1V, 3.5 vertical grid divisions that result in the wave's amplitude being 3.5V.
-
Advanced oscilloscope
In advanced oscilloscopes, you can carry out the following measurements;
- DC/AC/ ground coupling,
- Dual-channel measurements, and
- X-Y mode in plotting I-V curves for a circuit component like diodes and others.
Conclusion
To conclude, oscilloscopes are designed as electronic test devices. They also carry out signal measurements.
We've looked into details of the basics of its operation and types, and we hope you've gained insight.
If you need any clarifications or have questions, please get in touch with us.
Special Offer: Get $100 off your order!
Please email [email protected] for details.