Coding can be strenuous and uninteresting, especially for newbies. But what if there was a way to make it more fascinating and easier to learn? With Bit Bot, this is a reality. The little robot provides an engaging way for the young and old to engage with the hardware using block-based and text-based languages for quick learning.
We will take a closer look at the brown robot lookalike and how to program it using either language.
Contents
- What is a Bit Bot?
- Bit Bot Features
- Bit Bot Assembly
- BitBot MakeCode Programming
- Motor Control
- FireLEDs Control
- Advanced Blocks for FireLed Control
- Inputs and Outputs (Buzzer, Sensors, Servos)
- BitBot Programming in Python
- Motor Control
- FireLEDs Control
- Line Follower Sensor
- Light Sensors
- Buzzer
- Ultrasonic Distance Sensor
- Summary
Special Offer: Get $100 off your order!
Please email [email protected] for details.
What is a Bit Bot?
A Bit Bot is a feature-packed little robot that is almost ready to use. It requires no wires, zero soldering, and no complexities to set up. All you need is a screwdriver to complete it. Instead of programming the bot robot, you can control it remotely using radio or Bluetooth Micro Bit functions. These enable you to send and receive commands from the robot in real-time.
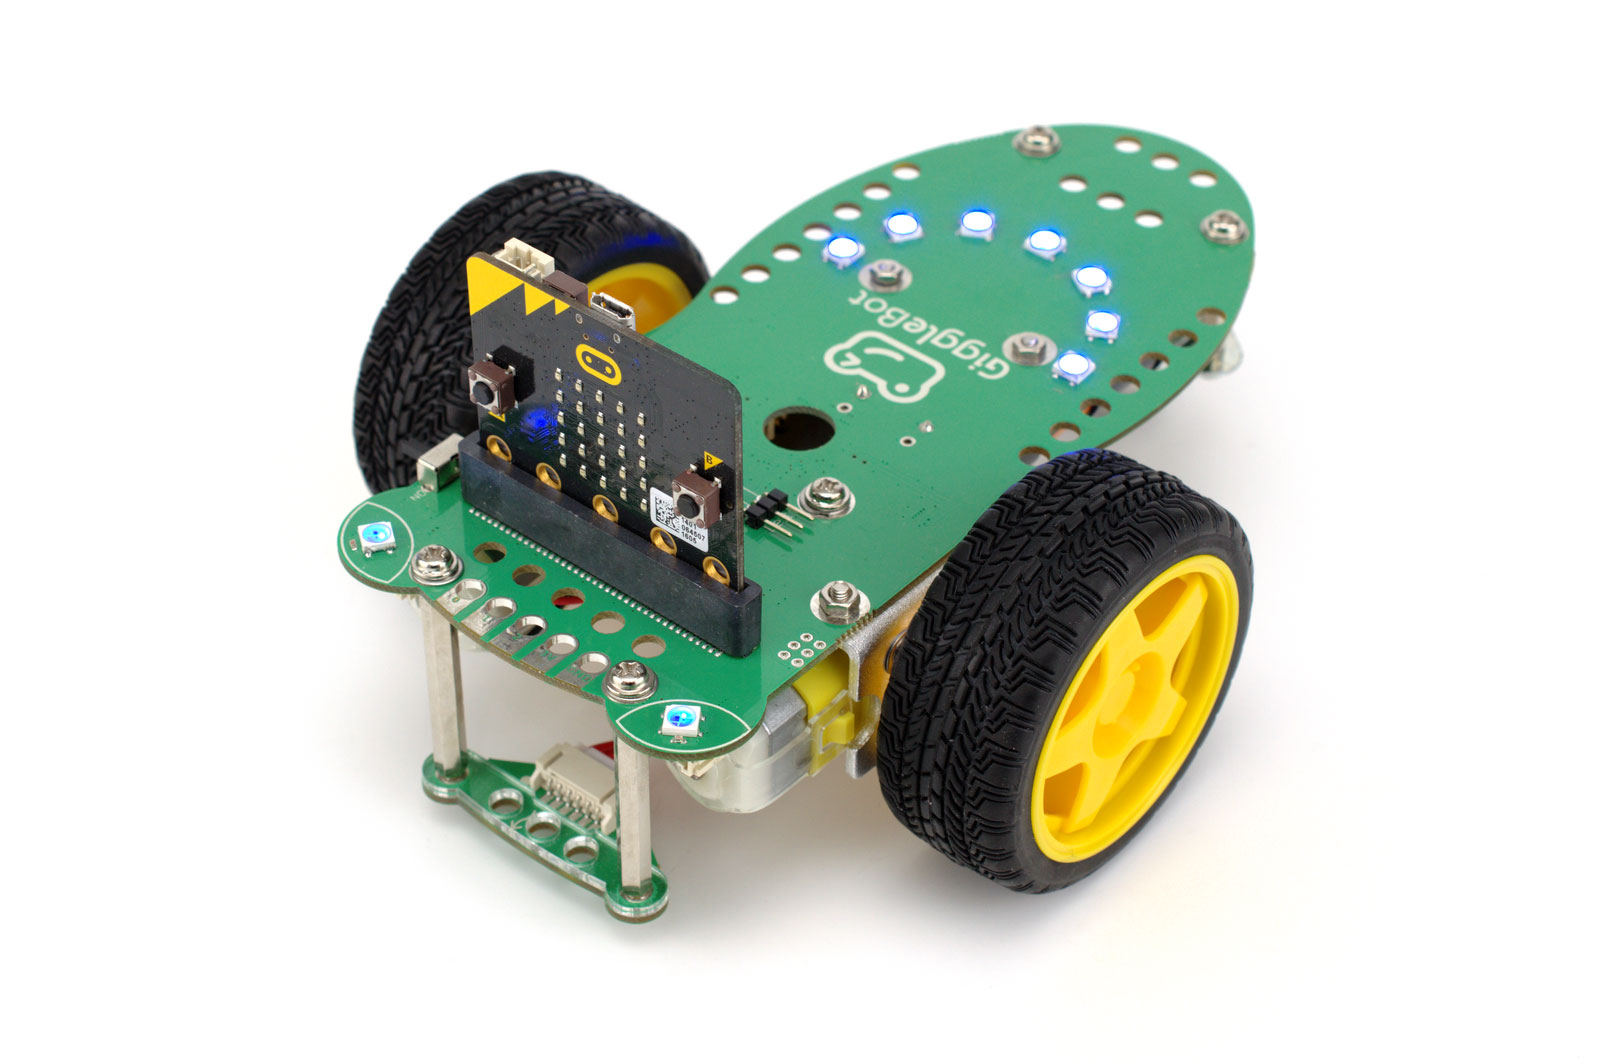
A GiggleBot (Bit Bot lookalike)
Source: Wikimedia Commons
Bit Bot Features
The bot robot has the following features.
- Two micro-metal gear motors for speed and direction control
- Two rear wheels with rubber tires
- A front caster wheel
- 12 mini Neopixels, six on each side, for lighting effects
- Two analog light sensors
- Two digital line-following sensors
- A buzzer
- A battery holder to hold a 3xAA battery pack
- An edge connector for plugging in the BBC Micro Bit
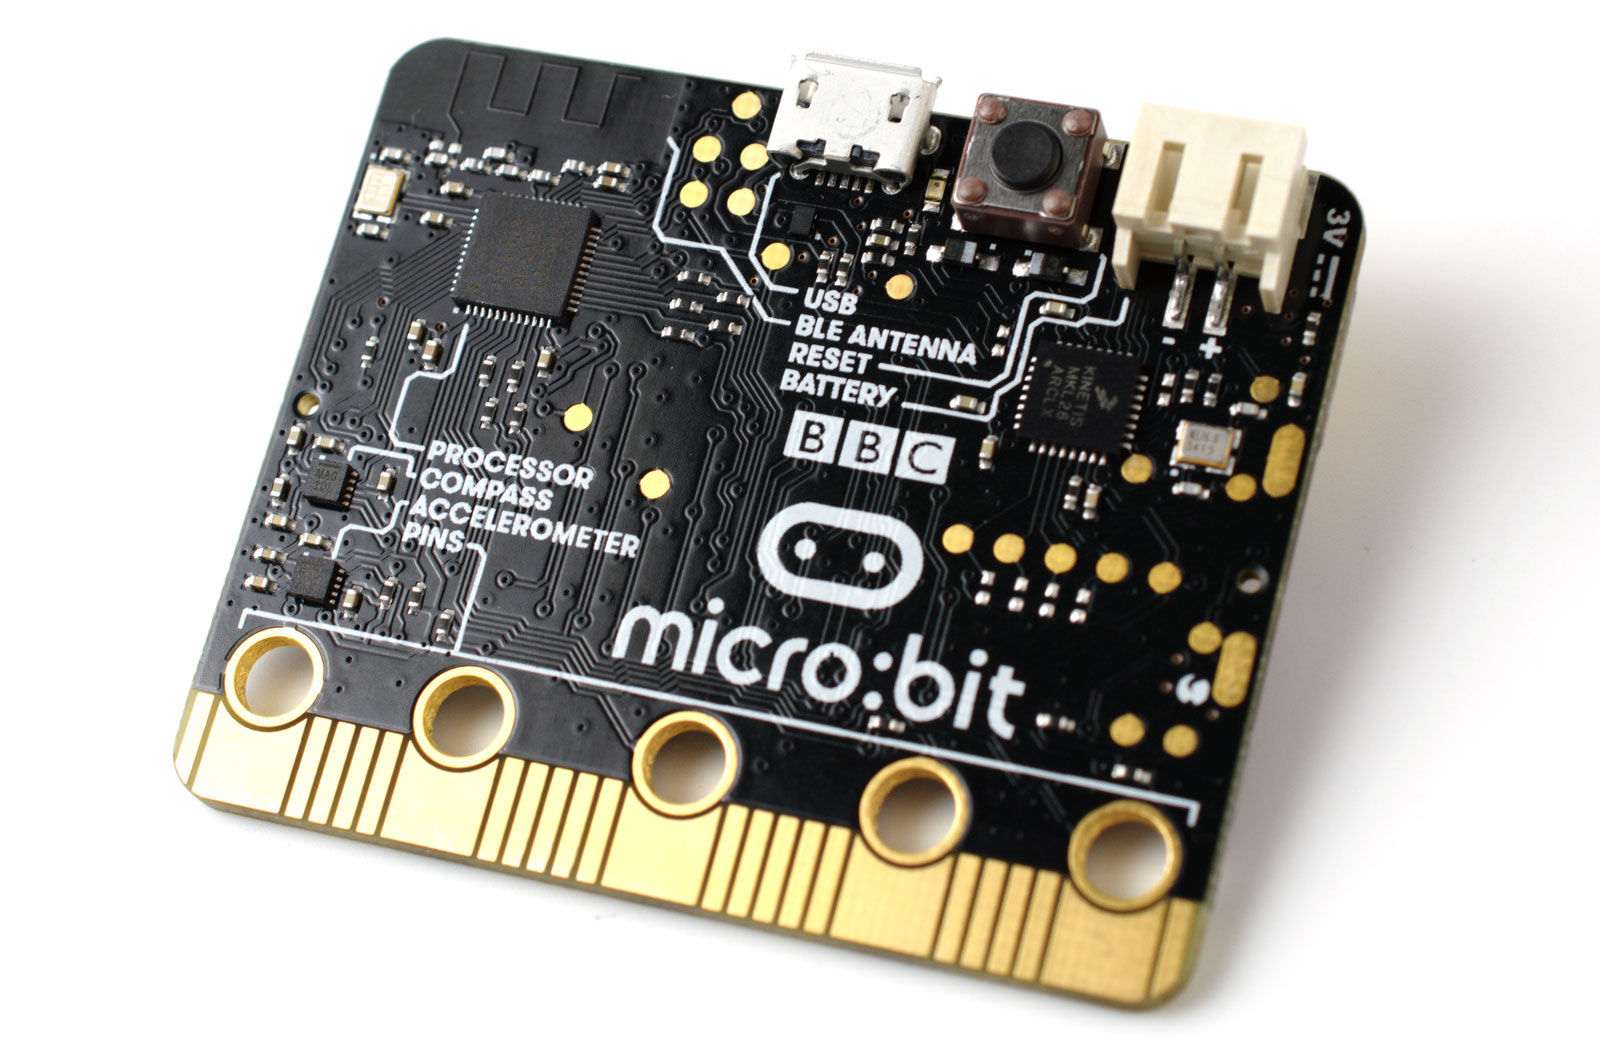
A BBC Micro Bit
Source: Wikimedia Commons
- Front expansion connections for attaching additional sensors (talon grabber, ultrasonic distance sensor, etc.)
- An expansion connector for hooking up additional neopixels
Special Offer: Get $100 off your order!
Please email [email protected] for details.
Bit Bot Assembly
The Bit Bot comes almost ready to use, so here's how to assemble it for use.
- 1: Check if you have all the required parts.
- 2: Attach the front caster wheel. Current models usually have this part attached.
- 3: Fit the battery holder or battery box to the two brass pillars
- 4: Attach the rear rubber wheels
- 5: Attach the BBC Micro Bit to the edge connector with switches and LEDs on the upper side
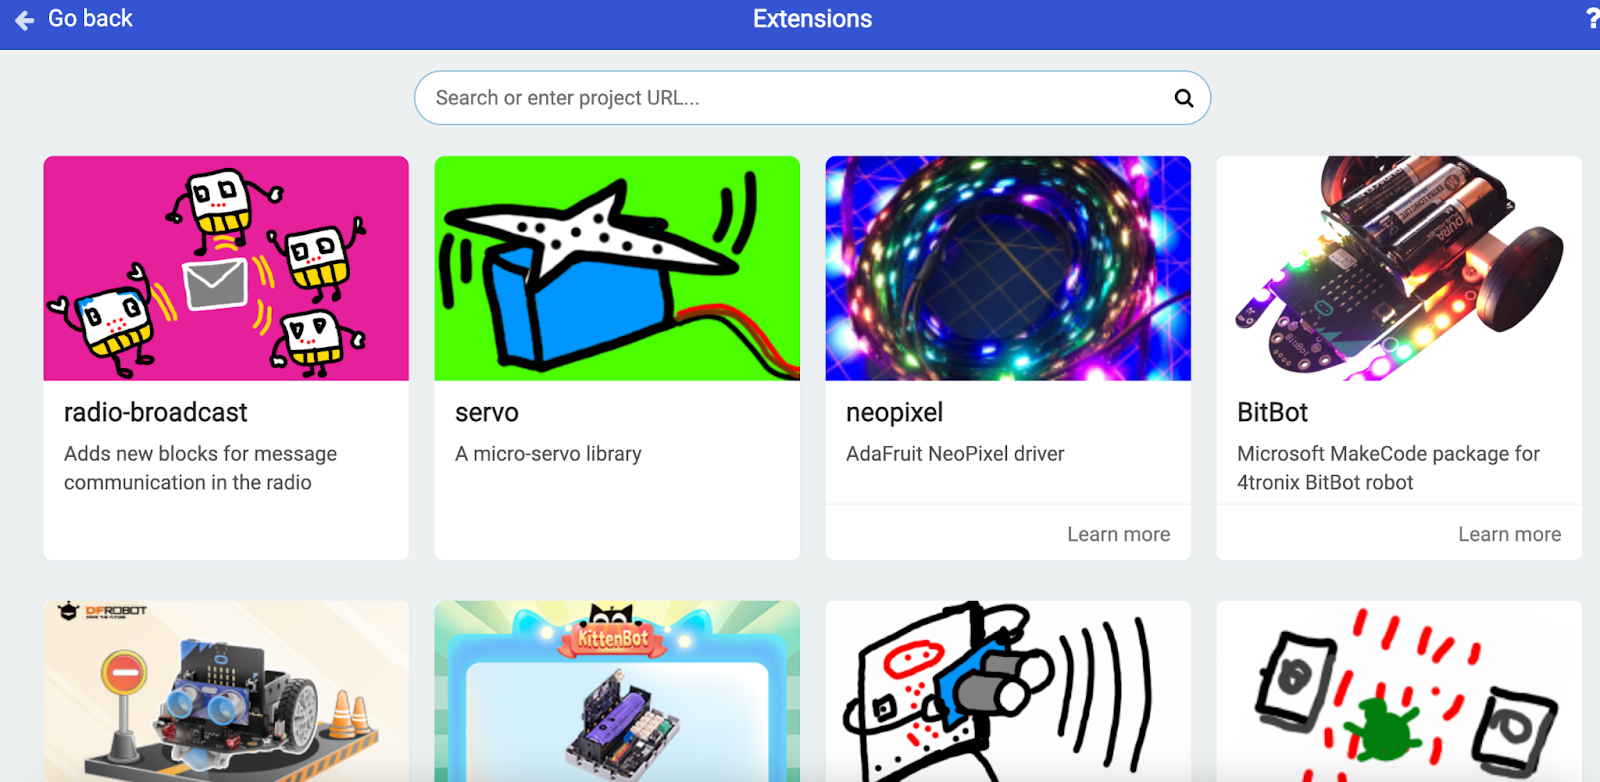
BitBot MakeCode Programming
Microsoft MakeCode provides the simple block programming option for the Micro Bit. Open the web block editor and launch a new project. Next, go to Settings/Advanced on the top right corner, and click Extensions. Select Bit Bot. The editor will automatically download the latest extension.
You can get a few basic blocks in the BitBot Model menu that you can use to check the software version or force a specific BitBot model, including the XL.

Motor Control
There are several drive blocks to pick from for forward, reverse, or spinning at the same spot in the motors menu category.

There's also a stop block that applies the electronic brakes, plus an independent motor-drive block for directional control. Since the BitBot uses small DC motors, the two might not match fully, resulting in a slight turn instead of a straight run. The purpose of the bias block is to rectify this error.
FireLEDs Control
Each Bit Bot has 12 FireLeds controlled individually with 16 million colors. They get updated after you make changes to them, and it might be better to enable manual updating when doing complicated changes for one-time updating.

Also, try setting the individual FireLeds (0-11) or all of them combined to turn colors simultaneously. Other functions include shifting and rotating the FireLeds by one point.
Advanced Blocks for FireLed Control
The advanced section allows you to adjust the brightness for all LEDs, with the default project settings being 40. This value can go up to 255 as the max setting. If you use the manual update mode, ensure to run "Show FireLed changes" afterward to apply the changes.
Lastly, the two blocks return the number representing the selected color from the RGB values.

Inputs and Outputs (Buzzer, Sensors, Servos)
The last Bit Bot section has to do with the inputs and outputs, beginning with the buzzer, which can be off or on (producing a continuous beep). You can use this block for playing music when connecting it to pin 0 to make the Bot moves more lively via the standard MakeCode music blocks.

Next in line is the ultrasonic sensor for measuring the distance between the Bot and the nearest object. The returned value can be in centimeters, inches, or microseconds. With the line follower sensors, a zero return implies no black line. One means there is a black line.
The left or right light sensor returns a value ranging from zero to 1023 (the maximum brightness value).

Servos are only available in the Bit Bot XL model, but the Talon is available in all models. The two operate similarly because a Talon is like a servo. However, their settings are different because the Talon has 0°-80° adjustment while servos provide 0°-180° adjustment (anti-clockwise). You can disable all servos using a single block.
BitBot Programming in Python
If you are more technical and don't mind writing text-based code for the robot, you can program it in python.
Motor Control
The robot has two motors, and each has two pins, one for high and the other for low. The motor will drive forward if the first pin is high and the second low. Otherwise, it will go in reverse. The left and right Bit Bot Classic pins are P0, P8, and P1, P12, while for the XL model are P16, P8, and P14, P12. Therefore, the actual motor command for moving the left motor forward is:
pin16.write_digital(1)
pin8.write_digital(0)
To move it in reverse, swap the high and low.
pin16.write_digital(0)
pin8.write_digital(1)
To alter the motor's speed, adjust the PWM (Pulse Width Modulation) to any value between 0 (0%) and 1023 (100%). We use these values due to the analog sensors. Therefore, if you want to turn the right motor at 50% speed, the middle point between 0 and 1023 is 511, and the bot program will be:
pin14.write_analog(511)
pin12.write_analog(0)
However, it is vital to note that the actual speed for the motor is not the same as the PWM percentage value. If this value is too low, it might stutter or not spin.
FireLEDs Control
Pin 13 controls all the FireLed RGB color changes in all Bit Bot models, and the programming is more straightforward due to the included Neopixel libraries for adjusting each LED individually. There are six LEDs on each arm, labeled 0-5 on the left and 6-11 on the right. Therefore, you can use this code fragment to turn Fireled three (index two) to purple.

Line Follower Sensor
Bit Bot Classic uses pin 11 for the left sensor and pin 5 for the right one. On the other hand, XL uses an I2C chip for these pins, with the resulting value of bit 0 being the left sensor and bit 1 being the value of the right one.
Therefore, the code snippet for the Classic is as follows.

For the XL, the correct program will be:


Light Sensors
These are also analog sensors, meaning they return a value between 0 and 1023. For the classic model, the bot program is:

It is a bit simpler for the XL because you only need two lines of code.

Buzzer
The buzzer connects to pin 14. It activates when high (1) and deactivates when low (0). To produce a continuous beeping sound, type this simple program.

Ultrasonic Distance Sensor
You need a slightly advanced program to run the ultrasonic distance sensor because it requires the utime module to measure the sonar reflection time in microseconds. You have to import this library to use the sonar function, which returns the distance in centimeters to the nearest object. Lastly, the while loop refreshes the sonar function each second. It then displays the accurate distance value as the robot moves.


Summary
As you can see, a Bit Bot is a fun project that lets you learn and experiment with text or block code to control the hardware. Whether you use the Classic or XL model, you will get to understand coding easily, which is an essential skill in this digital world. Reach out if you need more information about the robot and how to program it.
Special Offer: Get $100 off your order!
Please email [email protected] for details.