Arduino circuit boards and microcontrollers are ideal because of their affordability and flexibility.
There are so many ways you can expand them.
Consequently, this gives you many options for the projects you want to build.
Nevertheless, you will often need to troubleshoot the microcontroller when it’s not working as you want.
The Arduino microcontroller’s analog and digital pins are fine for reading analog input and relaying signals.
However, you will need an Arduino serial monitor if you want to know what is happening inside the microcontroller’s system.
Contents
- What is an Arduino Serial Monitor?
- How to Use the Arduino Serial Monitor?
- Background:
- Required Hardware:
- Instructions:
- Explaining the Results
- Using The Serial Monitor for Debugging
- Alternatives to The Arduino IDE’s Serial Monitor
- PuTTY
- Bitvise
- Cathode
- GNU Screen
- Serial Port Monitor by Eltima (SPM)
- FAQ
- How do I get Arduino serial output?
- Can I test Arduino code without hardware?
- How do I clear my Arduino Serial Monitor?
- Conclusion
What is an Arduino Serial Monitor?
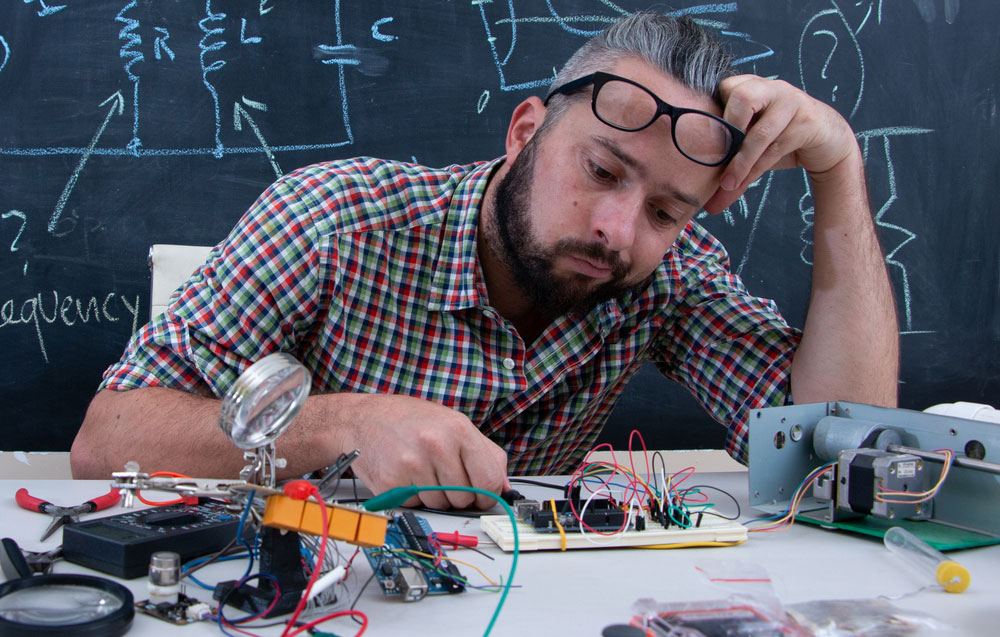
Frustrated man working on Arduino project
Before understanding what the serial monitor does, we must understand how the Arduino sends and receives serial data.
There are several ways to exchange information between a microcontroller and a computer.
Many people consider using a serial port to be the easiest.
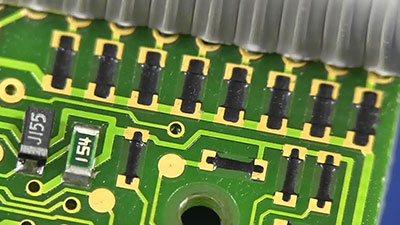
The Arduino Uno’s ATmega328 chip has a universal asynchronous receiver-transmitter (UART) port.
You can identify it by the TX and RX pins on the board. It can send and receive serial data.
Serial means that the device sends bits one by one.
It can perform this transmission a thousand times per second, depending on the rate you or the manufacturer configured.
The serial port connects to the USB port on the microcontroller.
This allows you to use the built-in serial functions to send data to the serial monitor in the Arduino IDE or an external serial monitor.
Essentially, the Serial Monitor comes as part of the Arduino software package.
You can launch from the Arduino IDE. Developers primarily use it for analytical purposes as well as debugging.
It allows you to monitor serial exchanges between your computer and Arduino.
It is an essential tool for troubleshooting. You can launch the serial monitor window by clicking the serial monitor button (🔎) on the Arduino IDE screen.
Alternatively, you can access the Serial Monitor from the Tools menu:
Nevertheless, the best way to understand the serial monitor and how it works is to use it.
Special Offer: Get $100 off your order!
Please email [email protected] for details.
How to Use the Arduino Serial Monitor?
You must upload the necessary sketch to use the Arduino Serial Monitor effectively.
Background:
The following tutorial will show you how to upload a sketch to facilitate serial communication between your microcontroller and PC. It doesn’t require much equipment.
However, it would help if you were familiar with the Arduino IDE and creating sketches.
If you’re running Windows 10 or 11, you can find the latest version of the Arduino IDE in Microsoft’s Store.
Nevertheless, the sketch in this tutorial will allow your Arduino to receive characters from the serial monitor.
It allows you to control the Arduino microcontroller’s built-in (pin-13) LED. Incidentally, you will not need much equipment to complete this project.
Required Hardware:
- Arduino Uno Or any other compatible Arduino microcontroller (Arduino Gemma/Arduino Nano/Arduino Micro)
- Arduino microcontroller-compatible USB cable
Instructions:
Connect your Arduino Uno to your computer using the cable.
Create a new sketch. You can name it anything you want. Copy the following code into the sketch:
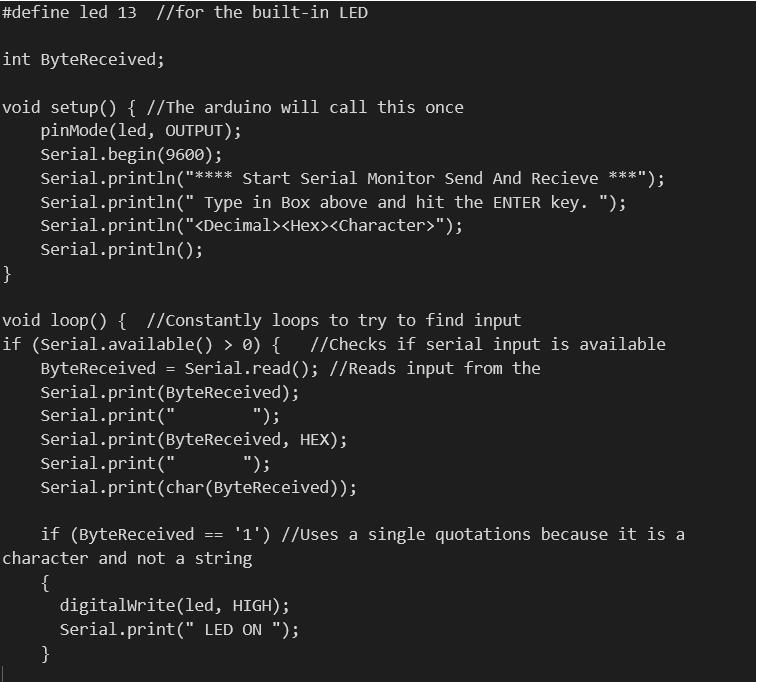

Explaining the Results
Once you have typed or copied the above code into the Arduino IDE, verify it and click the upload button to flash it on your Arduino Microcontroller.
You can run the Serial Monitor from the icon or the Tools menu.
Once you click the Serial Monitor icon or option, it will launch in a separate pop-up window outside the main IDE windows.
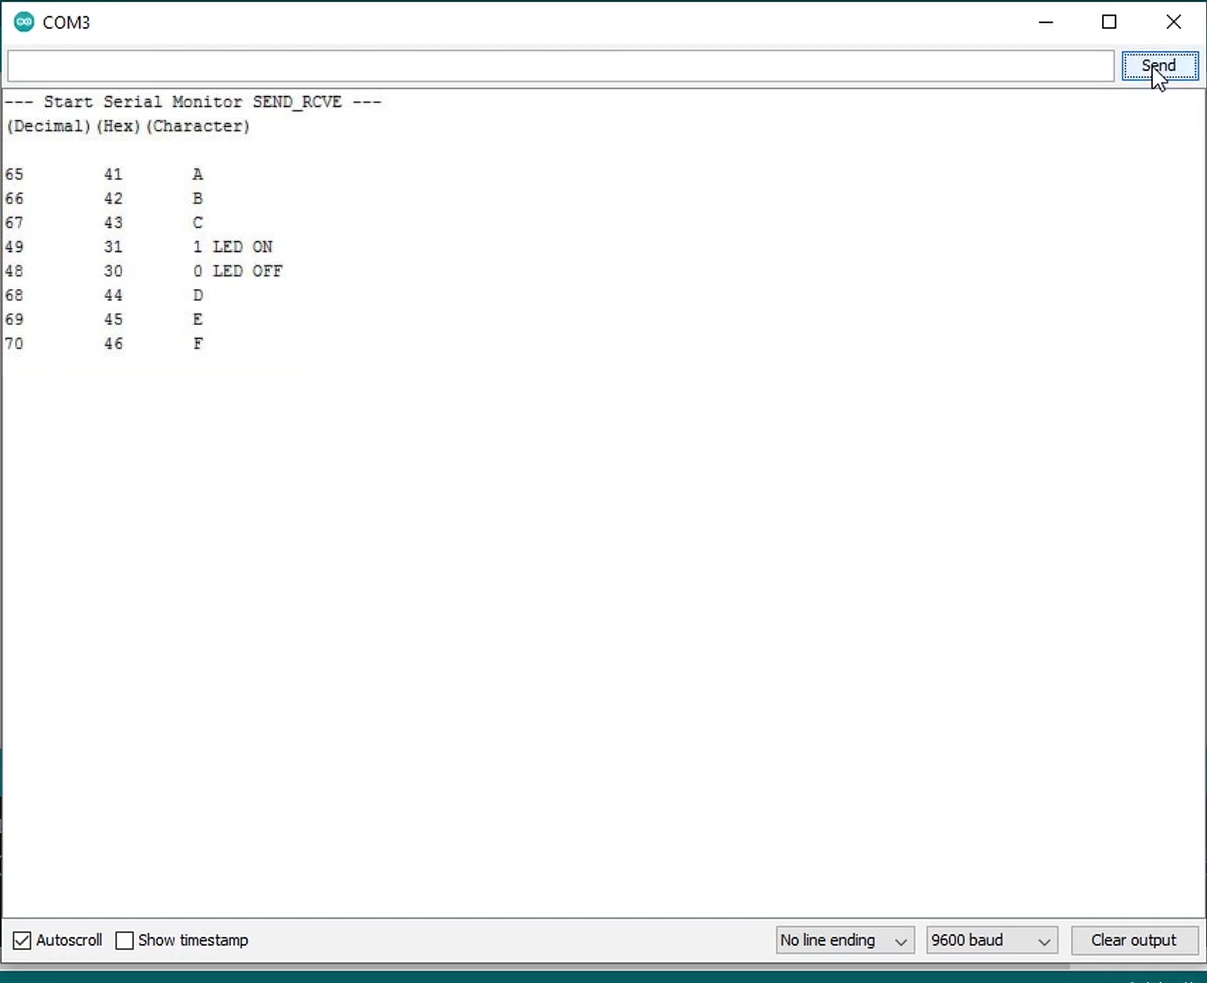
Image of Empty Serial Monitor
Your Serial Monitor’s screen should look like the above image.
The serial monitor consists of many different controls. The topmost user interface controls are the text field and the “send” button.
This text field allows you to type characters you want to send to the Arduino microcontroller. Once you have typed the characters, you can hit the send button.
The largest user interface control on the Arduino is the middle text area.
Incidentally, the Serial Monitor uses this text area to display serial communications from the Arduino in the form of characters.
Essentially, it acts as the output console. You can use it to debug messages and retrieve other helpful info.
Ticking the Autoscroll checkbox will instruct the Serial Monitor to automatically scroll to the bottom of the text area when it receives new communications.
You can instruct the Serial Monitor to display the timestamp of each serial communication by ticking the Show timestamp box.
In addition to the two checkboxes at the bottom, you should notice two drop-down menus.
The first allows you to dictate where the line you’re sending to the Arduino should end, i.e., newline character or carriage return.
The second drop-down menu allows you to set the Baud Rate. The Baud Rate needs to match the value in your sketch.
If you don't set the correct Baud Rate, the Arduino won’t be able to read the characters.
We typically set the Baud Rate using the Serial. begin() method (Serial. begin(9600)).
Using The Serial Monitor for Debugging

Debugging vector image
You can apply the principles in the above examples to other Arduino projects. For instance, you could use it to debug your Arduino-based DIY LED projects.
If you re-visit the example sketch we included in this guide, you’ll notice that there are two crucial functions/methods.
Firstly, it’s the Serial. Begin () method that allows you to configure the Baud Rates.
You call the begin method from the setup function, which the Arduino software will call once.
The second most important function is the loop method, which allows your Arduino to read information from the monitor and relay it back to it.
Thus, you should place the code you plan to use to debug the
Arduino between the body of the loop method (between the curly braces).
Alternatives to The Arduino IDE’s Serial Monitor
While Arduino’s proprietary serial monitor is a great and easy-to-use console for debugging serial communications between your Arduino and other devices, it is quite basic.
Some developers may be looking for something a bit more detailed or flexible. You can use one of the following options:
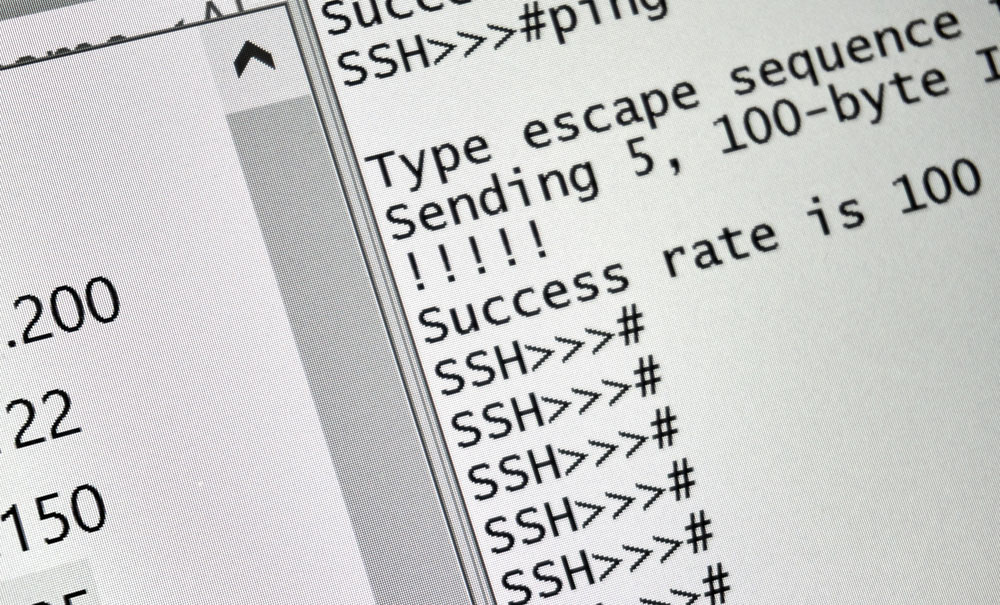
PuTTY
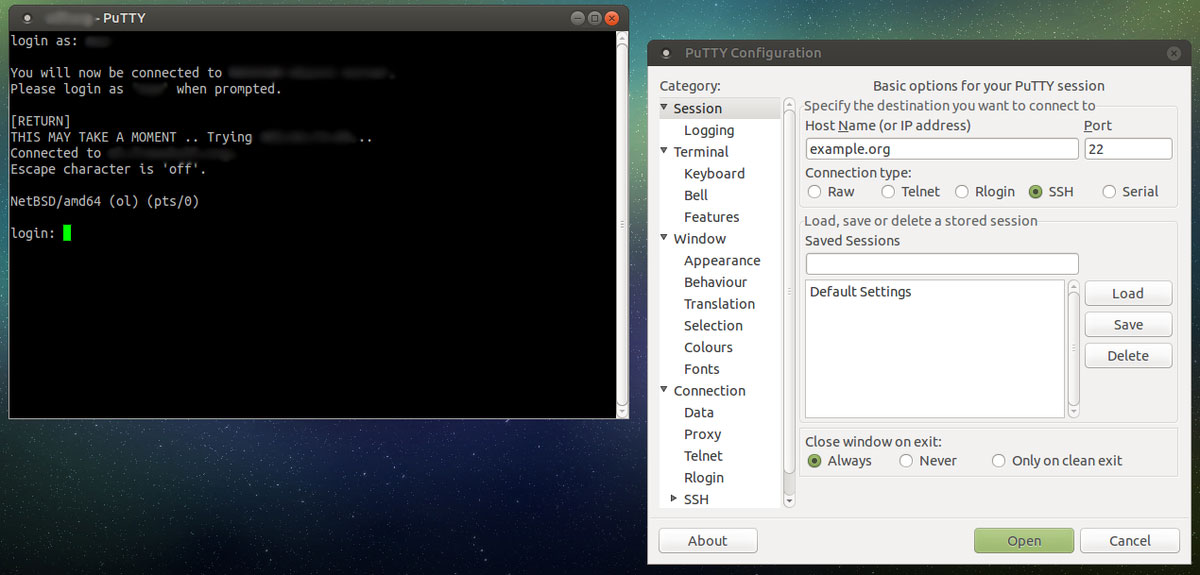
The puTTY screen on Ubuntu
Most developers and hobbyists are familiar with PuTTY as an open-source telnet and SSH client. People popularly use it to build Raspberry Pi 4 projects like the Pi-hole.
However, you also use it to monitor serial communications between ports.
This includes communications between your computer's Universal Serial Bus (USB) and the serial ports on your Arduino microcontroller.
Bitvise
Bitvise is a great SSH server and client alternative to PuTTY.
Some feel it is a safer option because it is not open source, and Bitvise’s developer has full version control.
Nevertheless, it has most of PuTTY’s features.
However, it also allows you to save and load profiles and contains a built-in SFTP window. It is beloved by network administrators and other users because of its speed and accessibility.
It’s available for nearly all of the latest versions of Windows.
Cathode
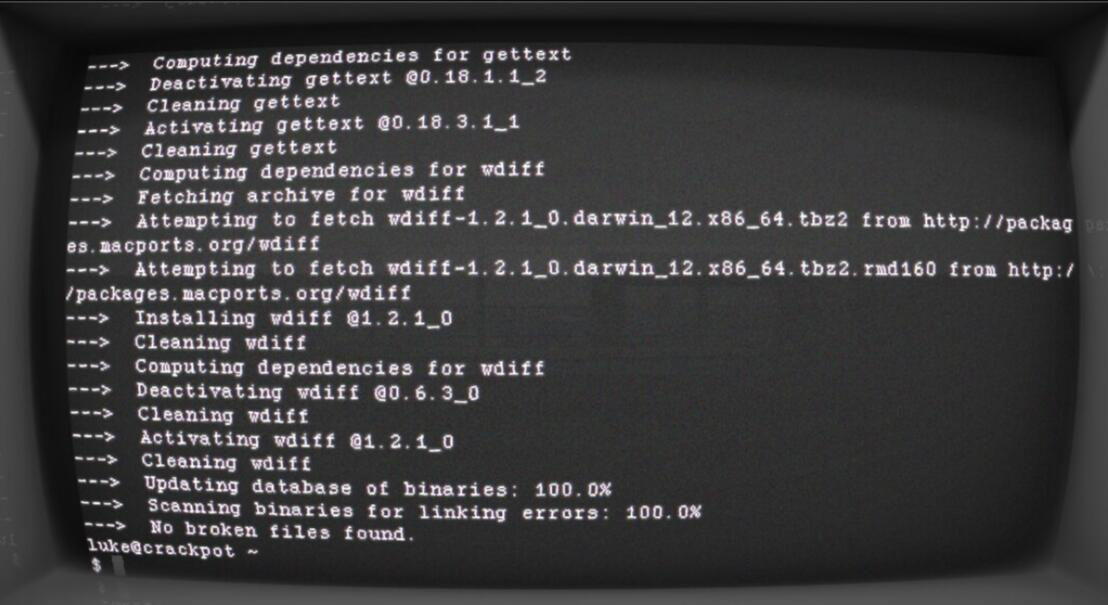
Cathode screen
The cathode is the best alternative serial communications and debugs terminal for users building Arduino projects using a macOS-based computer. Secret Geometry (now defunct) developed it as an alternative terminal for Mac.
The best thing about it is its customizability and aesthetic appeal. It mimics the appearance of an old CRT screen.
Nevertheless, you can use it to monitor serial communications between your Mac PC and the Arduino microcontroller.
GNU Screen
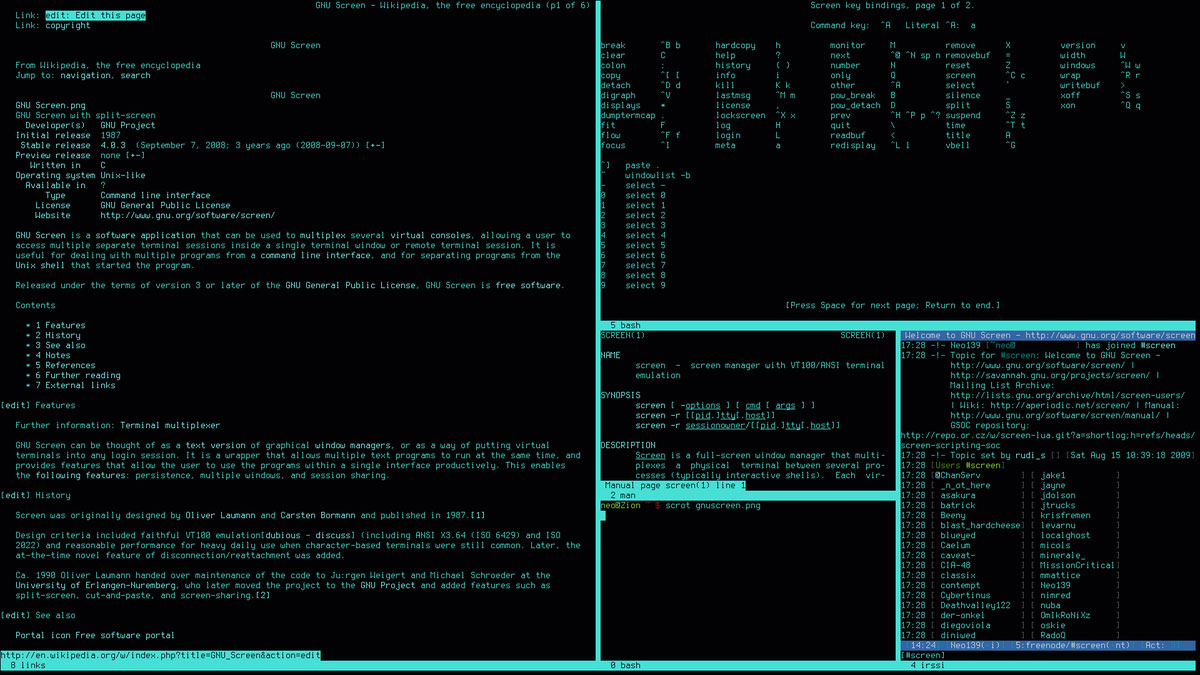
The GNU Screen user interface
GNU screen is another external terminal program.
However, it is special because it allows you to multiplex terminal windows. You can also use it as a common VT100 terminal emulator for tracking serial communications.
It’s a cross-platform application. As such, it’s available for Windows, Linux, and macOS.
It’s also an advanced tool for multi-tasking script programming.
Serial Port Monitor by Eltima (SPM)
Serial Port Monitor by Eltima has a fully-realized and rich graphical user interface.
It lets you launch multiple screens to monitor and compare various serial communications.
Furthermore, it enables you to identify and monitor active COM ports as soon as the software detects them.
This feature can speed up the debug process and ensure secure serial connections between your computer and Arduino Uno.
However, the filter and visualization modes are this software's best and most unique features.
They allow you to sift and model important data, so it's easier to distinguish and analyze.
FAQ
Secure shell client
How do I get Arduino serial output?
You can retrieve serial output from your Arduino by connecting it to your computer and using a serial monitor.
The Arduino Integrated Development Environment (IDE) has a built-in serial monitor.
However, there are alternative applications for serial communication tracking and monitoring.
Can I test Arduino code without hardware?
It is possible to test Arduino code without connecting your Arduino microcontroller to your computer through an emulator.
You can use an Arduino emulator such as Wokwi or a simulator such as CodeBlocks.
These are great tools for people who can’t afford an Arduino microcontroller or any additional hardware.
How do I clear my Arduino Serial Monitor?
Click on the clear output button will often only clear any outgoing data you’re trying to send to the Arduino.
If you want to clear the monitor, close and open it again.
Unfortunately, as of writing this guide, there is no easier way to clear the serial monitor screen.
Using an alternative serial monitor with a more convenient screen clearance feature may be easier.
Conclusion
You can use your Arduino microcontroller to create valuable projects like solar trackers.
However, if you want to learn how to effectively program the Arduino for more robust applications from Arduino’s project hub, you must master the Arduino IDE serial monitor.
It will allow you to troubleshoot your Arduino.
Furthermore, you can use it to learn how serial communications between your computer and microcontroller work and how you can use them.
However, you are not stuck with Arduino’s default serial monitor.
You can install a third-party application and monitor serial communications that way.
Special Offer: Get $100 off your order!
Please email [email protected] for details.