If you're struggling with technical drawings, an XY plotter might be what you need to increase printing accuracy. Sometimes called pen plotters, XY plotters support printing on large paper sheets and other materials. You can also get different colors on your drawings. Please read our article for more information about XY plotters and their functions.
Contents
Special Offer: Get $100 off your order!
Please email [email protected] for details.
What Is XY Plotter?
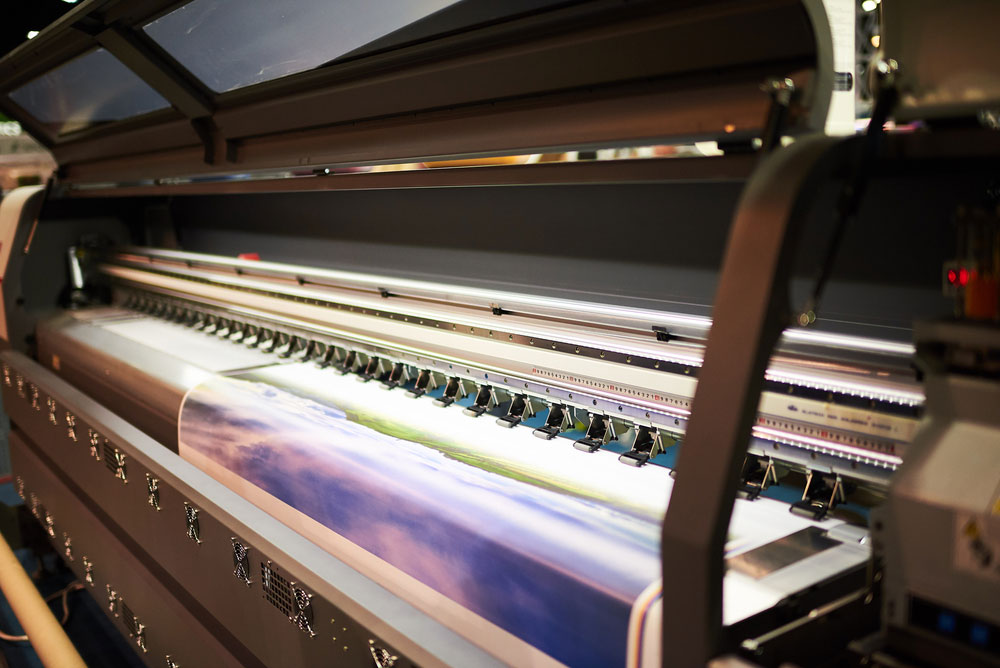
An XY Plotter is different from this Ink-Jet Plotter.
Plotters are computer hardware systems that create vector graphics. But, unlike printers that have toners, a plotter produces drawings using pencils, markers, and pens. Some even have knives to cut through harder materials like vinyl and leather. Moreover, a plotter draws continuous lines while a printer creates a sequence of dots on paper.
The best part is plotters preserve file formats, image quality, and image format despite drawing the same pattern repetitively.
A plotter can be a peripheral extension of your computer or a standalone machine with its internal processor. Besides, you can use plotters for specialized drawings such as engineering designs, business charts, maps, and architectural plans.
Therefore, an XY plotter produces continuous graphics by operating on the X and Y-axis. And this is unlike traditional plotters, which only control the y-axis. Standard plotters require users to feed the x-axis with desired variables continuously.
How Does XY Plotter Work?
An XY plotter comprises a solenoid and two stepper motors, with the robot marking the computer input on paper. The microcontroller guides the stepper motors while the pen goes up and down.
Moreover, the stepper motors connect to threaded travel systems.
The fusion of the X and Y axis creates an X-Y plane, allowing the platform to sit anywhere on the two-dimensional surface. XY plotters work like 3D printers since their movement occurs along with XY coordinates. But instead of operating along the Z-axis like a 3D printer, XY plotters have servo motors to lift and lower the pen.

3d rendering 3d printer with an injector nozzle
Additionally, the switches on the edges of the X and Y-axis guide the plotter towards the origin. Also, they prevent it from operating beyond its range. Assuming your pen up command is (400,400), the new coordinate will be X=400, Y=400, although the pen won't draw anything. On the other hand, a pen-down command of (1100, 500) will draw a line while moving the pen to X=1100, Y=500.
Special Offer: Get $100 off your order!
Please email [email protected] for details.
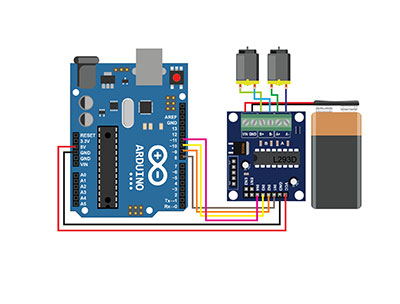
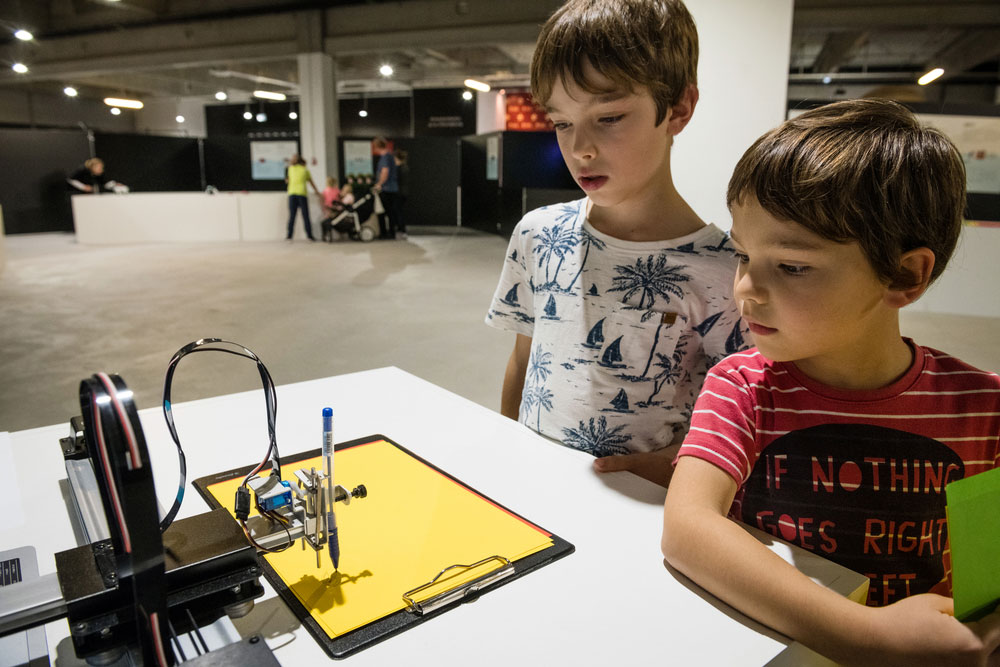
How Do You Make an XY Plotter Robot With Arduino?
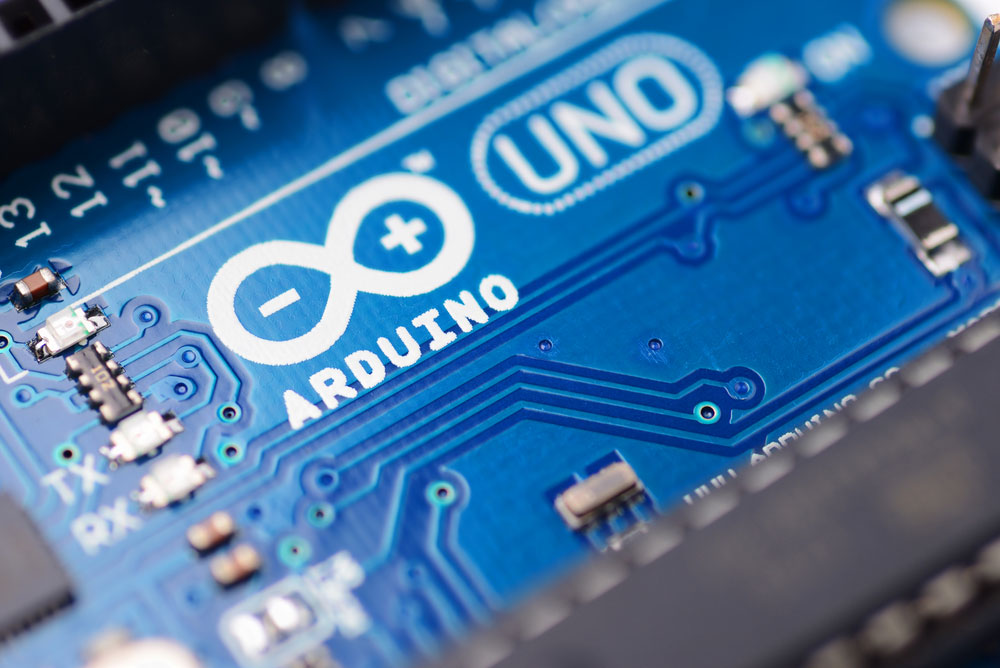
An Arduino Uno Microcontroller is useful in making an XY Plotter.
Here's a step-by-step guide on how to construct an XY plotter.
What you need
- Arduino Uno Control board
- Arduino IDE source code
- CAM software that is compatible with your XY plotter Arduino
- FabScan shield
- SilentStepSticks and protectors
- Firmware
- Writing implements
- Power supply
- GT2 timing pulley
- Motor shield
- Servo
- Stepper motor
- Motor driver IC
- GT2 belt
Steps
Measure your Drawing Area
The drawing area is smaller than your working surface. Here are some essential measurements when building an XY plotter robot kit.

Hardware setup
Mount the belt on the rail and sling it around the motor using helper wheels. Afterward, connect your Arduino components to the appropriate slots. Also, when connecting the Arduino Uno, connect the FabScan shield above it and the StepStick protector on slots 1 and 2 of the motor.
Determine Polygraph Machine Dimensions
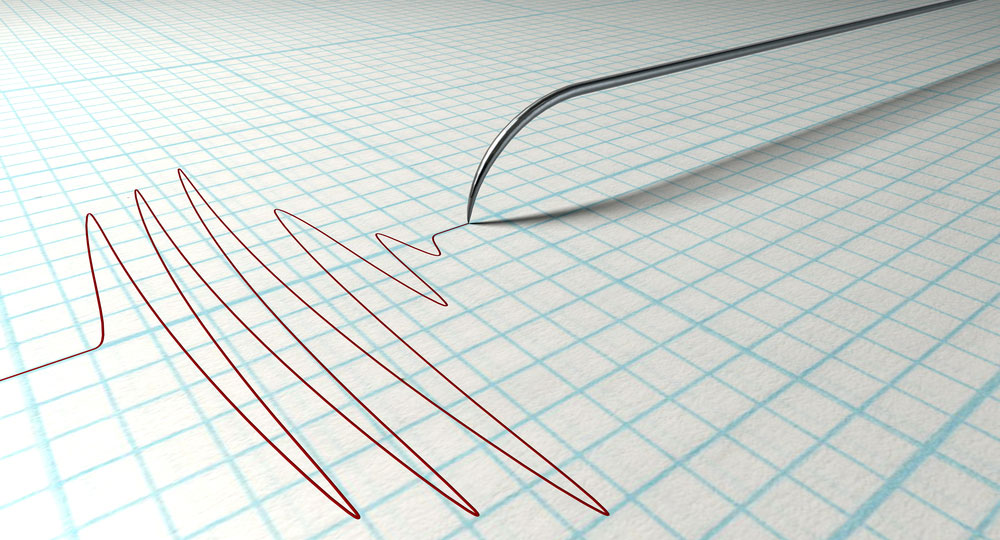
A polygraph needle and drawing
- Open processing and go to the polygraph controller
- Click on 'Run' to run the Arduino code.
- Go to 'Setup' on your toolbar.
- Adjust machine width and height
- Adjust drawing area
- Click on 'Center Page' before choosing a POS Y value of 120
- After clicking on 'Center Home Point,' set your POS Y value to 120
Define Polygraph Pulley and Stepper Motor Settings
- Align your MM Per Rev with the belt and pulley
- Then, align your Steps Per Rev with the stepper motor.
Servo Motor Settings
- Select 'Serial Port' and choose Arduino's port. A green 'No Serial Connection' alert will appear upon selecting the correct port.
- Next, click 'Command Queue' to activate the transmission
- Lastly, select 'Upload Lift Range' and click on 'Test Lift Range' to test your server motor
Upload Vector Image
- Save your settings and load them whenever you switch on the program
- Select the main screen on the input tab
- Choose the 'Set Home' gondola manually and shift it to the predetermined home point.
- Select 'Set Home' followed by 'Set Pen Position.'
- Specify the drawing area by clicking on 'Set Area' and selecting 'Set Frame.'
Draw the Vector
- Set your image to SGV format
- Click on 'Load Vector'
- Change image size using 'Resize Vector.'
- Select 'Move Vector' to shift your image
- Adjust the printing area with 'Select Area' and 'Set Frame to Area.'
- Click on 'Draw Vector' to start your machine.
Pen Plotters: Best XY Plotters
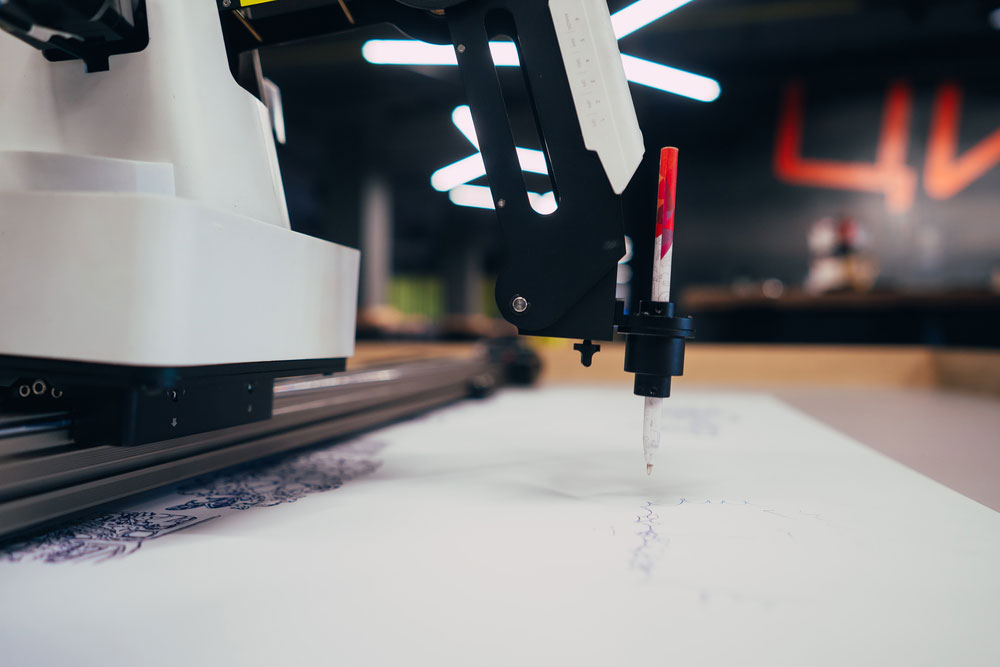
Pen plotter
A pen plotter has different applications. But regardless of its use, an XY plotter should be affordable and easy to set up and operate. Here are some XY plotters you can consider for your project
AxiDraw V3
This XY plotter is a creation of Evil Mad Scientist, a California-based lab that produces bioprinting supplies. It supports various writing implements, from permanent markers to fountain pens. Furthermore, it has a field-serviceable design to guarantee longer service.
Another outstanding feature is the expandable drawing head. Because it stretches beyond the machine's body, the drawing head lets you work on surfaces that are larger than the plotter.
AxiDraw
Robot House
This device is perfect for large creations, thanks to its A3 plotting area. However, its large size requires you to assemble it yourself since it ships in separate components. You could also buy the A4 design. Although it covers a smaller area, you can transform this model into a laser engraver.
iDraw
The robot can tilt a fountain pen to 45 degrees, allowing it to imitate different handwriting. In addition to supporting various pens, the iDraw plotter allows users to engrave leather, paper, and even wood.
Note: These aren't the only reliable XY plotters in the market. You could also consider devices such as the Makeblock XY plotter and the GoooGi Geek-Lab Assembled model.
Photoplotter

Architecture project drawing
This optical device uses light to create images on various media. Photo plotters mainly have industrial applications such as
- specialized graphic design,
- chemical milling,
- integrated circuit packaging,
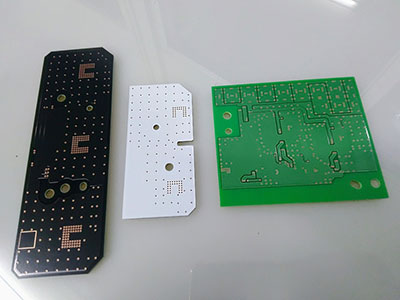
- and printed circuit board (PCB) manufacture.
Gerber Scientific designed the first photoplotter in the '60s. Also, the company developed the Gerber standard, which is the recommended format for PCB images like solder masks and copper layers.
Lastly, the latest photo plotting development is laser direct imaging. It uses xenon lamps and powerful lasers to direct photoresists toward the coated substrate.
Summary
This article explains what an XY plotter is, how it works, and some of the models in the market. This guide should be handy if you enjoy building things such as a DIY cutting machine. Also, if there is something you'd want us to clarify, please reach out to us. We'll respond within the shortest possible time.
Special Offer: Get $100 off your order!
Please email [email protected] for details.