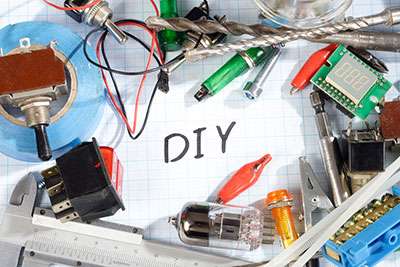
Embedded hardware, circuit boards, and other circuits require electrical equipment for measurement to check if everything works. One primary instrument that is vital for hardware gurus to check these components is the basic multimeter. These devices can be analog or digital but perform the same functions. We will look at them in detail below, so let's get right into it!
Contents
- What is a Multimeter?
- Types of Multimeters
- Analog Multimeter
- Digital Multimeter
- Parts of a Multimeter
- Digital Display
- Knob
- Ports
- Probes
- How To Measure Voltage
- If Measuring DC Voltage
- If Measuring AC Voltage
- How To Measure Current
- How To Change a Multimeter's Fuse
- How To Measure Resistance
- How To Test for Continuity
- What Makes a Good Multimeter?
- Wrap Up
Special Offer: Get $100 off your order!
Please email [email protected] for details.
What is a Multimeter?
A multimeter or multitester is an electronic measuring instrument that can gauge several properties, such as voltage, current, and resistance. It gets its name from combining several functions into a single device.

A multimeter
Some even have temperature and capacitance measurement functions, but these contemporary multimeters with extra features are rare and expensive.
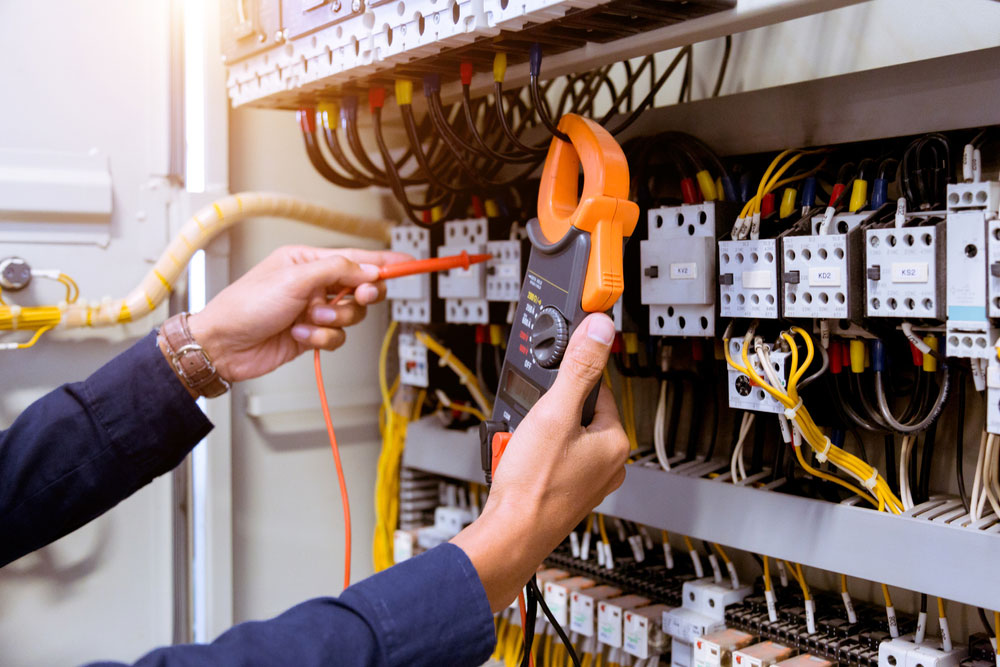
The tester is essential for electronic and electrical engineers because it helps troubleshoot circuits.
Multimeters come in different types, such as the following.
- Hand-held meters
- Bench meters
- Clamp meters
A clamp meter
Types of Multimeters
There are two types of multimeters.
Analog Multimeter
Analog meters feature a moving coil meter and a pointer to show the reading on a scale. This moving coil meter comprises a coil wound around a drum between two permanent magnets. Also, it has springs attached to the drum to oppose the drum's motion to control the pointer's deflection.
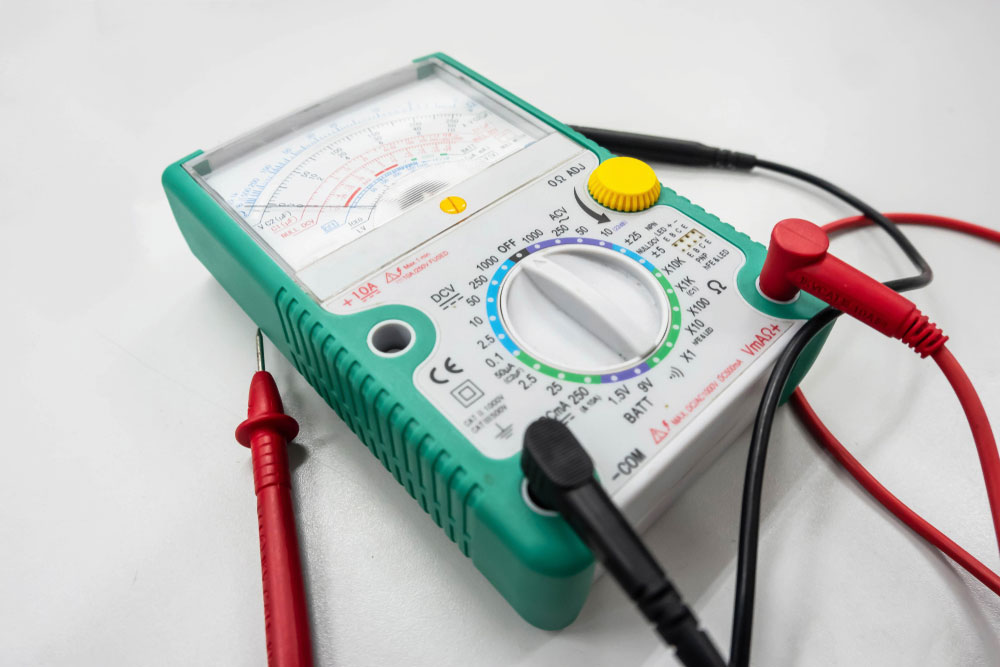
An analog multimeter
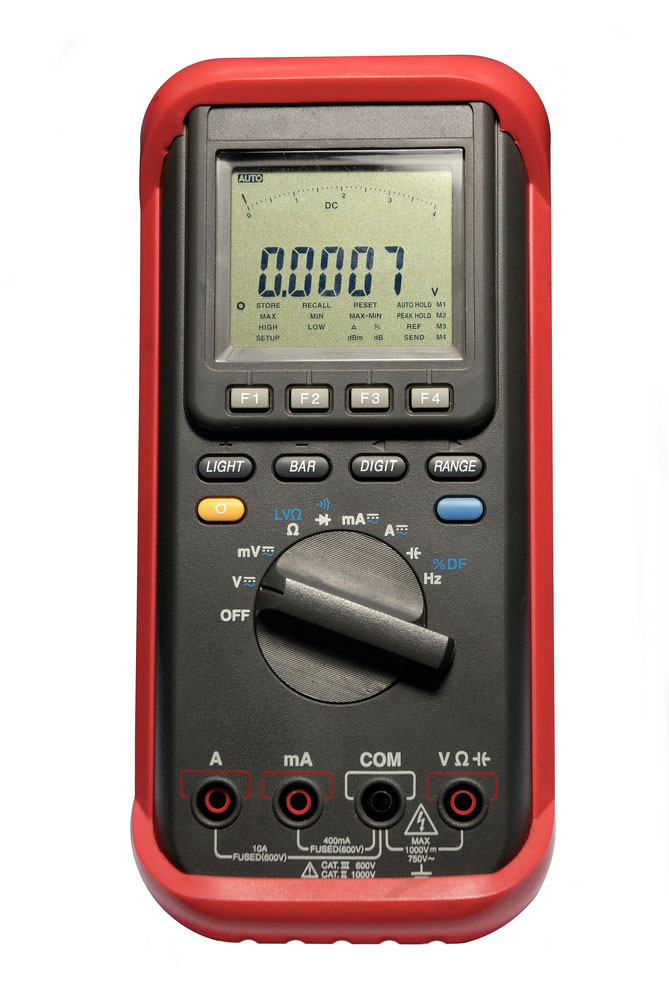
Digital Multimeter
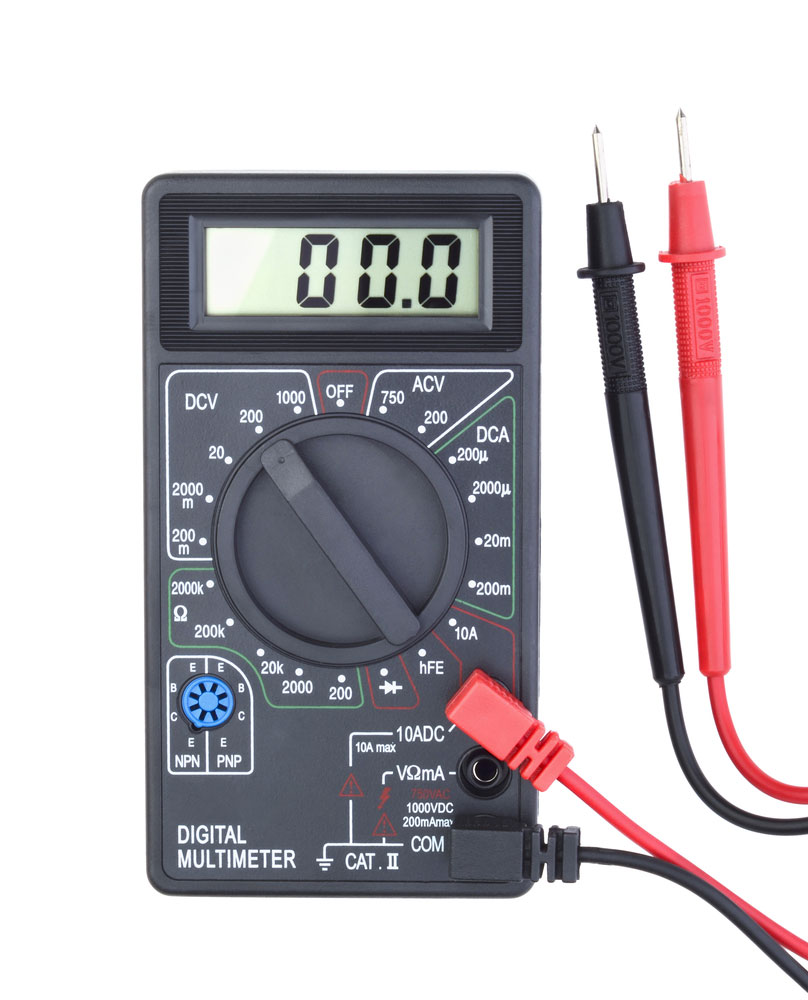
Typical multimeters used today are the digital type. Instead of a moving coil meter pointer, this unit consists of an LCD with a circuit board and electronics inside. And it is available in three types: fluke, clamp, and auto-ranging digital meters. We will focus on this type as the basic meter because it is more typical and gives more accurate measurements than the analog instrument.

A digital multimeter
Parts of a Multimeter
Multimeters have the following four parts.
Digital Display
Digital multimeters feature displays usually with a resolution of four digits plus the ability to show a negative sign. Specifying the display count also shows the resolution because it gives the largest number the display can show (ignoring the decimal separator). Some advanced units have backlit displays for easy use in low-light conditions.
Knob
A multimeter combines several measurement functions, and the selection knob lets the user pick the variable to measure (voltage, resistance, etc.).
Ports
These devices have one COM (common) port that usually connects to the ground or negative terminal. Always plug the black probe into the COM port. But it is vital to note there is no functional difference between the black and red probes. The color is only for coding purposes.
The second slot is the 10A port. It is a specialized port for measuring high electric current readings that exceed 200mA.
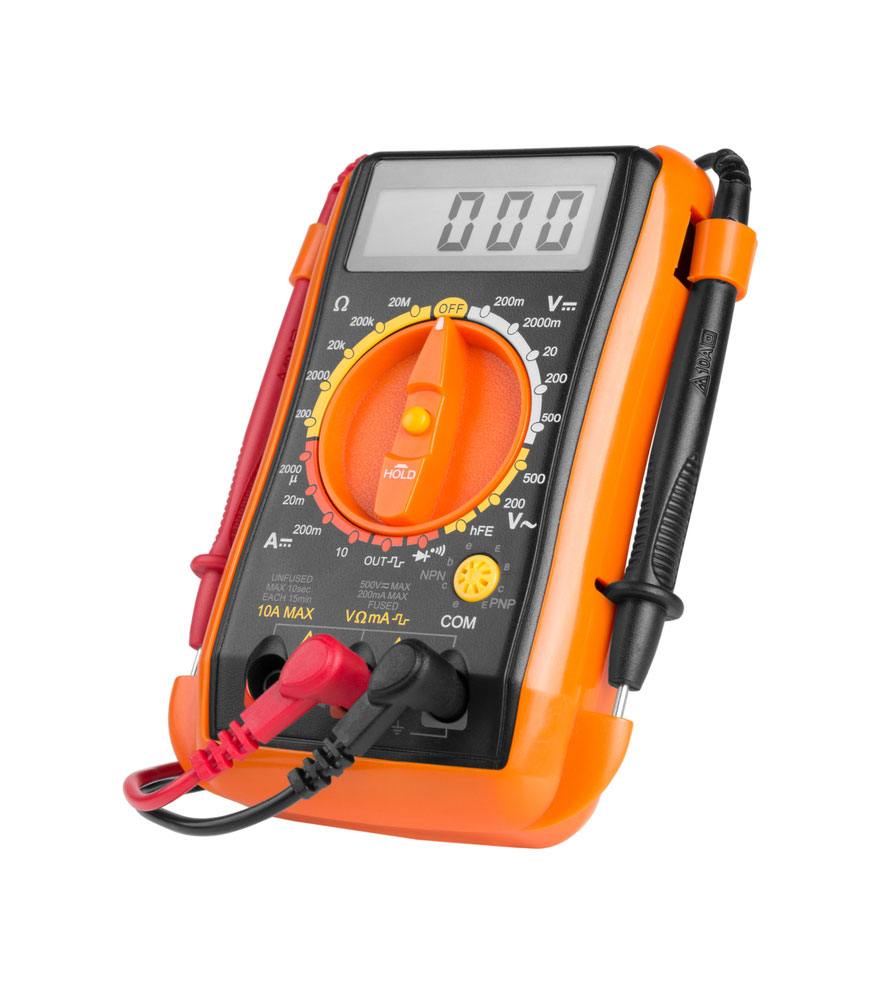
A digital multimeter with four ports (the VΩ and mA ports are separate)
Lastly, there is the mAVΩ port (or VΩmA). Conventionally, the red probe plugs into this port for voltage and resistance measurements. Also, it does current measurements up to 200mA, so you can call it the 200mA port.
Probes
Multimeter probes have banana connector types on the ends that plug into the measuring device. However, the other end that connects to the component/circuit under measurement can have four variations. These variations create the following probe types.
- Banana to IC hook
- Banana to tweezers
- Banana to alligator clips.
- Banana to test probes
Special Offer: Get $100 off your order!
Please email [email protected] for details.
How To Measure Voltage
First, plug the black probe into the COM port, then the red probe into the VΩmA port. The digital multimeter has DC and AC voltage measurement sides denoted by a straight line and a wavy line, respectively. And each side has varying voltage ranges, usually from 200mV to 600V.
If Measuring DC Voltage
When measuring the voltage across a power supply or circuit, set the knob to the immediate highest DC voltage. With auto-range multimeters, you won't have to worry about adjusting the knob. But with the typical ones, they cannot measure above 2V when you set the knob to 2V.
A digital multimeter set to measure DC voltage
For instance, if you want to measure the voltage across a 1.5V AA or AAA battery, set the knob to 2V. If you have a 9V battery, set the knob to 20V.
Selecting a voltage too low for the one you want to measure will display 1 to show an overload. And if you connect the probes in reverse, the voltage reading will be negative.
If Measuring AC Voltage
Use the same procedure for measuring DC voltage, but with the knob set to the respective voltage in the AC measurement (wavy line) side.
How To Measure Current
You measure current in series, meaning you need to connect the multimeter in series with your circuit. So you will have to disrupt the continuous circuit physically.
For instance, with an Arduino circuit on a breadboard, pull the VCC wire supplying power and connect it to the red probe. Next, add another wire to direct current into the circuit and connect it to the black probe. Alligator probes would be handy for this task because they free up your hands.
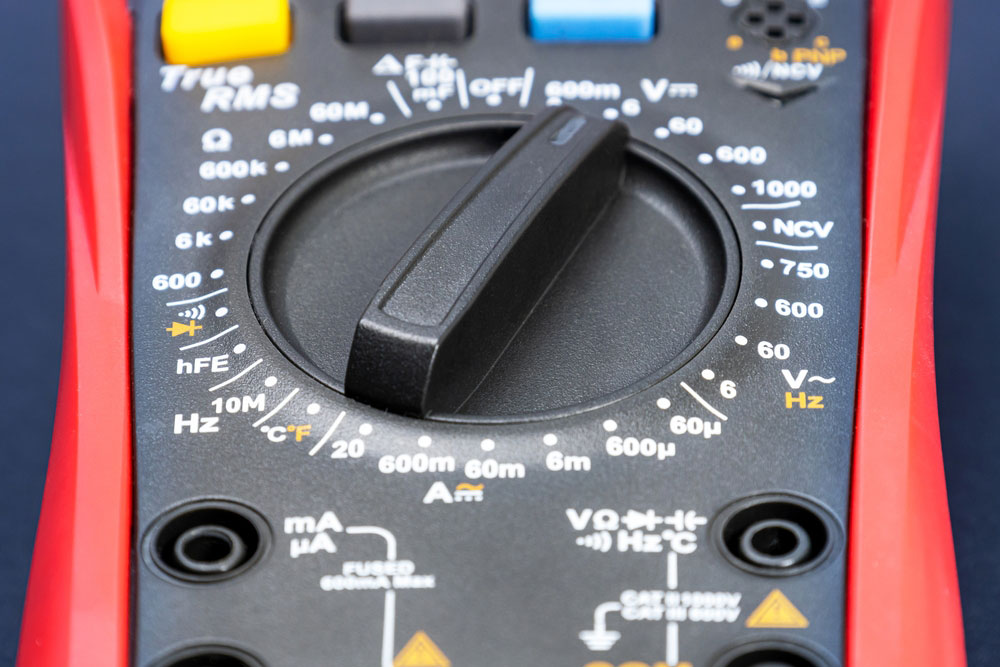
A multimeter’s knob settings up close
Measuring current occurs the same way as measuring voltage, except there are no DC and AC sides. So you only pick the correct range, usually from 20 micro-amperes to 10 amperes.
But if you suspect the current will be high (above 200mA), plug the red probe into the 10A port.
Unlike with voltage, overloading the current will blow the internal fuse. Current measurements can be tricky, so don't be worried if you get a blown a fuse.
How To Change a Multimeter's Fuse
Multimeters have an internal fuse to protect their circuitry from damage if you overload them with a high current flow. Use the following steps to replace this component.
- Take out the battery plate screws to remove the battery
- Unscrew any screws that might be hiding behind the battery plate
- Lift the multimeter gently above its casing
- You will notice hooks on the bottom edge. Slide the multimeter face gently sideways to disengage these hooks.
- After unhooking it, you can remove the face and see the circuit board underneath.
- You will see two fuses (10A and 200mA)
- Pop out the blown a fuse and replace it with a similar capacity fuse

Glass fuses for multimeters
Most of them have common glass fuses that are cheap to replace. Also, you can change the power source with a manufacturer-specified battery using step 1 if it runs out.
How To Measure Resistance
Resistors usually have color codes to show their internal resistance. A multimeter will come in handy if you don't know how to use these codes or find it difficult to calculate the resistance values.
So pick a random resistor and connect the probes on its legs or pins. The display can either show the actual resistance value, 0.00, or 1.
A digital multimeter with built-in probe holders
If the multimeter is on the 20kΩ setting and the resistance measurement is 0.5, the resistance value is 500Ω. An output of OL or 1 indicates an overload, so you'll have to switch the knob to the higher modes (200kΩ or 20MΩ). And if it shows 0.00 or a figure close to zero, switch to a lower mode.
Luckily, you won't have to deal with a blown a fuse when measuring resistance across different modes.
How To Test for Continuity
Continuity testing checks the resistance between two points. If the resistance is low between the two points, you can define them as electrically connected, and the multimeter will emit a continuous tone.
But if the digital meter does not produce sound or the tone is not continuous, the resistance is high, and you have a faulty connection.
A digital multimeter set to measure continuity
The continuity mode symbol usually resembles a diode with sound propagation waves similar to those denoting a speaker in a circuit.
Before doing continuity tests, ensure you turn off the power and the system. Multimeters have an internal power supply to run their basic functions.
What Makes a Good Multimeter?
Although everyone has their preference, the presence of some features separates good multimeters from the rest. For instance, a multimeter should have a continuity testing feature, auto-off to conserve the battery, quality probes, and a good click on the knob range selector.
Fancy features in higher-quality multimeters might not be necessary. But if you can afford such a device, look for an auto-ranging function for changing the internal range automatically when measuring current, voltage, or resistance. A backlit LCD might seem necessary, but how often do you test a circuit in the dark? So backlighting is a fancy feature.
Wrap Up
In conclusion, multimeters are essential for electronic engineers who deal with circuit boards and hardware in general. If you are doing a DIY project and are unfamiliar with the device, the usage instructions above should help you run your measurements. That's it for this article. If you have any questions or comments, get in touch, and we'll get back to you shortly.
Special Offer: Get $100 off your order!
Please email [email protected] for details.