Do you have a solar panel that isn’t performing as well as you’d hoped it would? Are you looking into ways to optimize clean energy gains without spending a fortune? Well, with Arduino, you can easily DIY your own Arduino solar tracker. We’ll be discussing why Arduino solar tracking could be your solution to reaching your solar panel’s maximum potential and how you can build them yourself using Arduino. Let’s get started.
Contents
- What is a Solar Tracker, and how Does it Work?
- Following the Sun, Thanks to Sensors.
- How do the Sensors Work?
- The Two Principal Types of Solar Tracking Systems
- Single-axis Solar Trackers
- Dual-axis Solar Trackers
- How to Create a Solar Tracker using Arduino
- How Does it Work?
- Components Required
- Connection Diagram
- Setup and Assembly
- The Advantages of a Solar Tracker
- Summary
Special Offer: Get $100 off your order!
Please email [email protected] for details.
What is a Solar Tracker, and how Does it Work?
Following the Sun, Thanks to Sensors.
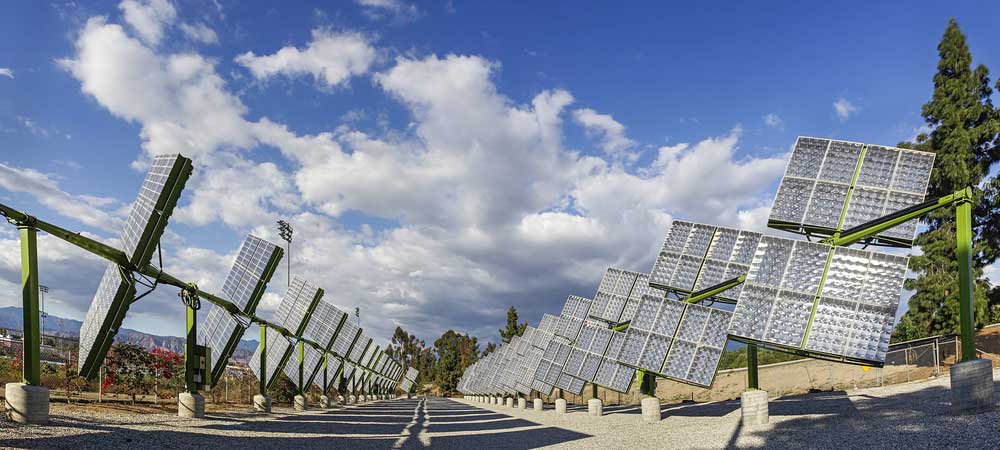
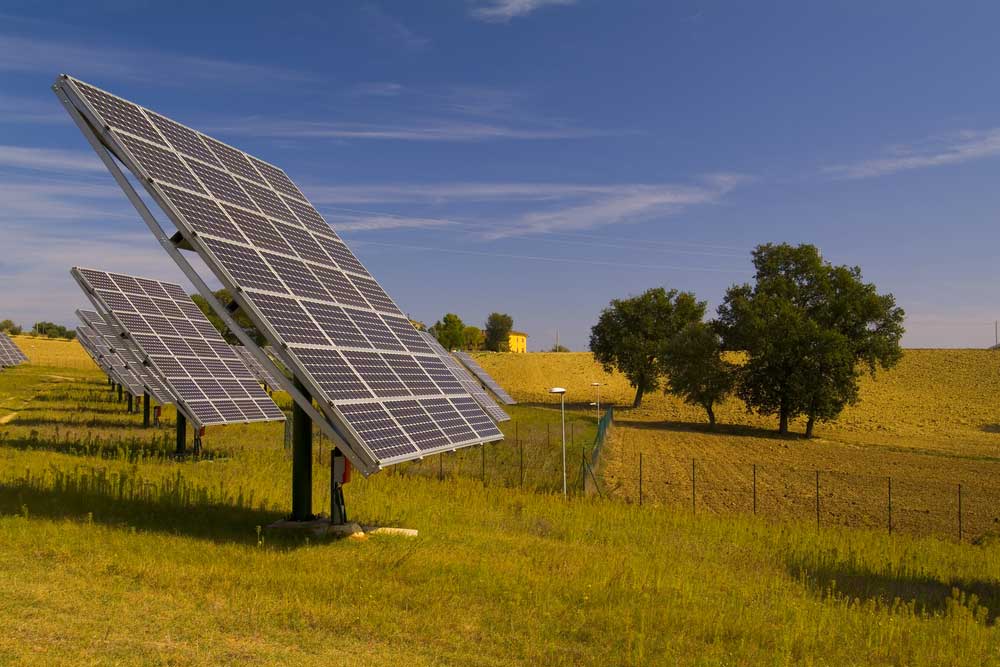
Solar trackers are devices that direct solar panels towards the sun. They are mechanical-automatic devices whose sensors can follow the position of the sun. Following the sun’s path throughout the day allows the solar panels to capture energy at maximum capacity. Solar trackers can increase energy output by up to 40%.
How do the Sensors Work?
Solar trackers are a part of photovoltaic systems. They work by minimizing the angle of incidence between the light and the solar panel. The angle of incidence is the angle between any given ray of light and its perpendicular surface. Reducing the angle of incidence results in more energy produced by the installation. Solar trackers are crucial to the correct collection of power, especially in the case of concentrated solar systems, which fail to make energy unless you turn them directly towards the sun.
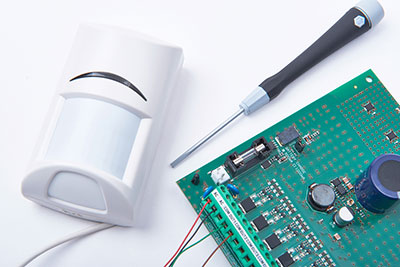
Solar tracker
Special Offer: Get $100 off your order!
Please email [email protected] for details.
The Two Principal Types of Solar Tracking Systems
There are quite a few different solar tracking systems on the market. We’ll be talking about the two main ones: single-axis solar trackers and dual-axis solar trackers.
Single-axis Solar Trackers
Firstly, single-axis solar trackers rotate on one axis that moves back and forth in one direction. You’ll find different types of single-axis trackers like horizontal, tilted, vertical, and polar aligned.
Dual-axis Solar Trackers
Among the different types, you’ll find tip-tilt and azimuth altitude. These trackers get maximum solar energy because they can follow the sun both horizontally and vertically. On the other hand, dual-axis solar trackers always face the sun because they can move in two directions.
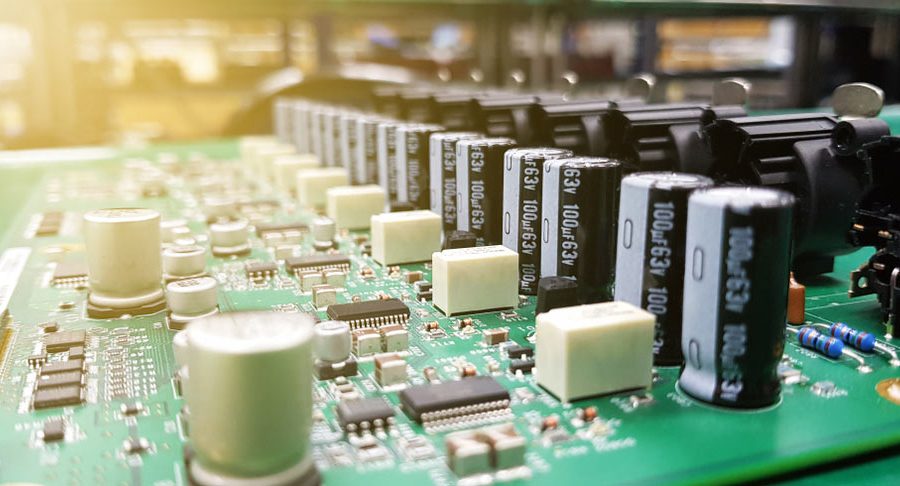
Solar trackers
How to Create a Solar Tracker using Arduino
Now that you know how a solar axis tracker works, creating one using Arduino may seem less intimidating. In fact, with the right components and a little bit of patience, it’s pretty straightforward. Let’s dive right in and learn how to DIY an Arduino solar tracker.
How Does it Work?
Because a solar panel needs to face the rays to harness maximum power and energy, you’re going to need to be able to direct it towards the sun as it shifts position throughout the day. You can do this by first detecting the sun’s work and then moving along.
You can measure the light intensity using LDRs and Arduino on the outer edges of the solar panel. The LDRs measure the intensity of light, then send a signal to the vertical servo motor to generate movement. The solar panel will then tilt towards the right side to follow the direction of the sun’s rays.
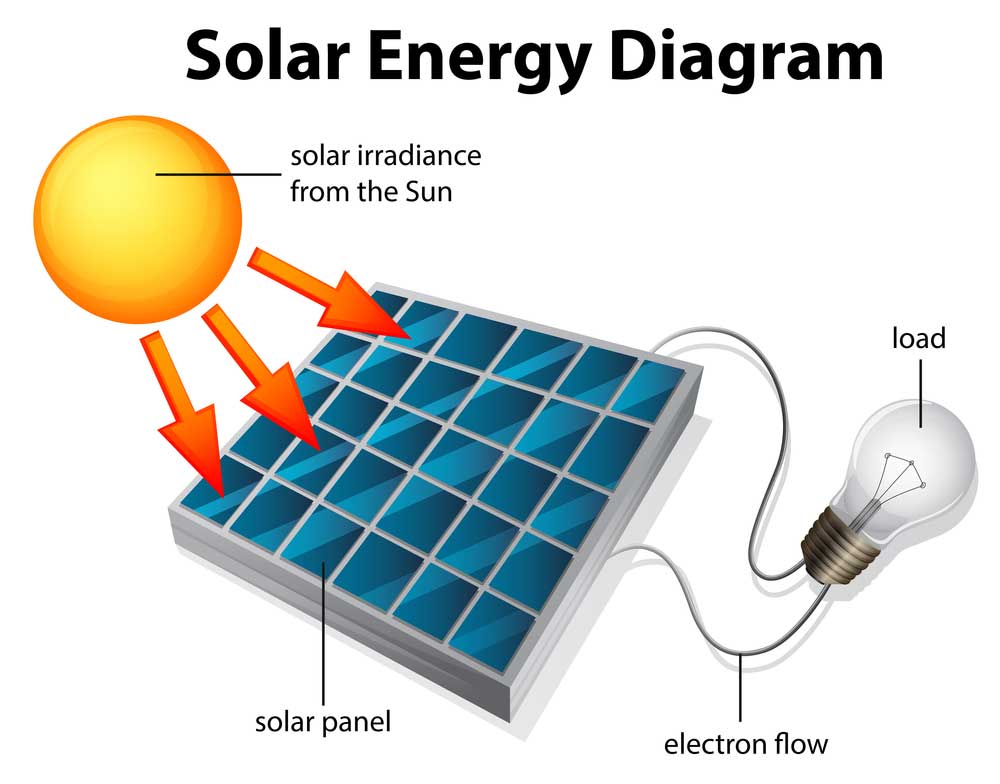
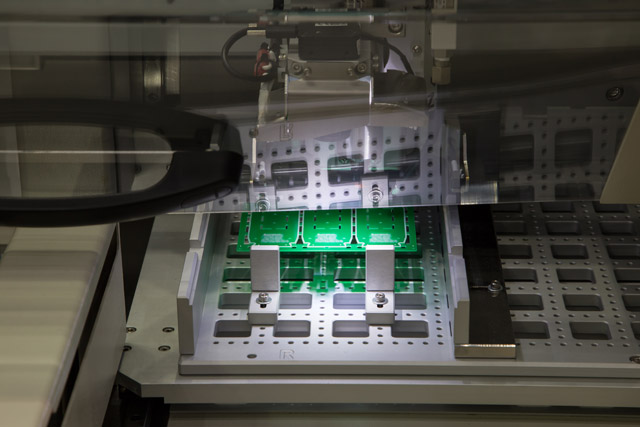
Solar Energy Diagram
Components Required
- Arduino UNO board
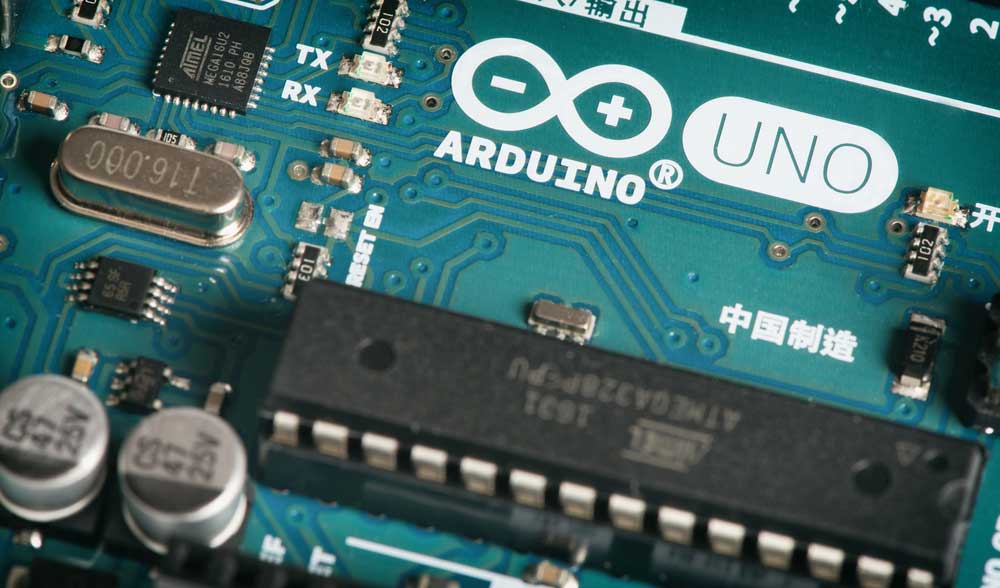
Arduino UNO
- Servo Motor
- Light Sensors
- LDR
- 2 x 10k Resistor
- Jumper wires
- 1 x MDF board
Thanks to its precision and wide range of movement, we’ll be using the servo motor to rotate the solar panel as needed. It would help if you went for a 5 volts servo motor onto a 5V power source. An LDR stands for light-dependent resistor, and it has light-sensitive properties that allow for its resistance to increase at high-intensity light and decrease at low-intensity light.
Connection Diagram
The connection diagram is pretty easy to achieve. We’ll be using an Arduino Uno as a controller, and we’ll connect 2 LDRs to the A0 and A1 analog input pins. The best part is that you don’t need an external power supply because you’re using the servo motor.
Setup and Assembly
Step 1: The first thing we’re going to take care of is constructing the base. Take an MDF board and cut it into 12*8 cm and 12*2cm pieces.
MDF board
Step 2: Put one 12*2cm piece together vertically with the 12*8cm piece using a hot glue gun.
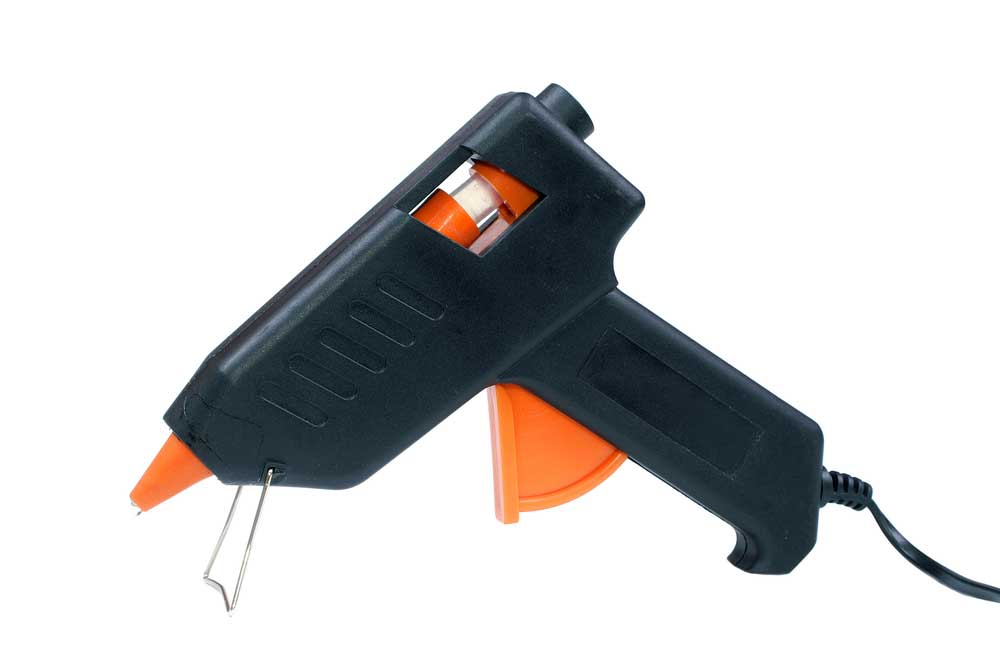
Hot glue gun
Step 3: Now, we will attach the base to the servo motor by using an L-shaped contraption with glue.
Step 4: Next step is to glue LDRs on opposite sides of the solar panel.
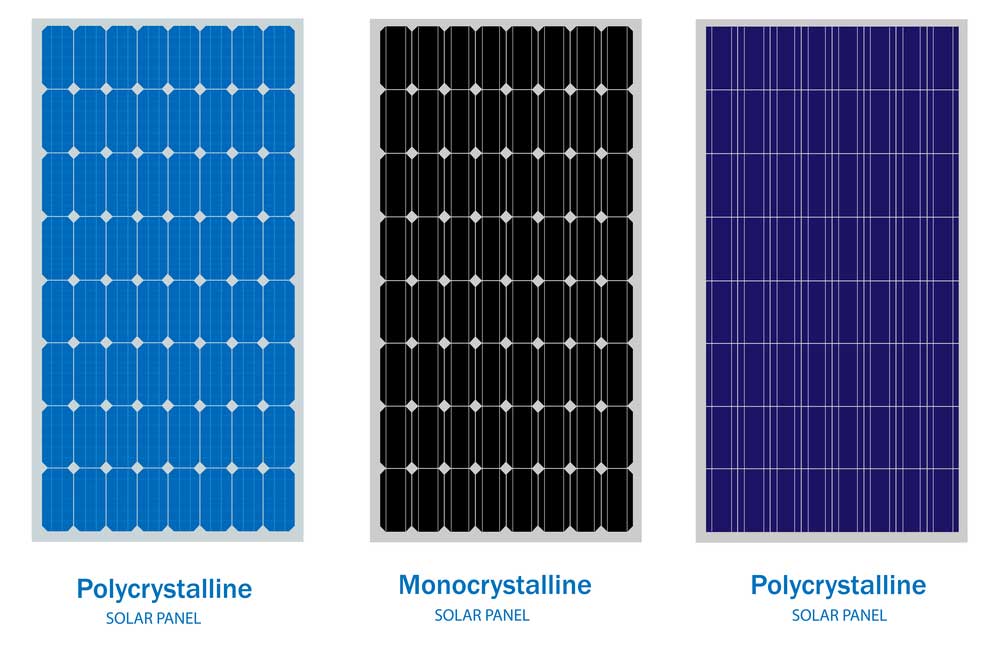
Solar panel
Step 5: Now, for a pull-down resistor, we’re going to connect the 10k resistors to both LDRs, joining the other ends of the resistors to the ground.
Step 6: The last step of the circuit is to connect the servo motor to the rest by using its three wires: ground, V_in, and signal wire. Connect the V_in pin to Arduino’s 5-volt, the ground pin, and attach the signal wire to Arduino’s pin-9.
Step 7: All that’s left to do is assemble the whole thing. You can do this by gluing the Arduino onto the MDF base. You can then go ahead and attach the servo motor to the vertical section using your hot glue gun. Lastly, you’ll be able to connect the solar panel with the servo motor’s hand and keep it tightly secured with a screw. That’s it; you’ve got your Arduino solar tracker!
The Advantages of a Solar Tracker
As you might have noticed, solar trackers can benefit from a solar installation. Let’s find out exactly why.
- Solar trackers can generate more electricity than a fixed solar system.
- Because of the many kinds of solar trackers, you can install the most relevant one according to space, weather, electrical requirements...
- Solar trackers have direct exposure to the sun, generating much more electricity than stationary solar systems.
- Because of how advanced the mechatronics and technology of solar trackers are, they don’t require much maintenance in the long run, so they’re a significant investment.
- Solar trackers are a must if you live in a state whose utilities offer Time of Use (TOU) advantages. You’ll be able to sell power generated during peak time at a much higher rate, therefore maximizing your energy gains when the sun is out.
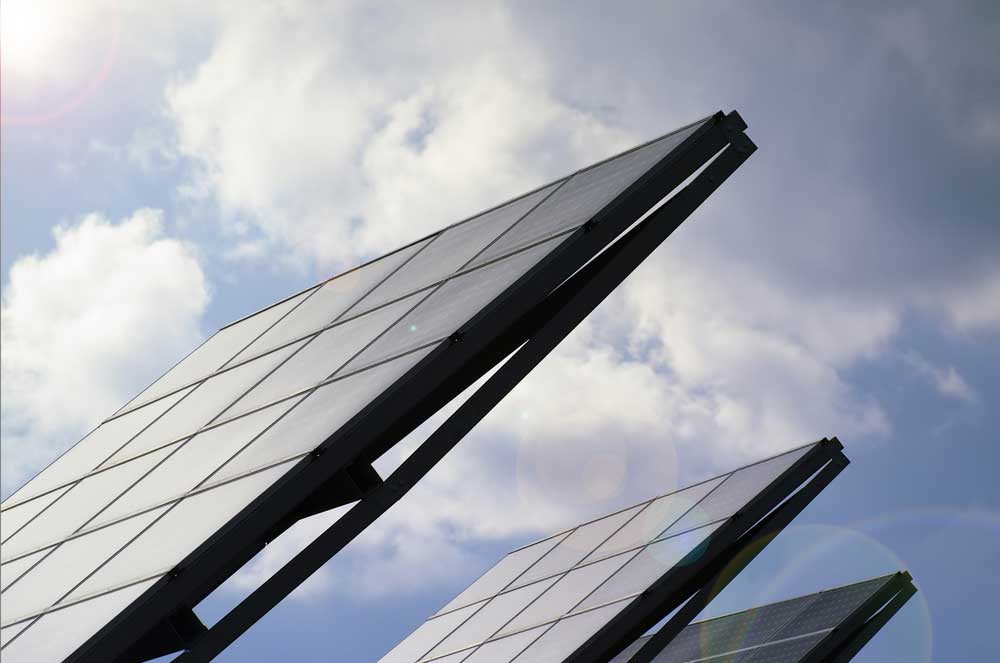
Solar trackers
Summary
Solar trackers are energy-efficient, affordable, and genuinely straightforward to DIY, thanks to Arduino and a few LDRs. You’ll be able to reap the many benefits of solar trackers: generating more electricity, adapting to space and weather, making the most of TOU… With a quick process using a glue gun, a few components, and your trusty Arduino.
We love helping users navigate their DIY Arduino projects at Our PCB. If you have any questions, feel free to contact us for help!
Special Offer: Get $100 off your order!
Please email [email protected] for details.