Electronic programming can frustrate you at times. Figuring out the correct parameters to pass in, finding the right library that fits, and finding components. All the frustrations add up to time suck and detraction from stuff that should be fun. However, Seeeduino Studio introduced a complete packed microcontroller. A well-documented and Arduino-compatible development board: the Wio Terminal is why you should fall in love with the Arduino Grove ecosystem. In this article, you will learn reasons why it's the best IoT device, including its applications and much more.
Contents
- What is a Wio Terminal?
- Why Wio Terminal is the Best DIY IoT Device Solution for You
- Arduino Compatibility
- Assimilated Sensor
- Wireless Connectivity
- Wio Terminal Features
- Get Started with Wio Terminal
- Requirements
- Wio Terminal Projects
- Grove Analog Microphone Displaying on Wio Terminal
- The Game of "Statues" How Wio Terminal Can Play With Grove – TF Mini Lidar
- Applications for Wio Terminal
- Summary
Special Offer: Get $100 off your order!
Please email [email protected] for details.
What is a Wio Terminal?
The Wio Terminal is a microcontroller powered by Realtek RTL820DN with MicroPython and Arduino Yun wireless connectivity compatibility. In addition, the ATSAMD51-based microcontroller currently it's the only Arduino that can support wireless connectivity. Besides featuring a microSD card slot and light sensor, Wio Terminal also has Grove ports, LCD, IMU, and 40-pin GPIO. Also, the system features a microphone, buzzer, Bluetooth, and WI-FI connectivity, making it impeccable for IoT projects and other applications. Moreover, it has double multifaceted Grove ports 40 Raspberry pi with GPIO compatible pi and Groove Ecosystem for more add-ons.
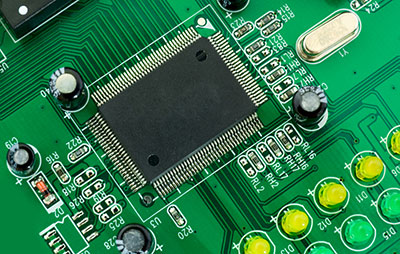
DIY electronic mega board with a microprocessor
Why Wio Terminal is the Best DIY IoT Device Solution for You
Wio Terminal is a powerful DIY IoT affordable device. Here are some reasons why you need to own one.
-
Arduino Compatibility
When developing applications, you need standard Arduino IDE to work with Seeeduino Wio Terminal. You can use it right away if you can write An Arduino sketch. Besides, adding it is pretty easy; you only need to point Arduino wiring software to the URL board manager.
-
Assimilated Sensor
The Seeeduino Wio Terminal pinout is a sensor powerhouse that makes it easier for you to start a project. For instance, a Raspberry Pi-compatible pinout can link more additional sensors to the access device.
-
Wireless Connectivity

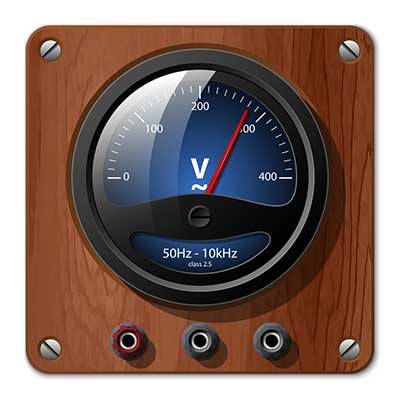
Vector icons of wireless internet connectivity
When it comes to connectivity, the device has all you need. Furthermore, the device provides Dual Band 2.4Ghz / 5Ghz Wi-Fi and Energy (BLE) since it's Realtek RTL8720DN Wi-Fi-powered.
Special Offer: Get $100 off your order!
Please email [email protected] for details.
Wio Terminal Features
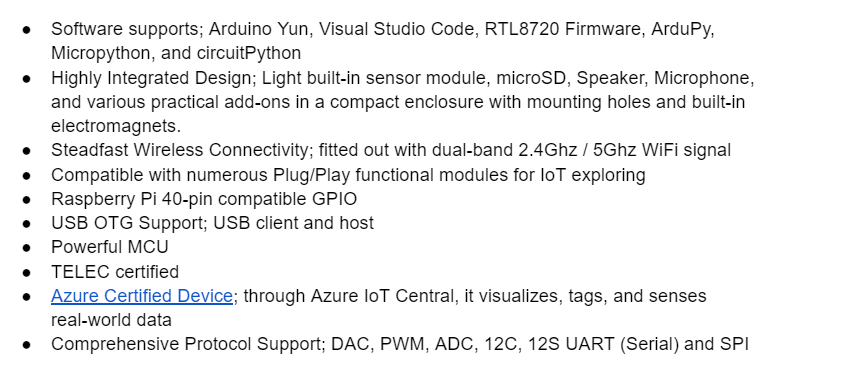
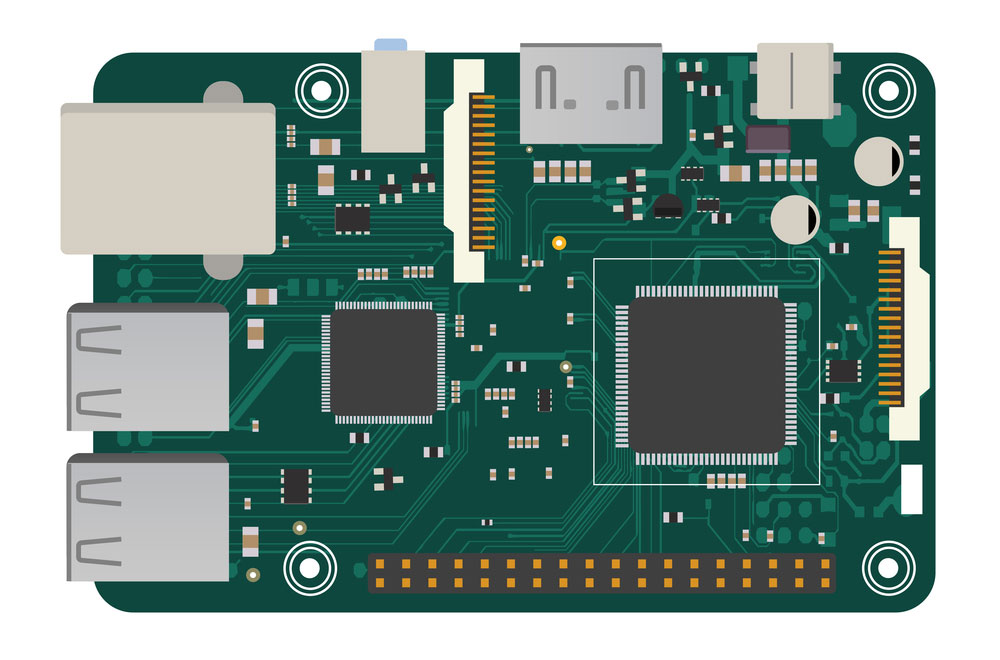
Raspberry Pi single-board computer
Get Started with Wio Terminal
Requirements

Step 3
Go to the Board sensors Library and add the Wio Terminal
- Click on File>Preferences to open the Arduino IDE. Then, copy the URL link and paste it to Additional Boards Manager URLs.

- Secondly, in the Boards Manager, please search for the Wio Terminal by clicking on it.
Tool > Board > Board manager
Step 4
By clicking the Tools > Board, choose your port and board sensor module that matches your Arduino.
From the Tools->Port menu, choose the Wio Terminal board serial device; it should be COM3 or greater. (Usually, hardware serial ports are the ones that receive COM1 and COM2). To be sure, check out by re-opening the menu and disconnecting your Wio Terminal Board. In the same way, the Arduino Board should be the entry that will disappear. Re-join the board and highlight that serial port.

Step 5
In this step, you will complete the program upgrade. First, go to the environment and hit the upload button inputs. Secondly, once the process is complete, it will indicate "Done Uploading" on the status icon, meaning the upload is successful.
Finally, at the bottom of the Wio Terminals, you will see LED blinking a few seconds after a successful upload. At this point, your device will be up and running.
If you can't upload the sketch, it could be that Arduino software didn't position Wio Terminals to bootloader mode.
Meaning, that either your program interpreters handling USB or the MCU halted placing your Wio Terminals manually to the bootloader.
Wio Terminal Projects
There is a wide range of Wio Terminals possibilities from camera to Raspberry Pi interface.
Grove Analog Microphone Displaying on Wio Terminal
The project aims to illustrate the way Grove-Analog Microphone Wio Terminals and Serial Port.
Requirements
- Grove-Analog Microphone
- Base Shield
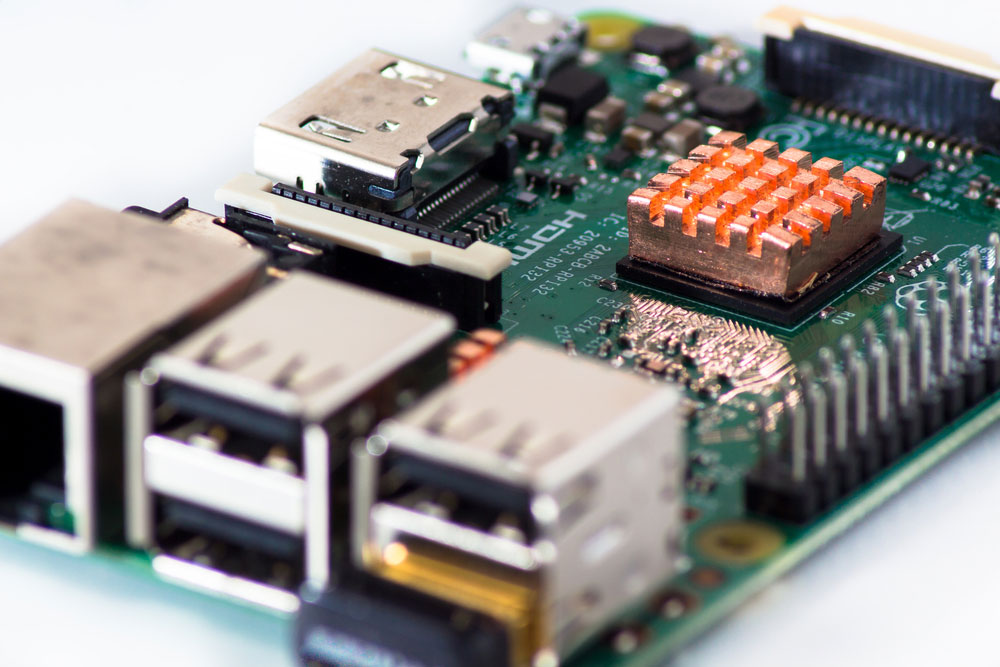
- Seeeduino V4.2
Seeeduino, Arduino-compatible controller
Source: Wikimedia Commons.
Step 1
First, at the Grove-Base Shield AO port, connect the Grove-Sound Sensor. Secondly, using the USB cable, connect Seeeduino to the PC. Finally, link the Plug Grove-Base into Seeeduino.
Step 2
Next, after linking the plug, upload the Demo code for Arduino software after copying it to Arduino IDE.
Success
Finally, once everything has fallen into place, at the Wio Terminals screen, you will see the image displayed.
The Game of "Statues" How Wio Terminal Can Play With Grove – TF Mini Lidar
Requirements
- Wio Terminals
- Grove – TF Mini Lidar ToF Distance Sensor
Step 1
First, using the USB cable, connect Wio Terminals to the PC. Secondly, use the Jumpers to connect Plug Grove-TF-Mini-LiDAR to Wio Terminals.
Step 2
Afterward, you will need to download the Demo code. Then copy and paste the whole Seeed_Arduino_Linechart file to the file of your Arduino wiring library.
Step 3
Copy and paste demo code to the Arduino IDE board.
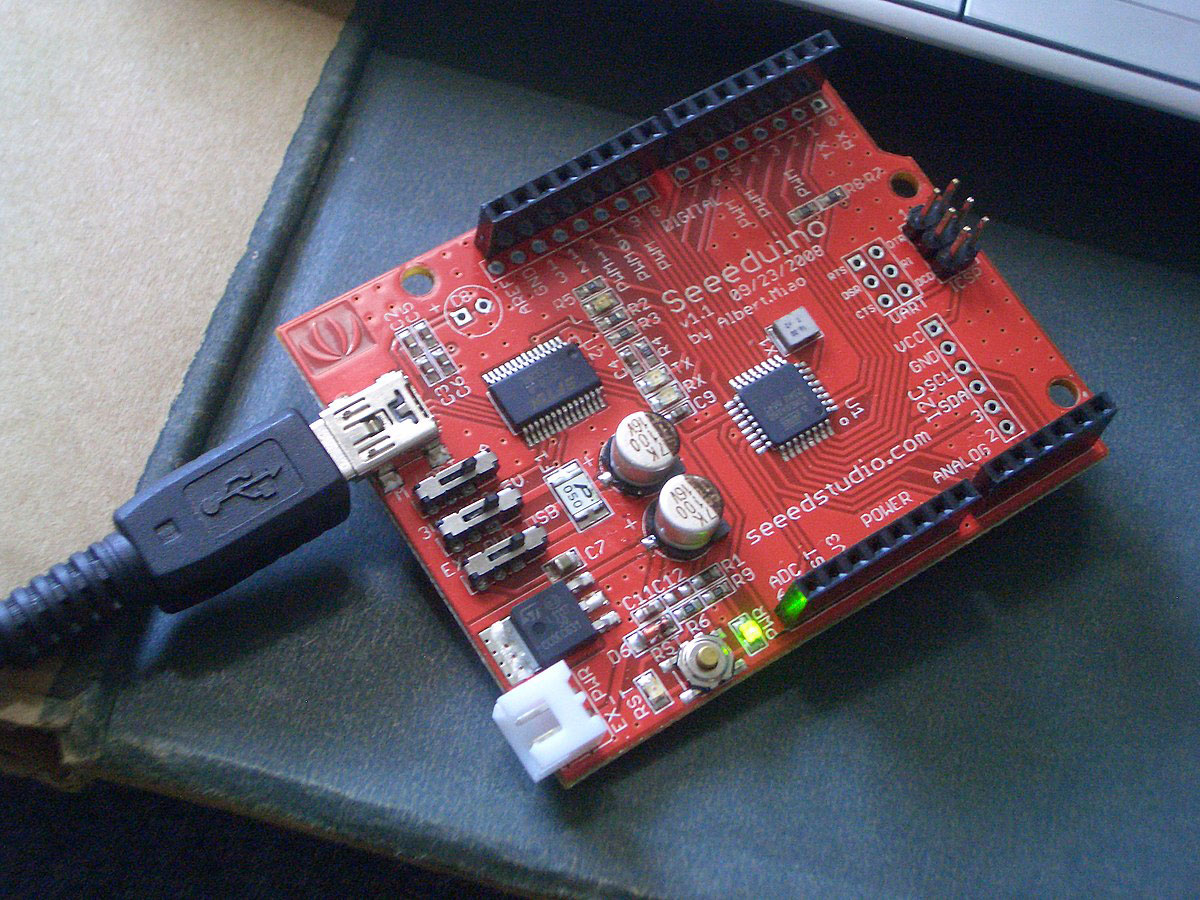
Arduino IDE
Source: Wikimedia Commons.
Finally, if everything goes well, an image will show on the Wio Terminals screen.
Applications for Wio Terminal

Summary
Overall, when it comes to learning, exploring, and building IoT projects, Wio Terminals are the backbone for IoT projects. Apart from having the grove connectors, it's chock full of onboard sensors. Besides, it comes with RPI GPIO pins for additional MCU resources. Its documentation is extensive and exceptional, making it perfect when finding projects and easy when getting started.
Special Offer: Get $100 off your order!
Please email [email protected] for details.