Contents
Special Offer: Get $100 off your order!
Claim your $100 discount by sending an inquiry today. Act now to save on your next project!
Please email [email protected] for details.
Please email [email protected] for details.
What Is an Infrared Blaster?
An IR blaster is a device that enables you to send commands from a remote control device to another device requiring infrared remote control. It consists of a receiving unit that takes in the remote instructions using radio frequencies or wires and an emitter that releases the infrared signal to control the device.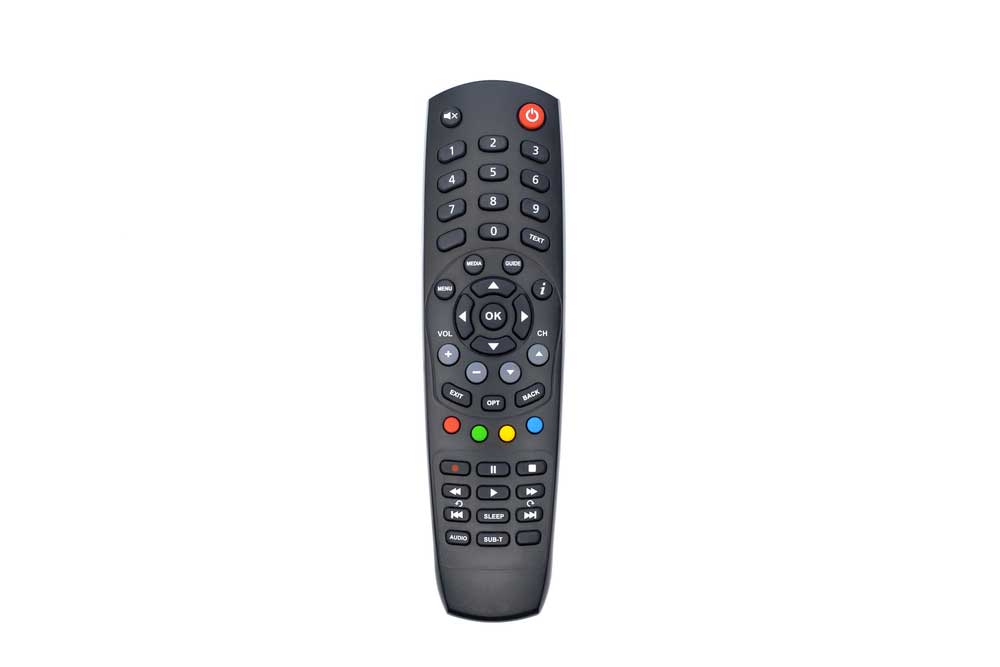
An IR remote controller for a TV
So the blaster's emitter end must be in direct line of sight with the IR sensor in the device you want to control. But the receiver can be near or sit on those devices. These devices have one primary advantage; they enable you to control old appliances using smart devices.Special Offer: Get $100 off your order!
Claim your $100 discount by sending an inquiry today. Act now to save on your next project!
Please email [email protected] for details.
Please email [email protected] for details.
What Is a WiFi IR Blaster?
A WiFi infrared blaster is a type of infrared blaster with a WiFi receiver. Since WiFi is a radio signal, WiFi IR blasters are types of RF blasters, the other being Bluetooth. But WiFi is better because it enables you to create an intelligent IR remote control that you can control over the internet. This type of wireless control enables you to create a smart home by future-proofing dumb devices that cannot integrate with your IoT infrastructure.
Smart home with IoT devices
You can buy a branded WiFi IR blaster for around $20 to $40, with some high-end models going up to $100. These units usually combine WiFi with hands-free voice control using Google Home and Amazon Alexa. Additionally, they are compatible with multiple devices (TVs, ACs, home theater, etc.), and some can work with Amazon Echo, Siri, IFTTT, and HomePod as additional voice command options. However, you can build a similar device for your project, and here's how to do it.How To Make A WiFi IR Blaster
You need the following items to build the remote controller.- Espressif ESP8266 ESP-01 or NodeMCU dev kit
- Arduino Nano R3
- NPN general-purpose transistor
- Adafruit IR LEDs
- NodeMCU firmware
- Arduino IDE
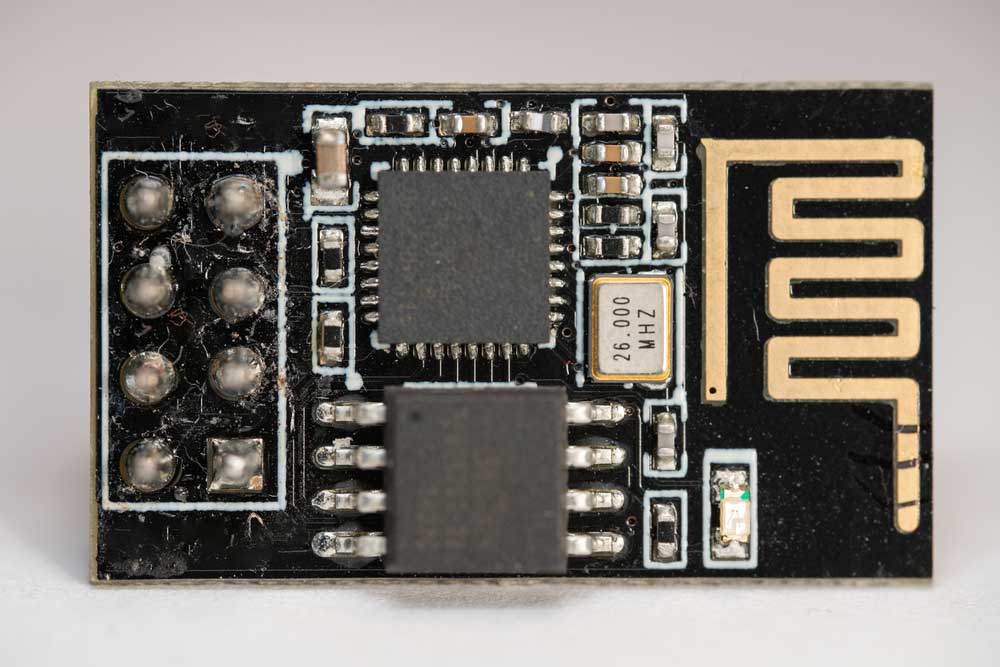
The standard ESP8266 ESP-01 module
Concept
The idea is to create a universal remote blaster that accepts HTTP requests after connecting to your WiFi, then sends infrared signals to your infrared-controlled devices. You can use a standard ESP8266 by requesting a unique URL via the IP address given to the module, then use an Arduino board to send power to the infrared LED. But the setup needs a server hosting the web app that sends URL signals to the blaster, parsing those requests into IR codes.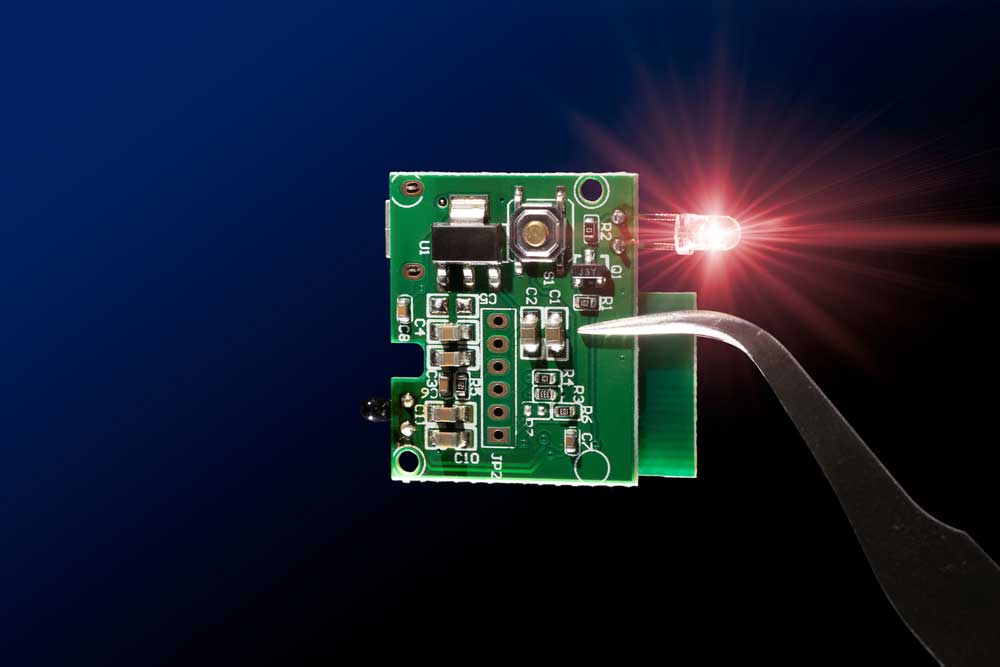
A microcontroller circuit board with an infrared LED
It is possible to create this system, but it is tedious with AT commands. Additionally, there might be a short one or two-second delay after sending the request and the blinking of the infrared LED.What Is The Better Alternative?
The ESP8266 NodeMCU dev kit has several advantages over the standard ESP8266 because it features the following.- A USB-serial interface
- Power regulation on-board
- Multiple input/output pins
- A breadboard-friendly design
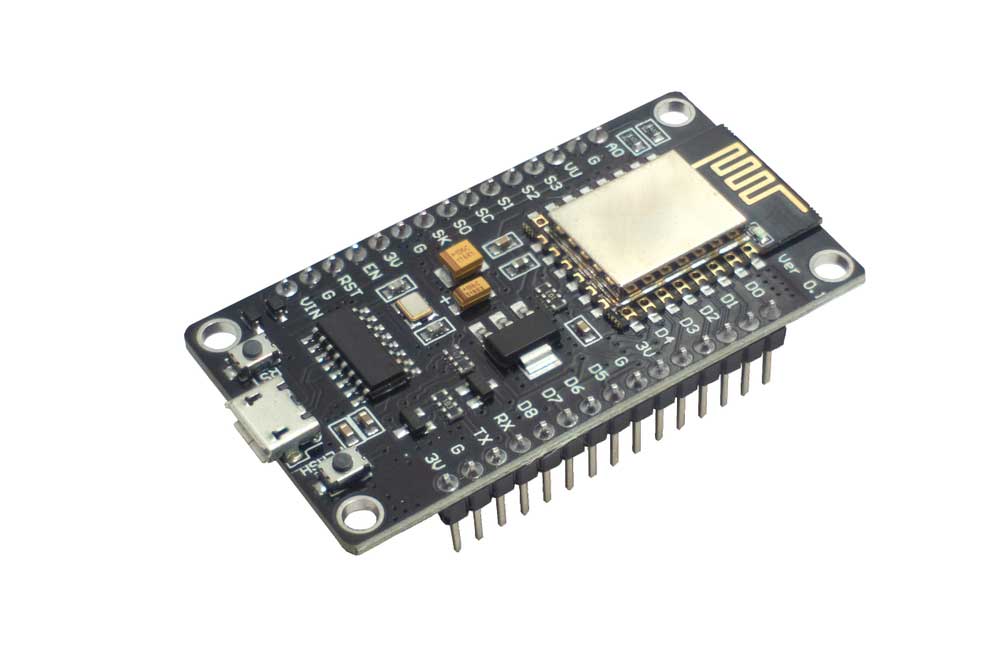
The ESP8266 NodeMCU microcontroller
And there is a WebServer (ESP8266) library for handling GET requests, plus you can modify it to send IR codes. However, the SOC (System-On-Chip) might not have enough resources to host the web app. So consider using an affordable computer, such as the $9 CHIP. And remember, the ESP8266 is one 3.3V dev board. So if you use it as the power source to drive the infrared LEDs from the I/O pin, the light will be dim. You will have to place the smart IR remote controller near the device you want to control, which won't be neat. So we will use the ESP8266 pin to control one NPN transistor, then the transistor will turn the 5V power source voltage on and off.Circuit Diagram
This setup uses an NPN transistor to drive two IR LEDs using the 5V power supply with no inline resistors. Using resistors renders the LEDs almost useless, so the transistor will power them directly using the 5V power source.The ESP8266 NodeMCU circuit diagram with the IR LEDs in series
The setup gives the LEDs enough power to bounce IR light off the walls. So you can mount the infrared device across the room. However, unregulated power will affect the LED lifespan. So you can use high output, wide angle LEDs with an inline resistor. To run additional LEDs in parallel or reduce the voltage drop from a 3.3V source, use an NPN transistor to switch multiple PNP transistors, one for each LED. Such a setup enables you to connect as many LEDs as the power source can handle.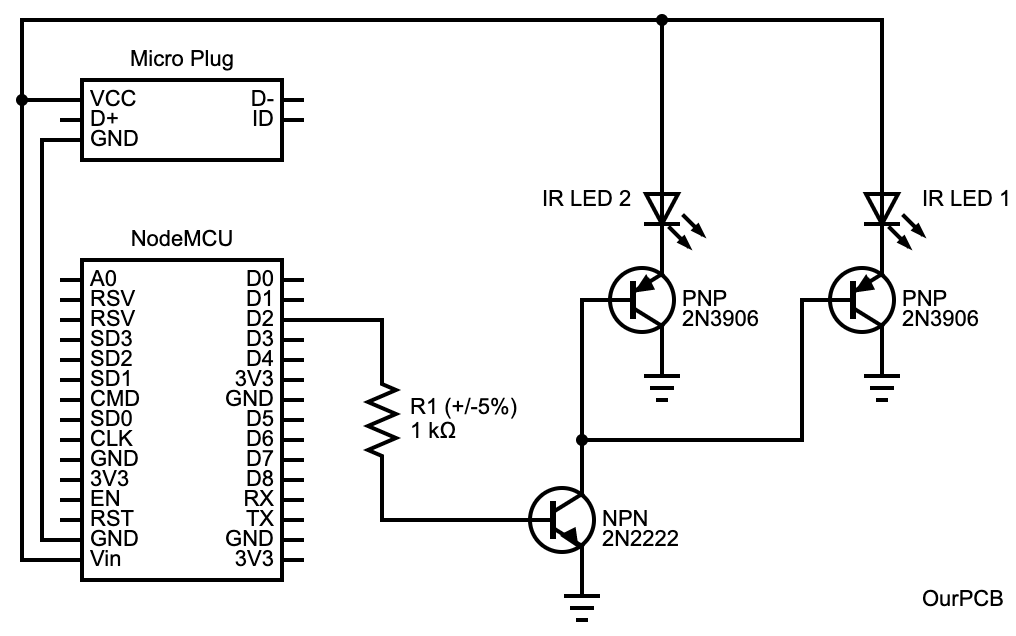
The ESP8266 NodeMCU circuit diagram with the IR LEDs in parallel
Code
We will build a simple Arduino REST API to run the infrared LEDs. Download this C code for controlling various TV functions (mute, volume up/down, channel up/down, etc.). You'll need to import the IRremote.h and ESP8266 WiFi library files. Next, set up the web app using this Javascript code (it requires jquery). This HTML code should display the buttons and use this PHP script to send GET requests to the ESP8266. Lastly, this JSON manifest file should allow the webpage to operate as a native web app on Android devices. To summarize, the PHP and Javascript codes submit and load cURL requests into the cloud or CHIP computer. This computer should be running an Apache server. After creating the HTML page, the JSON code enables it to run as an Android native web app on your device. On Arduino, the code only accepts GET requests, parses the URL, sends a 200 OK, then disconnects. So the board sends an IR code mapped to the pressed button.Possible Improvements/Updates To The Project
- Include an IR receiver to introduce a learning feature that teaches the blaster to imitate commands from existing remote controllers
- Integrate with voice control devices like Amazon Echo
- Control ceiling fans and other legacy appliances

A person controlling a ceiling fan using a remote control
Wrap Up
In conclusion, WiFi infrared blasters attempt to bridge the gap between old and new by future-proofing dumb devices. Implementing them can be a little challenging. But once you get the hang of it, you'll want to expand the smart remote to include all your infrared-controlled devices. That's it for today! Contact us if you need further guidance to set up the project, and we'll be in touch.Special Offer: Get $100 off your order!
Claim your $100 discount by sending an inquiry today. Act now to save on your next project!
Please email [email protected] for details.
Please email [email protected] for details.